Showing posts with label triangle border. Show all posts
Tuesday, November 4, 2014
Tutorial Tuesday - Oil Pastel Scratch Art
Hi Paper Wings fans! Dana here today sharing a fun technique using the set of oil pastels that came in the Halloween Hodgepodge Mixed Media Kit.
If you've ever made art with crayon etchings as a child, this is the same technique. I used the cardboard from the kit, cutting it into pieces measuring 3x3 inches, for the base of my pieces.
I selected several shades of oil pastels and colored the cardboard.
Next, I covered the colored designs with black oil pastel. Tip: Lightly apply the black oil pastel over the designs in several directions to get full coverage.
I used a White Stamper's Big Brush Pen and stamps to add design guides to my pieces. I used the NEW Hombre Skeleton Cling Stamp above.
To reveal the color I scratched away the white ink using a paper piercer.
I finished the edges of this piece using the Triangle Border Clear Stamp Set as a guide.
I created this piece using the Sacred Geometry Clear Stamp Set.
This technique is super fun and would be a great craft to do with children. Thanks for stopping by today! Be sure to visit the blog again on Friday for our November Blog Hop.
Wednesday, April 30, 2014
Hey ya'll - art journal page
Hello, hello PWP fans, Norma here with you today! What's been up for me lately is the Southern Sayings Stamp set. I just got this set and I've already used four of the six sentiments. Today I'm using "hey ya'll" from the set. I'm also using the Triangle Border and the Happy Day stamp sets.
I started with a blue and green background and added the backing of used joint tape. (nothing goes to waste around here) Next I added tiny flowers with molding paste and a Finnabair Prima stencil. Then I cut down the backing from the stencil packaging and added a triangle border.

This cutie is from the Vintage Cuties clip art sheet. I'm using the back of a picture frame to hold the image in place.
I found this beautiful bling frame in my stash. It adds the perfect touch to my focal image.
To compete my design, I added flowers from my stash and Pink Paislee Cottage Farms Paper Goods from the May Nestings Components kit. My sentiment "hey ya'll" is from the Southern Sayings stamp set.
I strayed all of the flowers with Lindy's Spray ink for a little shimmer.
Finally, I added "oh happy day" to the top and a die cut pencil just for fun.
Be sure to join us on Friday for our design team blog hop!
The Nani ke Ola designers will be joining us as we celebrate friendship. It's gonna fun and filled with tons of inspirations; stop by!! See you on Friday :D
Have a Wonderful Day!!
Monday, October 14, 2013
Mixed Media Monday - October Nesting Components Layout
Hi Paper Wings fans! Dana here today with an extra dose of inspiration to help start off your week. I'm having a blast working with the October Halloween Nesting Components Mixed Media Kit! Once again, I've used the cardboard piece that helps to protect the kit contents during mailing, as the base for my layout.
I added a lot of fun color and texture to the background of my layout. I used the Triangle Border Clear Stamp Set, Lindy's Stamp Gang Jack-O-Lantern Embossing Powder, molding paste, Tattered Angels Black Magic Glimmer Mist and a Raspberry Gelato to create the design on the base of my page.
Complete the following steps to create this colorful background:
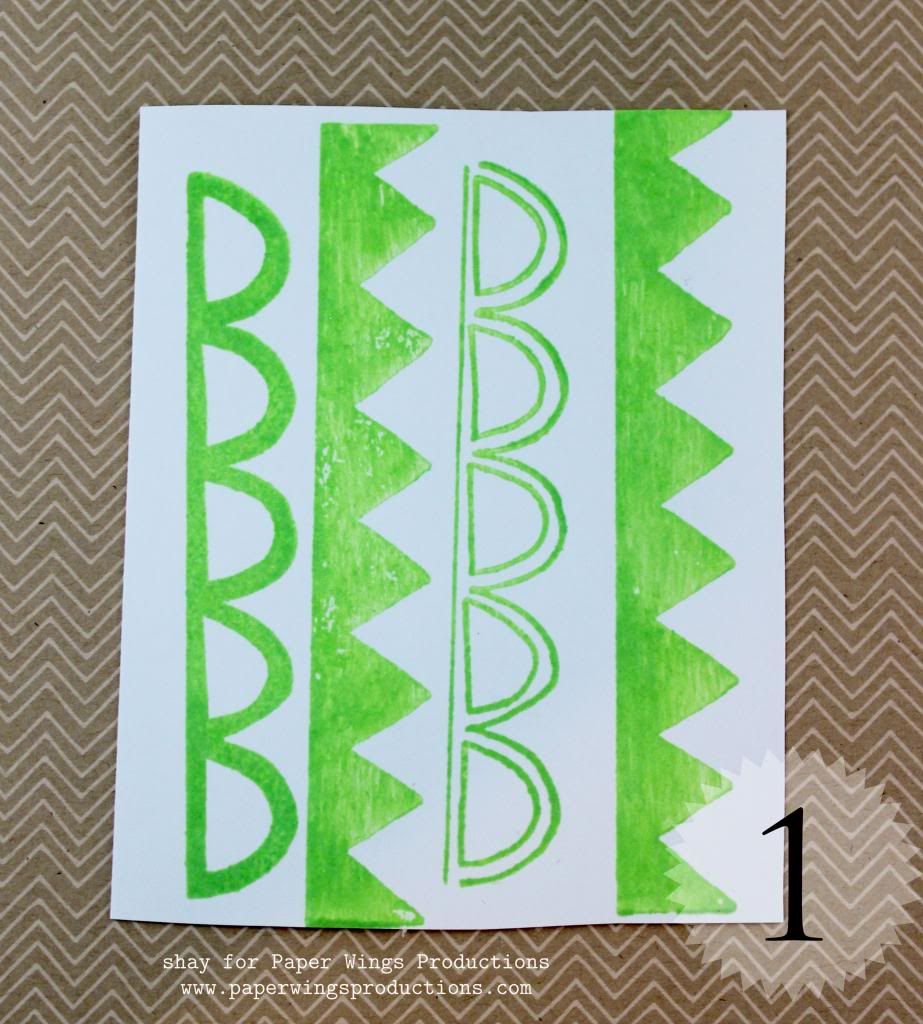
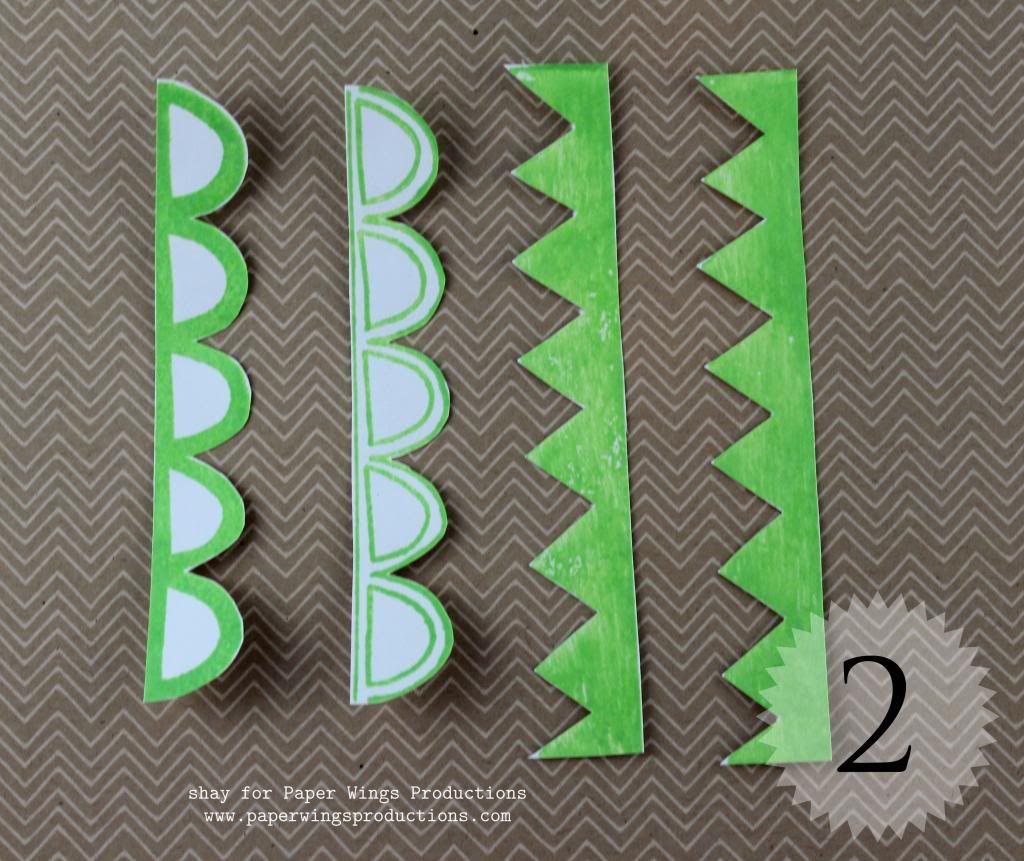
Step One: Using the Triangle Border Clear Stamp Set and Jet Black Archival Ink (or similar waterproof ink), stamp a triangle pattern across and down the cardboard. Note: I used Archival Ink because I wanted the background to be waterproof and permanent as I knew I would add several other wet mediums on top of the design.
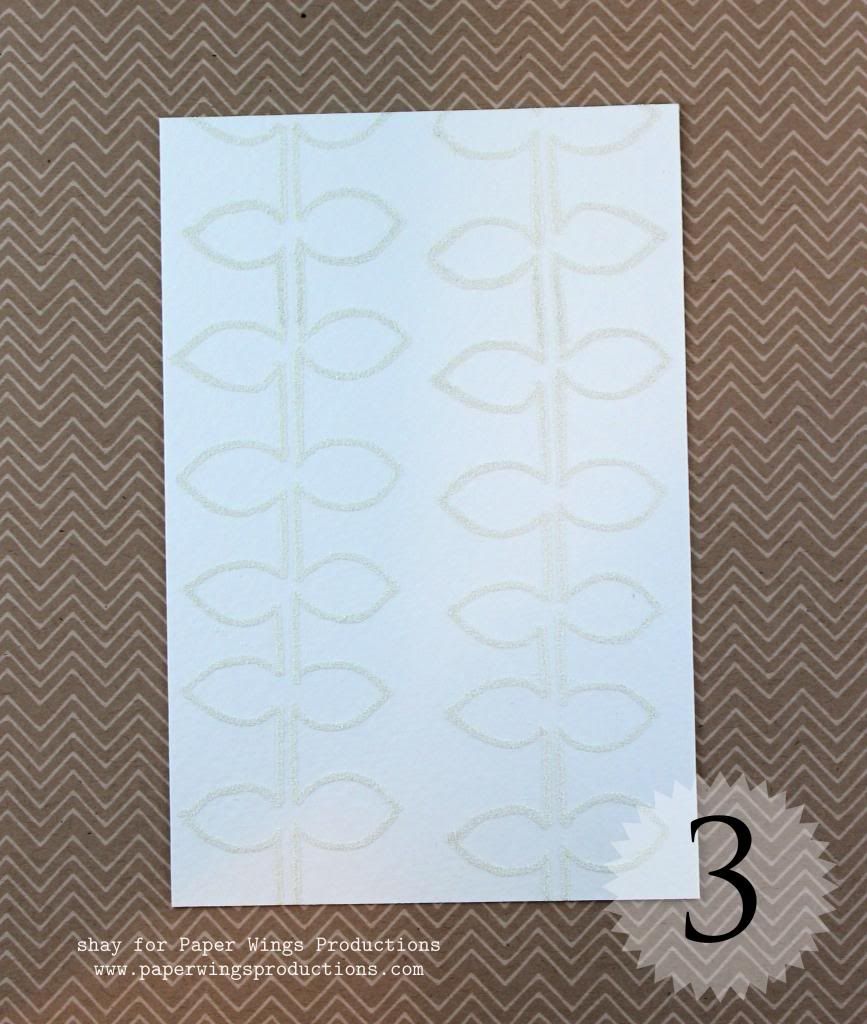
Step Two: Using a favorite stencil, I chose a triangle design to coordinate with the stamp set, and some molding paste, randomly apply molding paste over the stencil onto the background of the layout. While the molding paste is still wet, sprinkle with Lindy's Stamp Gang Jack-O-Lantern Embossing Powder, shake off the excess powder and set with a heat gun. The shimmer of the Lind'y Stamp Gang Embossing Powders is fantastic! Note: Adding embossing powder over the molding paste creates a more dimensional design versus using embossing powder alone. The molding paste also helps the embossing powder stick to the page.
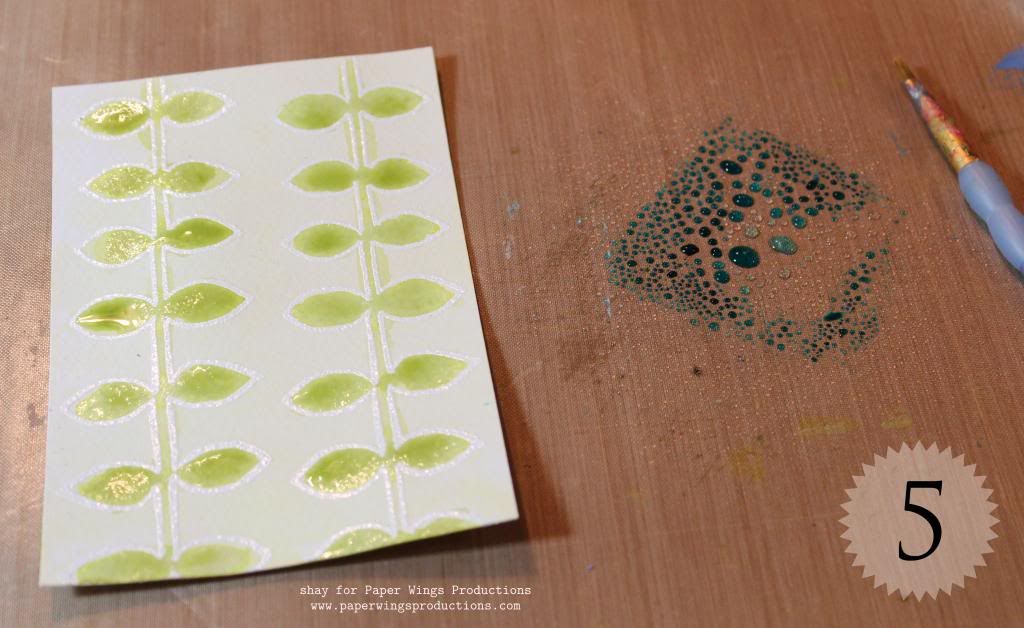
Step Three: Scribble a Raspberry Gelato onto a craft sheet, spritz with water, blend the color with your finger and then press the layout into the pool of color. Note: You may have to press the layout into the Gelato color several times to get adequate coverage and saturation.
Step Four: To apply small splatters of black ink to the background, remove the spray nozzle from a bottle of mist and fling the nozzle tube at the background.
The embellishments included in the kit are spooktacular! The wooden shapes and Clip Art Sheets (Yes, there's 2 included in the kit!) are my favorites.
I distressed and layered several of the 7 Gypsies Journal Pages under the Clip Art photo. The bright yellow sentiment was also cut from a Clip Art Sheet. The wooden bird looks right at home perched at the top of the photo!
I added this spooky wooden cat to my flower cluster. These wooden embellishments aren't just eye candy, but a great way to help secure ribbon to the page!
Here's a photo of the complete October Halloween Nesting Components Mixed Media Kit:
This kit contains:
Lindy's Stamp Gang Orange Two-Toned Embossing Powder
Tim Holtz Worn Book Cover
Two-Ring Binder with Brads
Metal Buckles (3)
Ribbon (2) - Black Sheer Organza and Black/White Chevron
Clip Art Sheets (2)
Wooden Shapes (3 - Cat style will vary)
Paper Wings Productions Triangle Border Cling Stamp Set
7 Gypsies Wicked Journal Pages
7 Gypsies Wicked Ephemera
Tim Holtz Apothecary Remnant Rubs
This kit would retail for over $42, our price is $32!
Thanks so much for stopping by today! You can purchase this kit from the Paper Wings Productions Store while supplies last. There is also a very limited edition Day of the Dead Kit!
Tuesday, June 11, 2013
Tutorial Tuesday: Border Stamps for Dad

It's Shay here. Did you enjoy this month's Summer Fun blog hop? I sure did. I thought the design team did an amazing job. If you haven't had a chance to check out the projects, I strongly recommend hopping along.
Today I have a simple tutorial on using the border stamps to create two cards dedicated to the dads in our lives.
I was looking at two of the borders: lace border stamp and triangle border stamp and I saw something interesting. Let's see if you can figure out what I saw too.
1. Stamp borders.
2. Cut out borders.
3. On watercolor paper stamp border with Versamark.
4. Heat emboss border with white embossing powder.
5. Add water to Distress Ink. I smeared the ink pad onto my craft sheet. Paint in the image. You can lighten the image by dabbing it with a paper towel and/or adding water.
6. By using watercolor paper, you can add as much color and water as you desire to get the look you want.
Did you guess how I used the lace border stamp and triangle border stamp? Now you can see if you were right.
7. The card. The lace border stamp looked like d's to me while the triangle border looked like a's. So I cut out individual scallops and triangles to spell out "dad". I edged the letters with ink and used a marker to add some definition. The leaf panel was edged with dark green ink. I adhered the dad and leaf panel with dimensional adhesive. Under the leaf panel is a strip of patterned paper on a white card base.
That's it from me today. I hope you have a brilliant week and have a fantastic father's day weekend celebrating the father figures in your life.
We
would *love* to see what you make with Paper Wings Productions
stamps. Add
your projects to Facebook,
our flickr
group,
to Pinterest,
comment with a link on this post or even email pictures to
us!
Take flight,
Shay.
Supplies:
Stamps:
Ink: Versamark, Tsukineko; green hills, Hero Arts Shadow Ink; squeezed lemonade, mustard seed, dried marigold, shabby shutters, peeled paint, pine needles, peacock feathers and chipped sapphire, Tim Holtz Distress Ink by Ranger
Cardstock: white, Georgia Pacific
Paper: watercolor cold press 400 series 140 lb., Strathmore
Patterned paper: Snippets 6x6 paper pad, Studio Calico; Color Me Happy 6x6 paper pad, Glitz
Other: opaque white embossing powder, JudiKins; embossing heat gun; Inkssentials ink blending tool, Ranger; faded jeans and pine needles, Tim Holtz Distress Markers by Ranger; non-stick craft sheet, Ranger
Subscribe to:
Posts (Atom)