

It's Shay here today with a few cards using the Lines Border stamp set and using a rainbow color scheme that I think is appropriate for April.
Before I share my cards, you dare not miss: Norma's video on how to stamp with Pearl-Ex | April's Mixed Media kit and Norma's amazing creations with the kits featured right here on The Aviary like HERE | Amber's sweet wise card | Tara's fantastic spring wreath and basket | Carrie's gorgeous tag | Dana's beautiful Parisian artist trading cards. And don't forget that tomorrow is April's Blog Hop! It should be incredible.
Now that you are back, I wanted to share my colorful medley of cards.

I started with this little number coloring in the envelopes from the Evidence stamp set with Copics. I stamped the thinner lines from the Lines Border stamp set in black once in the background. Sending you and laughter & love are both from the Winter Mix It Up stamp set. The envelopes are adhered to the card base with foam adhesive.
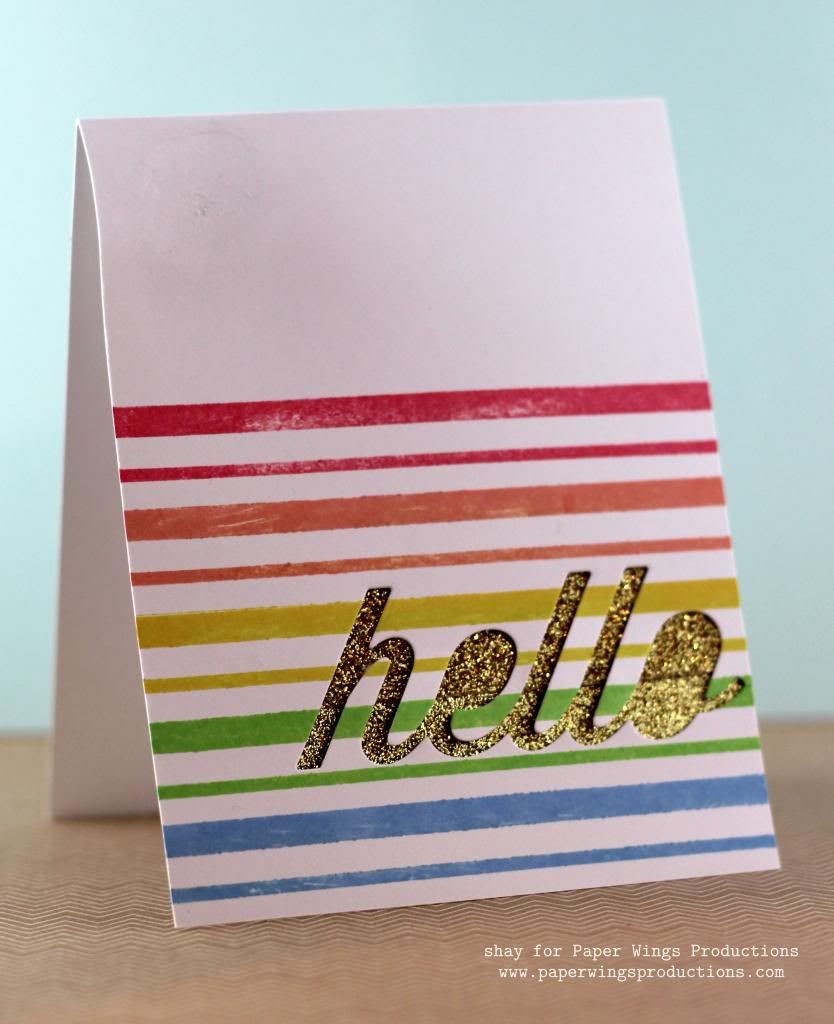
Next I stamped the thicker lines from the Lines Border stamp set in blue, green, yellow, orange and red inks. I die cut the hello and adhered some gold glitter tape to a piece of white cardstock I taped to the other side of the card front.
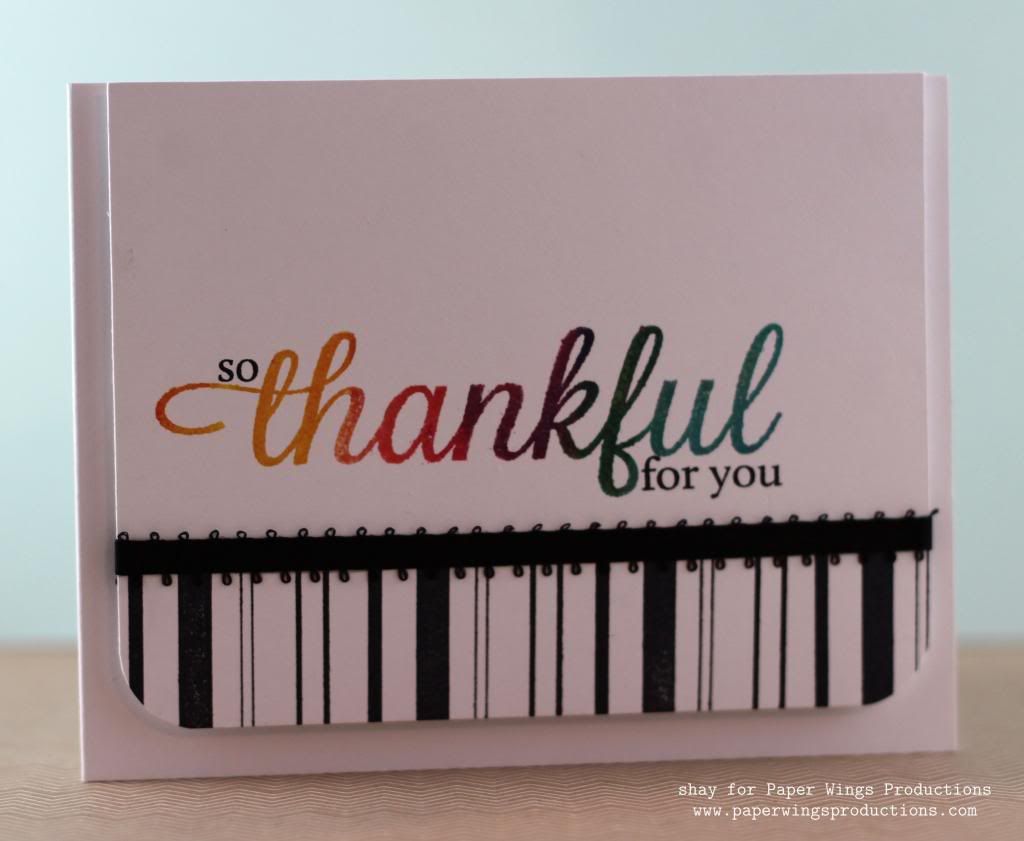
My third card began with inking up the thankful from the Thankful stamp set with yellow, orange, red, green and blue inks. The so and for you are also from the Thankful stamp set. I then masked off most of the card front so I could stamp a border using both sets of lines from the Lines Border stamp set in black. This would also be fun if stamped diagonally. I then adhered a piece of ribbon over the edge of the stamped line border. I rounded the corners and then adhered the card front with foam adhesive.
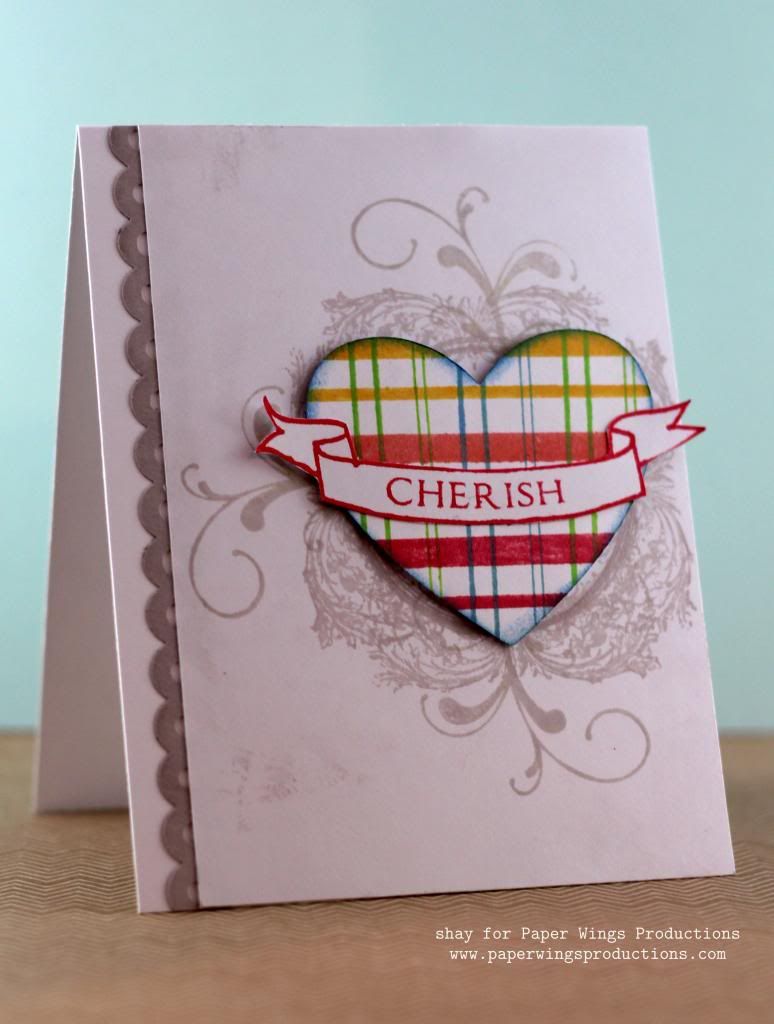
Last, I stamped a heart die cut with the thicker lines from the Lines Border stamp set in red, orange and yellow horizontally and then I stamped the thinner lines from the Lines Border stamp set in green, blue and green again vertically for a plaid look. I inked the edges of the heart in blue ink. I stamped the banner from Banner Day stamp set in red and then the word cherish within the banner. I cut out the banner and adhered it to the plaid heart. On the cardbase I stamped the Circle Frame stamp four times turning it each time in grey ink. I then stamped one of the flourishes from the Flourish Fun 1 stamp set three times in grey ink. I adhered the heart over the frame. I added a punched border strip and adhered it all to the white cardbase.
I hope you are inspired to ink up the Lines Border stamp set and use it all sorts of interesting ways.
We would *love* to see what you make with Paper Wings Productions stamps. Add your projects to Facebook, our flickr group, to Pinterest, comment with a link on this post or even email pictures to us!
Take flight,
Shay.
Supplies:
       |

Inks: Hero Arts Shadow Ink in pale tomato, soft cantaloupe, butter bar, green hills and cornflower; Tsukineko Memento in tuxedo black; Papertrey Ink in soft stone
Cardstock: stamper's select white by Papertrey Ink; sand by Neenah Papers
Dies: wonderful words: hello by Papertrey Ink; nesting hearts by Lifestyle Crafts
Other: Copic markers; black ribbon by Offray; brown sugar glitter tape by American Crafts; border punch by EK Success; Corner Chomper by We R Memory Keepers


.jpeg)
.jpeg)
.jpeg)
.jpeg)
.jpeg)
.jpeg)
.jpeg)
.jpeg)
.JPG)

