What's Up peeps?
What's up here is that we want to see your submissions to our
Flight Plan Mission 003! Now that the new stamps have been released there are even more possibilities to create with
paper wings productions stamps.
Don't be intimidated. If you make
anything using
paper wings productions stamps and the Flight Plan Mission 003 as your inspiration post it to
our flickr group with the tag FP003 and you are entered to win a stamp set of your choice! For more details about Flight Plan Mission 003 go
HERE. It really is easy. Perhaps you need a little nudge.
Here is something I made with the flight plan in mind...something easy that can be changed to suit your preferences.
My sister's birthday is today and I knew she would need some thank you notes after her big day so I thought I would make a few to give to her on her birthday so she wouldn't have to wait for me to make her some later (me proactive!?! Has the world turned on its end?).
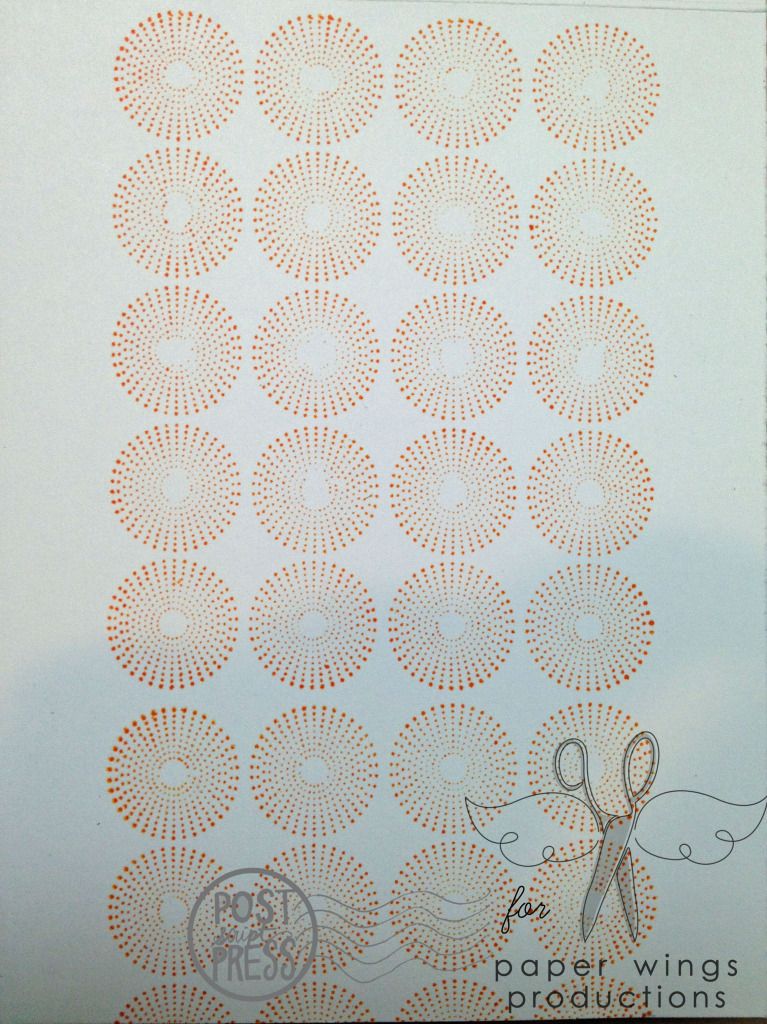
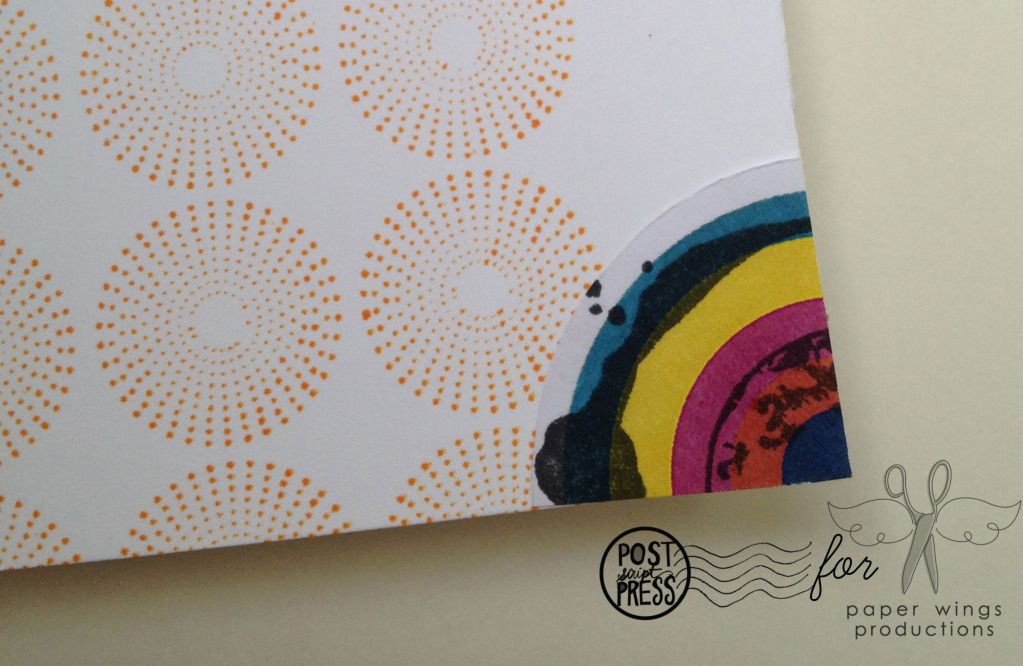
Using inexpensive white cardstock I stamped a strip of the circles from
Backgrounds down the middle in Dried Marigold Distress Ink. What I love about this stamp is it is really easy to align the stamp to repeat the pattern as needed. Also, you don't need to have the stamp cover the whole surface. I like it here as a block which mimics the larger background block on the flight plan.
Next I adhered some of the washi tape image from the
Pop! kit by
Ya Yeah Designs. If you have not tried using a digital kit to make a hybrid project (printing out something from your computer and using the printed element in a physical project) then you are in for a treat. Digital kits usually come with elements, alphabets and papers that you can print out as many times as you want or need and you can resize and recolor them! On top of the washi tape, I adhered a strip of patterned paper from the Pop! kit.
On a strip of white cardstock I stamped "thanks" in Memento ink by Tuskineko spelled out using the
Whimsical Solid Alphabet. I love that with the alphabet I can stamp out the word I want. Over the "thanks" I adhered a small typed sentiment. Keeping a sheet of favorite sentiments or words to add to a project is really helpful.
Lastly, there was a sort of bulls eye looking element from the Pop! kit I wanted to use, but I was struggling on how to use it. I stamped over the element using the large circle from
Art Elements and also the earth from
Earth & Sky. It still wasn't working right for this project until I decided to cut it up in quarters to add to the cards as a corner and then I was happy. I love customizing elements by stamping over them and/or cutting them up.
I considered adding a button or two to the left of the "thanks", but as these thank you notes will most likely be sent in the mail I decided against it, but I think the card could look really cute with some buttons, bling, brads or other decorative elements of your choice. I think I may even go to the store to get some small sequins that I could add without increasing the bulk for mailing.
Now, that you have seen how simple my cards are using the Flight Plan Mission 003, don't you think you could make something too? I know you can! And if you have any questions or problems, please do not hesitate to ask us. We are here to help.
Take flight,
Shay.
Stamps:
Art Textures,
Backgrounds,
Earth & Sky and
Whimsical Solid Alphabet
Ink: Memento in Tuxedo Black by Tsukineko; Tim Holtz Distress Ink in Dried Marigold by Ranger
Cardstock: Neenah Solar White
Patterned Paper: from
Pop! kit by
Ya Yeah Designs (free for a limited time!)
Other: elements from
Pop! kit by
Ya Yeah Designs (free for a limited time!); computer; color printer; circle cutter by Martha Stewart Crafts