Showing posts with label Marion Smith Designs. Show all posts

Friday, August 15, 2014

Feature Friday-Sayings and Sentiments

*****To join our August Anything Goes Challenge Click Here*****


Happy Friday Paper Wings fans!!  Erica here with you today to bring you this week Feature Friday post and this week I am featuring the fabulous stamp set Saying and Sentiments!


The Sayings and Sentiments stamp is is available in the Paper Wings Productions shop and includes 12 red rubber stamps!


I created 3 cards for you today showcasing a few different sentiments from this stamp set.  The August 2014 Nesting Components Kit came with a handful of card bases so I pulled 3 of them out along with some of the papers I had left from the July Nesting Components kit.  I also used some ribbon from my stash along with some circle punches and dies to create my cards.  My first card is very simple but I still love how it turned out.  I punched out a circle in the lower right corner and then stamped the sentiment inside the circle.  I added a scallop frame to the circle and also added some ribbon to complete this card.


For my next card I decided to add some texture to the card base using an embossing folder.  Once it was embossed I punched out some circles using my circle punch and a few different pattern papers from the July kit.   I adhered the circles all over my card letting some go off the edges.  I cut off the excess with my scissors and then added my sentiment.


My last card uses the last piece of 6x6 paper from the July kit and a few strips of pattern paper.  I covered the card base with this beautiful paper and distressed the card base edges with some Tim Holtz Vintage Photo Distress Ink.  I die cut a stitched circle and then punched a 2 more circle to layer on top.  I stamped out the thanks sentiment onto the cream cardstock and also sponged some distress ink around the edges.  To finish this card off I added some seam binding and some May Arts twine.


Thank you so much for joining us today!  I hope you enjoyed my cards using the stamp set Sayings and Sentiments!  This is one of my favorite sentiments stamps from the Paper Wings Productions shop!  To purchase your own set click here!  We also have a couple August and July Nesting Components kit for purchase!  You can find them HERE in the Paper Wings Productions shop.  We would love to see what you are creating with the Paper Wings Productions products!  Link up to our August Anything Goes challenge, post your projects to our Facebook page or our Flickr Gallery and always remember to let your creativity take flight!

Saturday, July 26, 2014

Thank You Kindly - Scrapbook Saturday


Hi everybody, Norma here with you today! Today I have a cute layout to share with you that I created using the beautiful Tea Time Nesting Components kit, Writing Cling StampBuild A Shrine and Southern Sayings stamp sets.


I started out by layering strips of various papers from the 6x6 Marion Smith paper pad included in the kit.  I also fussy cut some of the images from the paper like the clock and roses you see here.  Next I stamped some of the flourishes from the stamp set included in the kit and the Writing stamp.


I wanted to use this image from the clip art sheet but it just need a little more so I added the ATC frame from UmWow Studio.  I altered the frame by applying a couple of layers of gesso and then embossing with a stamp from the Build A Shrine set.  Then I spayed it with Lindy's spray ink and distressed the edges.


I love the way the frame turned out!  Okay so next I added some more fussy cut images from the paper pad and some Domino washi tape.


I used black tulle along the left edge.  I created a small bunch for the rose to sit on and added the super cute Marion Smith Tea Time Charms.  Aren't those little utensils the cutest?!


I  love how whimiscal the Tea Time Nesting Components kit is, don't you?!


Alright, for the finishing touch I added "thank you kindly" from the Southern Sayings stamp set.   And on that note I'd like to take a moment to thank all of you for your friendship and support over the last two years.  Today is my last post as an official PWP Design Team member.  I have been extremely blessed to be a part of this wonderful Paper Wings family and I am very grateful for the oppourtunities it has given me.  I will definitely miss being a part of this talented group but I felt it was time to give someone else a chance to share their talents with you.  I will still be around supporting my friends and who knows, maybe I'll get to pop in from time to time ;D.  Yah never know!! 


Okay so...I really don't like goodbyes so let's move on shall we! I hope you've enjoyed my post featuring the Tea Time Nesting Components kit.  For more inspiration check out our guest designer Marie's beautiful cards and bookmarks: Themed Thursday - Card Set, Katie's fresh take on the kit: Feature Friday - Tea Album, Dana's fantastic tutorial: Building up an extra heavy gel textured background and Erica's gorgeous accordian mini album: Tutorial Tue.  These ladies have been rockin' this kit so go show them some love, you're sure to be inspired by thier creations.

Thanks again you guys, luv yah, see you around cyber space!!!


Saturday, July 12, 2014

Scrapbook Saturday

Hello Paper Wings fans!  Erica back again with another post for you this week!  Today I want to share a layout for Scrapbook Saturday!


I pulled out a my July 2014 Nesting Components Kit along with a few other pieces from older kits and started my layout!  I used a piece of 12x12 cardstock from my stash that has a grid line pattern on it and began with some white acrylic pant in the center of my layout.  This all pretty much get completely covered up but that is ok.  Sometimes you just never know how things are going to end up! I then pulled out the papers I had left from the July kit and started to layer then up.  I am using a small Instagram photo of my daughter and I matted that on some pink paper from the kit and then added it to my stack of layers!  I temporarily adhered to my layout and made a few marks with my pencil so I knew where my layers were on the layout and then removed them and added some Art Textures stamping around the layout.  I have said this over and over but the Art Textures and Big Textures are must have stamp sets!  Next I added my layers back to my layout and then begin adding a few embellishments from my stash like the chipboard word bubble.  I added the Love This sentiment from the Detail Framer stamp set.  Here is a look at my completed layout!


Thanks so much for joining me for Scrapbook Saturday!  I hope you enjoyed my layout and that you will get some creative time in this weekend!  We always love to see what you have all been creating with the Paper Wings Productions products so please share with us on Facebook, Instagram and in our Flickr Gallery!  Enjoy the rest of your day and remember to let your creativity take flight.

Tuesday, July 8, 2014

Tutorial Tuesday-Accordion Mini Album

*****To Join our July Challenge: Click Here*****

Hey Paper Wings Fans!  Erica here with you today and before I get into my post I want to thank everyone who joined us this past weekend for our July Blog Hop!  We hope you enjoyed the hop and felt inspired!  
Congratulations to the winner of our July Blog Hop prize!  #27, Rhonda Van Ginkel.
Such a super fun and CHEERFUL hop! Loved all the designs in yellow from cards to décor and art journaling as well!!! Super hop with tons of inspiration!

Rhonda, please contact us at paperwingsproductions@hotmail.com for instructions on how to claim your prize.


For today's Tutorial Tuesday I want to share with you how to create a 4x6 accordion mini album out of one 12x12 piece of cardstock!

Let's get started shall we!  Start by cutting your 12x12 in half to create two 6x12 pieces.  


Next score each piece at 4" and 8 " and then fold on the score lines.  


Adhere the two pieces together and you now have your mini album base!  I always love to create extra pockets so I only add adhesive to the sides and the bottom.  Super quick and super simple!

Now it is time to add some fun to this album base so I pulled out my July 2014 Nesting Components kit, my box of Paper Wings Productions stamps and Jenni Bowlin inks!
I took my Tim Holtz scissors to distress the edges and then my Jenni Bowlin Brown Sugar ink to darken them.
I added a variety of Paper Wings stamps to the pages as well.  I know these will more than likely get covered up but just in case I have edges showing I do know what plain cardstock showing.

I used the 6x6 paper pad that came in the July Nestimg Components kit to cover my pages.  This paper is from Marion Smith Designs and it is beautiful!


I also created a couple more pockets to add to my pages by cutting down some pattern paper and using my 1 3/4" circle punch to cut out a half circle in the paper.  Then I adhered down to my page and added a Ranger Tag that was included in one of the past Nesting Components kits.


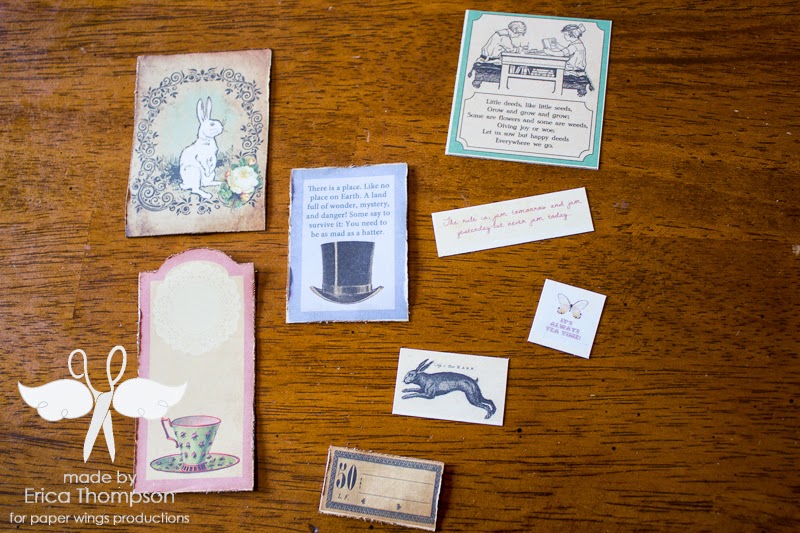
This paper collection comes with some great cut apart pieces that are great to add to mini albums and you can also add photos to the backs of them.  I cut them apart and distressed the edges and added them throughout my album.

To finish off my album I added some Hand Dyed Ribbon to my tags and some jute and then layered up some pieces onto my cover along with a beautiful ribbon rose!  The July 2014 kit also included some Marion Smith Junque&Gems that I added to my cover as well.


Thanks so much for stopping by today and I hope you enjoyed my accordion mini album!  I hope you will give this album a try and share with us on our Flickr gallery or Facebook page!  You can also tag on on Instagram!  Remember if you use embossing in you mini you can also link your project up to our July Challenge and also to the Creative Embellishments challenge!  Enjoy the rest of your day and remember to let your creativity take flight!
Related Posts Plugin for WordPress, Blogger...