*****To Join our July Challenge: Click Here*****
Hey Paper Wings Fans! Erica here with you today and before I get into my post I want to thank everyone who joined us this past weekend for our July Blog Hop! We hope you enjoyed the hop and felt inspired!
Congratulations to the winner of our July Blog Hop prize! #27, Rhonda Van Ginkel.
Such a super fun and CHEERFUL hop! Loved all the designs in yellow from cards to décor and art journaling as well!!! Super hop with tons of inspiration!
Rhonda, please contact us at paperwingsproductions@hotmail.com for instructions on how to claim your prize.
For today's Tutorial Tuesday I want to share with you how to create a 4x6 accordion mini album out of one 12x12 piece of cardstock!
Let's get started shall we! Start by cutting your 12x12 in half to create two 6x12 pieces.
Next score each piece at 4" and 8 " and then fold on the score lines.
Adhere the two pieces together and you now have your mini album base! I always love to create extra pockets so I only add adhesive to the sides and the bottom. Super quick and super simple!
Now it is time to add some fun to this album base so I pulled out my July 2014 Nesting Components kit, my box of Paper Wings Productions stamps and Jenni Bowlin inks!
Now it is time to add some fun to this album base so I pulled out my July 2014 Nesting Components kit, my box of Paper Wings Productions stamps and Jenni Bowlin inks!
I took my Tim Holtz scissors to distress the edges and then my Jenni Bowlin Brown Sugar ink to darken them.
I added a variety of Paper Wings stamps to the pages as well. I know these will more than likely get covered up but just in case I have edges showing I do know what plain cardstock showing.
I used the 6x6 paper pad that came in the July Nestimg Components kit to cover my pages. This paper is from Marion Smith Designs and it is beautiful!
I also created a couple more pockets to add to my pages by cutting down some pattern paper and using my 1 3/4" circle punch to cut out a half circle in the paper. Then I adhered down to my page and added a Ranger Tag that was included in one of the past Nesting Components kits.
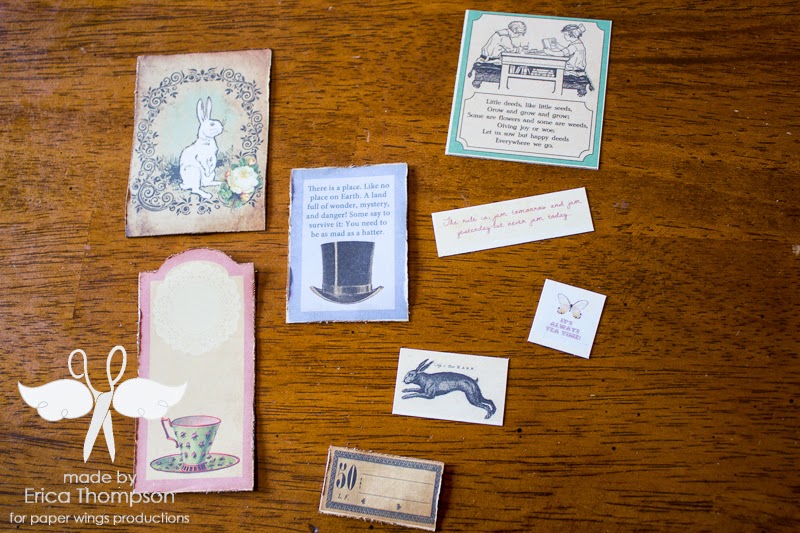
This paper collection comes with some great cut apart pieces that are great to add to mini albums and you can also add photos to the backs of them. I cut them apart and distressed the edges and added them throughout my album.
To finish off my album I added some Hand Dyed Ribbon to my tags and some jute and then layered up some pieces onto my cover along with a beautiful ribbon rose! The July 2014 kit also included some Marion Smith Junque&Gems that I added to my cover as well.
Thanks so much for stopping by today and I hope you enjoyed my accordion mini album! I hope you will give this album a try and share with us on our Flickr gallery or Facebook page! You can also tag on on Instagram! Remember if you use embossing in you mini you can also link your project up to our July Challenge and also to the Creative Embellishments challenge! Enjoy the rest of your day and remember to let your creativity take flight!


Congrats! Rhonda! very cool,
ReplyDeleteWhat great layering, just beautiful.
Lovely album Rhonda.
ReplyDeleteLOVE this so much Erica!!
ReplyDeletethis is gorgeous, Erica!!
ReplyDeleteWonderful Erica, you are truly talented!
ReplyDeleteFabulous tutorial! Love all the stamping and embellishments!
ReplyDeleteGreat tutorial Erica!! Easy to follow & fabulous mini!!!!
ReplyDeleteAnd I'll say it again, Erica - where do you find the time?! lol ;) This is just GORGEOUS! And you know what, actually, I know the answer to my won question - us passionate crafty moms FIND the time for our crafting!
ReplyDeleteGreat Tutorial! I will be making one for a gift soon!
ReplyDeleteTotally loving this project Erica and what a great tutorial too!!
ReplyDelete