Good Monday morning peeps!
It's
Shay here, but before I share with you today you must go be amazed by the stupendous
Easter project by Norma or the fantastic
faux paper casting tutorial by Dana.
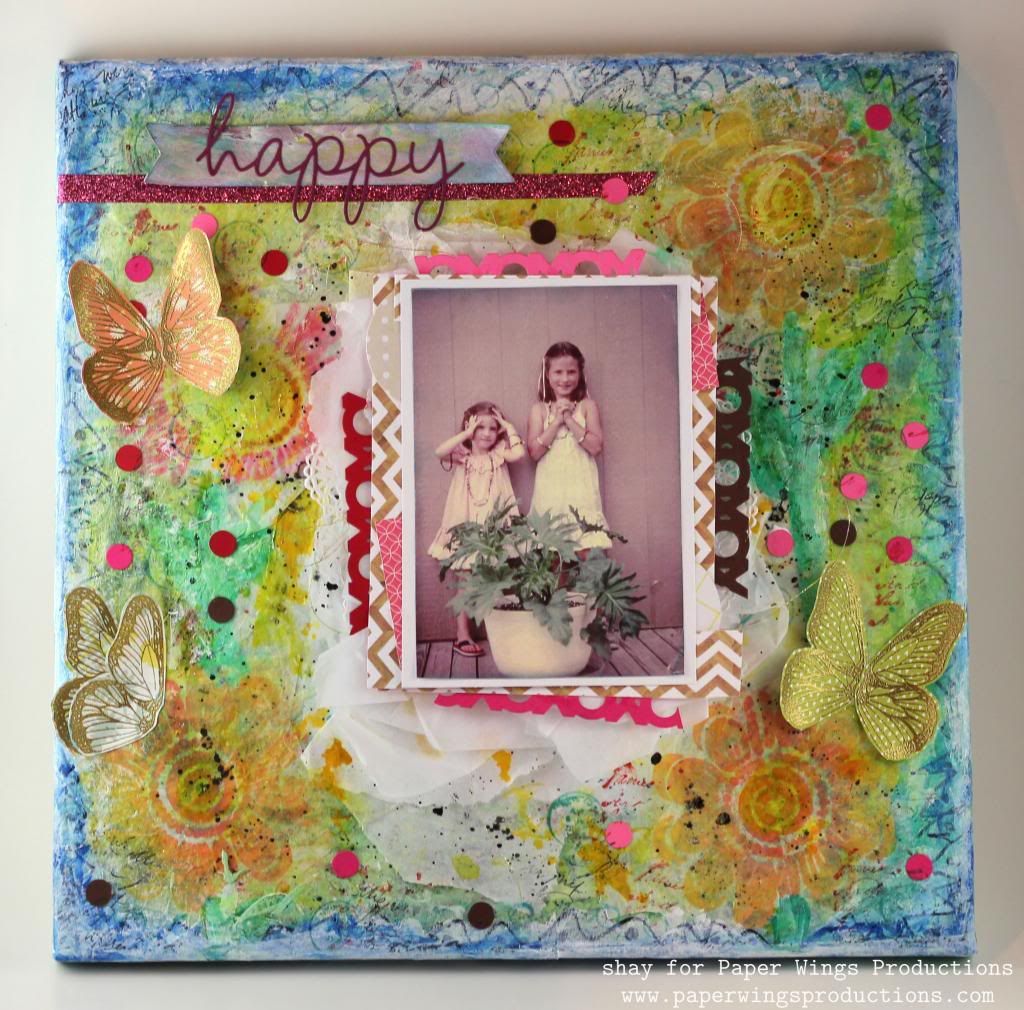
Now that you are back, I have a 12x12 canvas I made to highlight a picture of my sister and I that I am partial to and find funny...we are posing showing off jewelry we had just made with our mom. My sister (she's the little one on the left) was so sassy and adorable and this really captures her personality from when she was young. The colors are pretty washed out so I actually did the unexpected thing and made a very busy and bright background for it. It pops from the background because of the muted tones, a lot of dimension and white around it.
Believe it or not most of the accents on this page are actually bits and pieces sitting on my worktable left over from other projects. Perhaps you recognize the butterflies from my
March Blog Hop project? I had 3 I didn't use and wanted to add to this piece. They were the butterfly wings from
Wings or
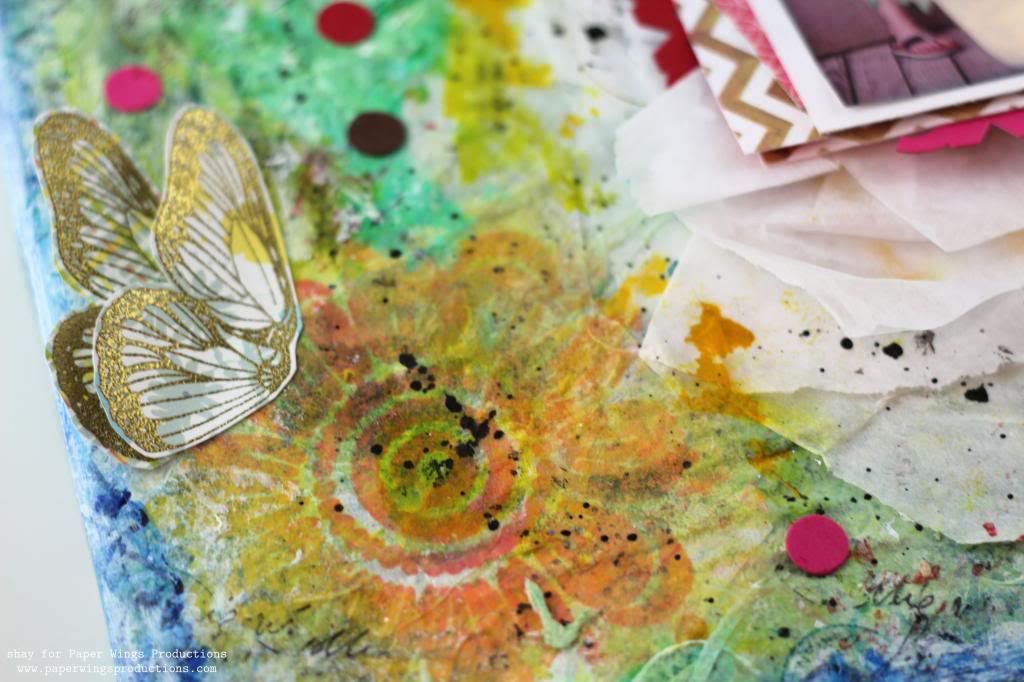
Butterfly Wings that I gold embossed on patterned paper from the 6x6 paper pad from Daphne's Closet by Lawn Fawn.
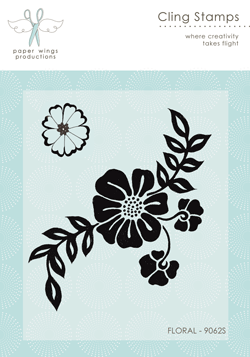
I began the canvas innocently enough with torn pieces of book paper that I adhered all over with Golden Soft Gel (Matte). I will skip ahead about 50 steps or so because they all amount to adding and taking away paint by dabbing with a paper towel...the colors were yellow, green, blue and white. I did add some sheets of tissue paper to the center using the Soft Gel. I had previously stamped the large half flower from
Flower Power or
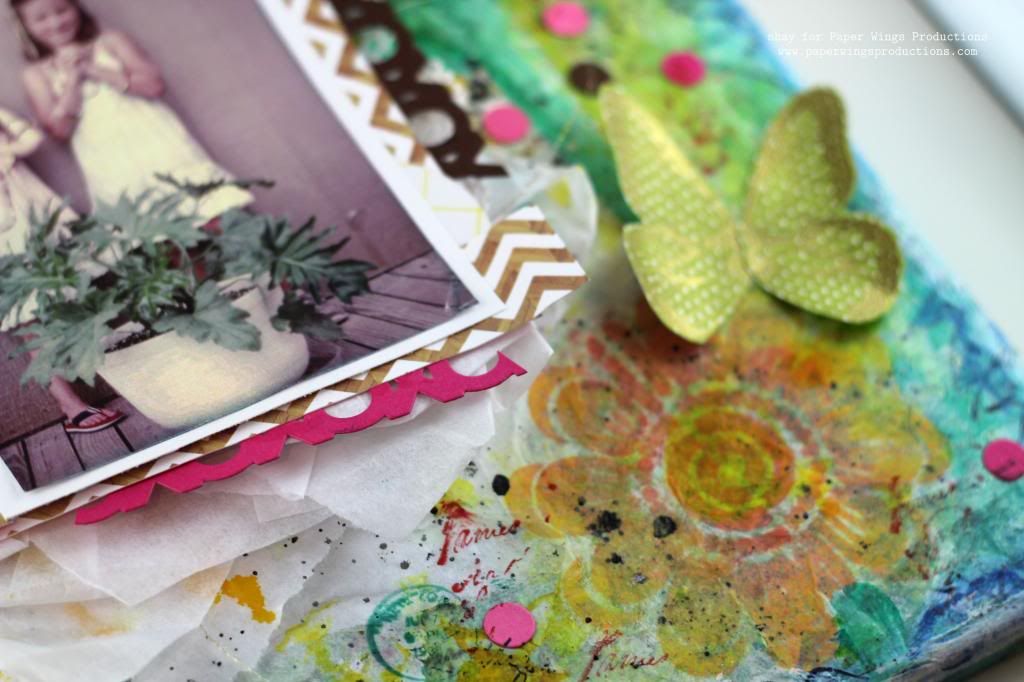
Half Flower onto white tissue paper in various shades of yellow, orange, pink and red. I stamped two halves together to make an entire flower. I adhered some of the less successful ones in various places on the canvas, but added three of the best ones to three corners around where the central image would be. Stamping on tissue paper ensures a good stamped impression and also for the image to become part of the piece it is adhered to unlike if you stamped on paper or cardstock. I colored and painted in stems and leaves for the flowers.
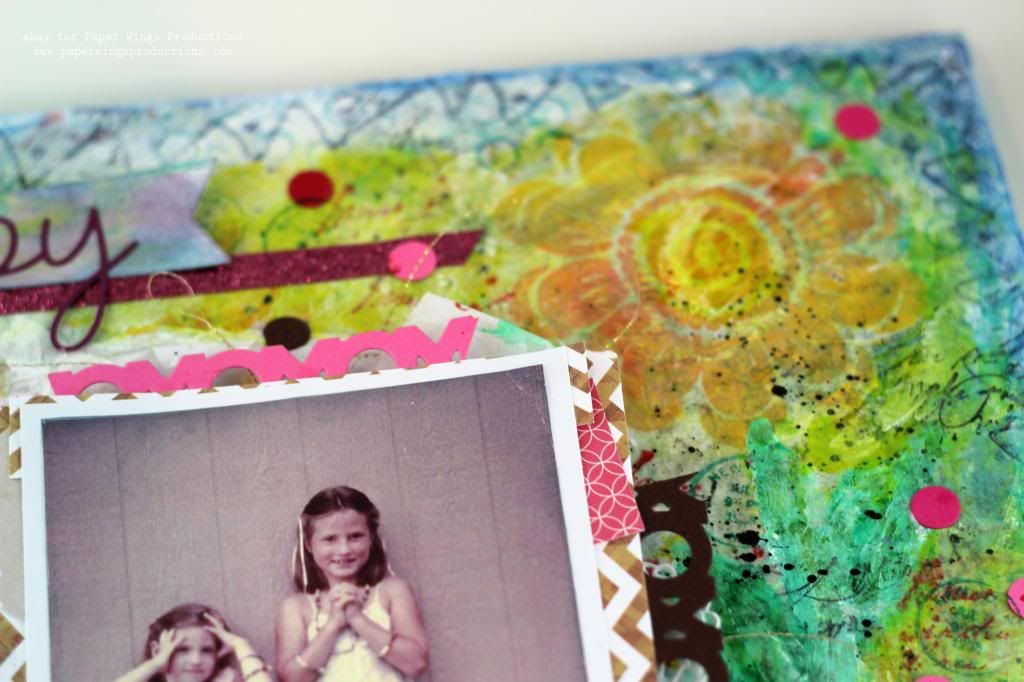
I flicked mist in white and orange and pale green and black paint. I drew in a border with a black Sharpie. I felt the border was too harsh so I painted over it with gesso and paints. I added some little leftover cardstock circles all about the canvas and adhered the wings. I added a strip of pink fabric glitter tape from the leftovers and over that I added a banner painted with gesso and paint and ink and added the happy die over it (also from my leftovers).
For added interest I stamped all over the canvas using
Writing Backgrounds or
Writing with black ink, some of the writing from
Text Melange in red and the cancellation seal in green also from
Text Melange. Around the edges I stamped the open circles from
Art Textures in blue.
The photo is layered on a piece of white cardstock then pieces of patterned paper, leftover XOXO die cuts, a doily, metallic gold thread and many layers of ripped and/or folded white tissue paper.
I got very messy, but had a whole lot of fun creating this canvas. So the happy sentiment is true about the picture and the making of this mixed media piece. I hope you will get out your Paper Wings Productions stamps and happily experiment too!
We would *love* to see what you make with Paper Wings Productions stamps. Add your projects to Facebook, our flickr group, to Pinterest, comment with a link on this post or even email pictures to us!
Take flight,
Shay.
Supplies:
InLinkz.com
Inks: Hero Arts Shadow Ink in butter bar, soft cantaloupe, bubble gum and pale tomato; Memento by Tsukineko in tuxedo black; Tim Holtz Distress Ink in fired brick, evergreen bough and broken china
Paints: Golden Gel Mediums Soft Gel (Matte); Claudine Hellmuth Studio by Ranger gesso; Golden Fluid Acrylics in hansa yellow medium, phthalo green (blue shade) and phthalo blue (red shade); Folk Art in metallic sequin black
Mists/sprays: Mister Huey's Color Mists by Studio Calico in sherbert and calico white
Patterned Paper: Lawn Fawn Daphne's Closet 6x6 paper pad; Allison Kreft/Echo Park Paper Co. Everyday Eclectic 6x6 paper pad; Dear Lizzy/American Crafts Neopolitan Collection sea breeze
Other: 12x12 canvas; book paper; paper towels, water, doily; copic markers; Coats gold metallic thread; white tissue paper; Papertrey Ink XOXO and happy dies cut from Papertrey Ink and Stampin' Up! cardstock (leftovers); banner cut with Lifestyle Crafts Tape It Kit using Stampin' Up! cardstock (leftover); pink glitter fabric tape; black Sharpie; Scotch Quick-Dry Adhesive (works so well!)




.JPG)

.jpg)

.jpg)