Showing posts with label writing backgrounds. Show all posts

Wednesday, November 22, 2017

Stamped Clip Art Christmas Ornaments

Stamped-Snowflake-Santa-Clip-Art-Christmas-Ornament-by-Dana-Tatar-for-Paper-Wings-Productions

Hi friends! Dana here today sharing a fun Christmas ornament tutorial featuring Clip Art Sheets. All the Clip Art Sheets from the Paper Wings Productions Store are laser printed on high quality paper, which makes them great for image transfer techniques. I used pieces from the Itty Bitty Christmas Clip Art Sheet more simply for this project. I cut them out and sealed them with a layer of glaze for a festive focal point on some stamped snowflake ornaments.

How-to-Prime-Masonite-Snowflake-Ornaments-by-Dana-Tatar-for-Paper-Wings-Productions

Step One: Prepare Masonite snowflake ornament blanks for stamping by applying a layer of white spray primer. Note: I chose a spray primer to quickly color the inside of the detailed cutouts on my snowflake ornaments. Gesso, acrylic paint, or embossing powder would also work for this step.

How-to-Stamp-on-Masonite-Snowflakes-by-Dana-Tatar-for-Paper-Wings-Productions

Step Two: Use the Writing Backgrounds Cling Stamp Set with red archival ink to add a script print to the snowflake ornaments bases.

Christmas-Clip-Art-Ornament-Assembly-by-Dana-Tatar-for-Paper-Wings-Productions

Step Three: Select several images from the clip art sheet and cut them down to size. Glue the clip art into the top layer of the ornaments.

How-to-Glaze-Clip-Art-for-Christmas-Ornaments-by-Dana-Tatar-for-Paper-Wings-Productions

Step Four: Cover the clip art images with a layer of glaze. Glue the clip art rounds onto the center of the snowflake bases.

How-to-Cut-Wire-Hangers-for-Christmas-Ornaments-by-Dana-Tatar-for-Paper-Wings-Productions

Step Five: Cut several lengths of wire. Bend and twist the wire into hangers and attach to the ornaments.

Stamped-Snowflake-Clip-Art-Christmas-Ornaments-by-Dana-Tatar-for-Paper-Wings-Productions

Step Six: Embellish the ornaments.

These ornaments look great on the tree, but they would also look fantastic as gift toppers. Be sure to visit the Paper Wings Productions Store to see the wonderful range of Christmas, Holiday, and Seasonal stamp sets.

Pin It!

Stamped-Snowflake-Christmas-Ornament-Tutorial-by-Dana-Tatar-for-Paper-Wings-Productions
Thanks for stopping by today and let your creativity take flight!

Friday, November 18, 2016

Letter Journal "Art" Cover


Hi all Erin here.  Here is my complete letter journal for the swap.  Here I created the front and back covers with lots of stamps, mists, paints, and texture!!


I had fun with this cover and played with the color yellow and a splatter and paint drip technique with straws.  It is fun to get messy with paints!!  Here is my video on how I created the front cover and back covers, plus how I finished off the binding.


Here are some up close pictures of the book.  For all that background texture I used the Writing Backgrounds stamps.  Love those!!!
http://paper-wings-productions.blogspot.com/


I just love how the paints drip down from the word "ART".


Now I just need to wait for my book to make the rounds to the other 4 ladies before coming back to me!!  Stay tuned for more!!

Supplies Used for Covers
Paper - Printer Paper & Making Memories
Ink - Brutus Monroe
Mists & Paints - Tattered Angels
Background Stamps - Paper Wings Productions
Pen - Copic
Sticker - Momenta
Twine - Prima
Sealant - Mod Podge
Glue - Beacon Adhesives

Enjoy!!

Erin Reed - Designer & Artist
Blog
YouTube
ETSY
Instagram

Friday, November 11, 2016

Blue Bliss Letter Journal Page

Hi all Erin here.  This is my blue bliss page in my personal letter journal book I am doing for a letter journal swap with 5 ladies. 


Here is also a video of how I created this book and the blue pages above.


Here are some up close shot of the page.


I used the back ground stamps called Artful Textures and Writing Backgrounds to help create all the amazing depth to this page without adding in bulk so it would mail easily!

http://www.paperwingsproductions.com/cling-stamps


Supplies
Paper - Printer Paper & Making Memories
Ink - Brutus Monroe
Angel Stamp - Brutus Monroe
Mists - Tattered Angels
Background Stamps - Paper Wings Productions
Sequins
Stencils - Tim Holtz & Prima
Mediums - Prima & 13 Arts
Foil Paper - Rinea
Pens - Copic & Faber-Castell
Washi Tape - Eyelet Outlet
Dies - Heidi Swapp & MFT
Cutter - Cuttlebug
Glue & Finish - Beacon Adhesives


Erin Reed - Designer & Artist
Blog
YouTube
ETSY
Instagram

Saturday, April 12, 2014

Scrapbook Saturday - Mon Cheri with Dana

*****Join our April Challenge: GET INKY, HERE*****


Hi Paper Wings Productions fans! Dana Tatar here today sharing a layout for Scrapbook Saturday. I created this page primarily using items from the March and April Nesting Components Mixed Media Kits. I also used bits and pieces leftover from past kits. I'm thrilled to be able to incorporate both older and new kits together to create fun projects.


The cute boy from the Vintage Hodge Podge Clip Art Sheet (March Kit) was just begging to be used on a layout! I cut him out of the image for use on this page. If you're wanting to create a similar layout, you could personalize it with a photo of your own cutie!

I used a Blue Fern Studios Village Sign Post as the focal point of this layout. I finished the chipboard with embossing powder. I filled the sign post with a Prima ATC (March Kit) that I then filled in with glaze. I embellished the sign post with Prima flowers (March Kit) and a piece of Leaf Ribbon (April Kit). The Gold Foil Border and Gold Foil Wings are NEW to the Paper Wings Productions Store and are both included in the April Kit!


The Postcard Cling Stamp was the perfect was to embellish the front of this envelope that was part of a previous kit. I embellished the envelope with a gold rub-on (previous kit) and a stenciled molding paste design. (Look for this Golden Molding Paste in a future kit!)


The Single Dot Border Clear Stamp Set is included in the April Kit. I used the dot borders separately on this page. The line of Border Stamps contain both an outline stamp and a solid stamp that complement each other and are designed to be used together. Follow THIS LINK for a quick tutorial.


I created a small embellishment cluster with flowers, a mini burlap tag, and an enameled tag, all from the March Kit. The resist canvas leaf, rub-on and seam binding are from previous kits.

Thanks for stopping by today! The March and April Nesting Components Mixed Media Kits are available from the Paper Wings Productions Store while supplies last. We have a NEW Paper Wings Productions facebook Share Group. We'd love for you to come join our group and share the projects you create with Paper Wings Productions stamps and kits!


Monday, December 2, 2013

Mixed Media Monday - Reverse Canvas


Hi Paper Wings fans! Dana here today sharing a reverse canvas that I created with the November Nesting Components Mixed Media Kit and some of my favorite products available from the Paper Wings Productions Store.


I had a lot of fun putting this piece together! The small open area in the back of the canvas was the perfect resting spot for my nest full of glittery eggs.


I backed the small space with a piece of Prima patterned paper from the kit. I cut a store-bought nest in half and tucked pieces of colorful moss and the beautiful stamped ribbon from the kit around the base. I highlighted the front of the nest with white acrylic paint for a shabby feel.


I painted a fabric bird white and then added color with Faber-Castell Gelatos. I then stamped over the bird with the script stamp from the Writing Backgrounds Cling Stamp Set. I embellished the bird with a wooden feather and buttons from the kit. I also colored the fabric flower from the kit with Faber-Castell Gelatos.


I used the same script stamp randomly around the patterned paper border of the canvas. I cut a portion of the top piece of the Blue Fern Studios Shabby Layered Frame to fit around the window in the canvas. I covered the chipboard with a light coat of white acrylic paint, Lindy's Stamp Gang Madonna Blue Robe Two-Toned Embossing Powder and Faber-Castell Gelatos.


I kept the back of the canvas simple and just spread molding paste over the Prima Stencil from the kit.

Thanks so much for stopping by today! Be sure to stop back here again on Friday for our monthly Design Team Blog Hop and Giveaway! We would love to see what you make with Paper Wings Productions Stamps so add your projects to our Flickr Group, our Facebook page or leave a comment here with a link to your project. You can also find Paper Wings Productions on Pinterest, Twitter and YouTube!


Wednesday, September 11, 2013

What's Up Wednesday: Golden Leaves

Hello there peeps!  It's Shay here for my monthly post.  I am flabbergasted by how busy and wondrously creative Carrie and the design team have been!   
 
There are new releases of stamps to fawn over. Amazing Nesting Components Mixed Media kits like this month's seen HERE (don't miss how Norma used the kit to create a beautiful upcycled project or Dana's lovely banner).  Not to mention Irit's tremendous mixed media piece of art, Cathi's gorgeous layout, Dana's awesome fusible webbing tutorial, Amber's fun and fabulous card, and Erica's delightful and dazzling card. Things are heating up!  If you are new or haven't had a chance to look around for a while I recommend checking out this month's Autumn blog hop.  

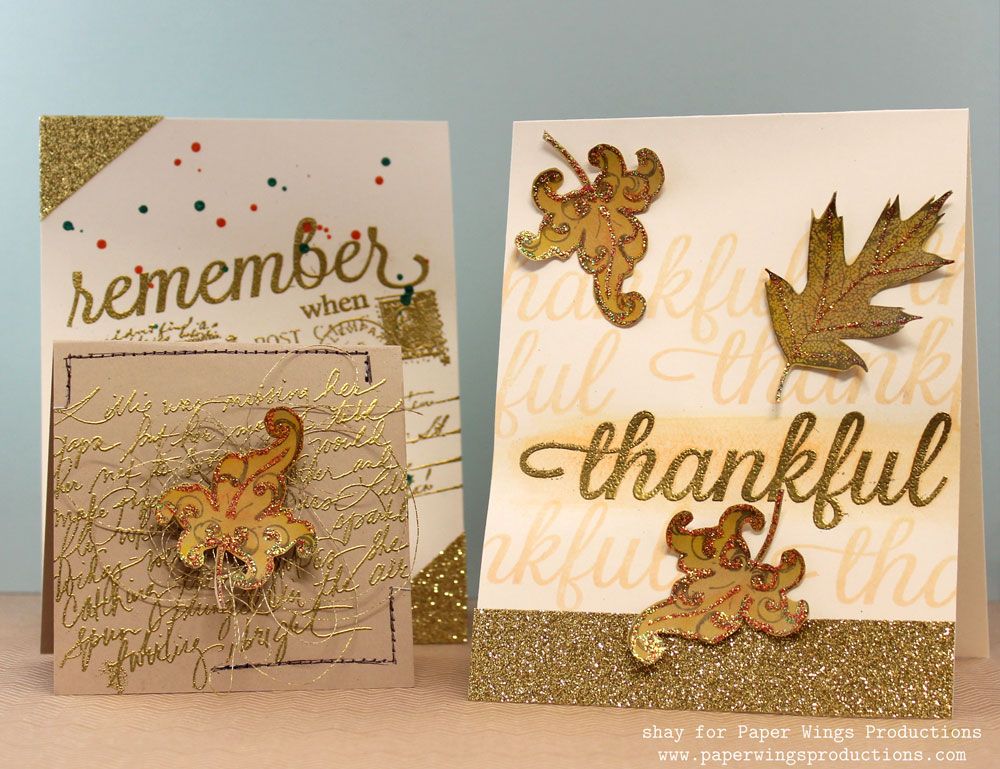
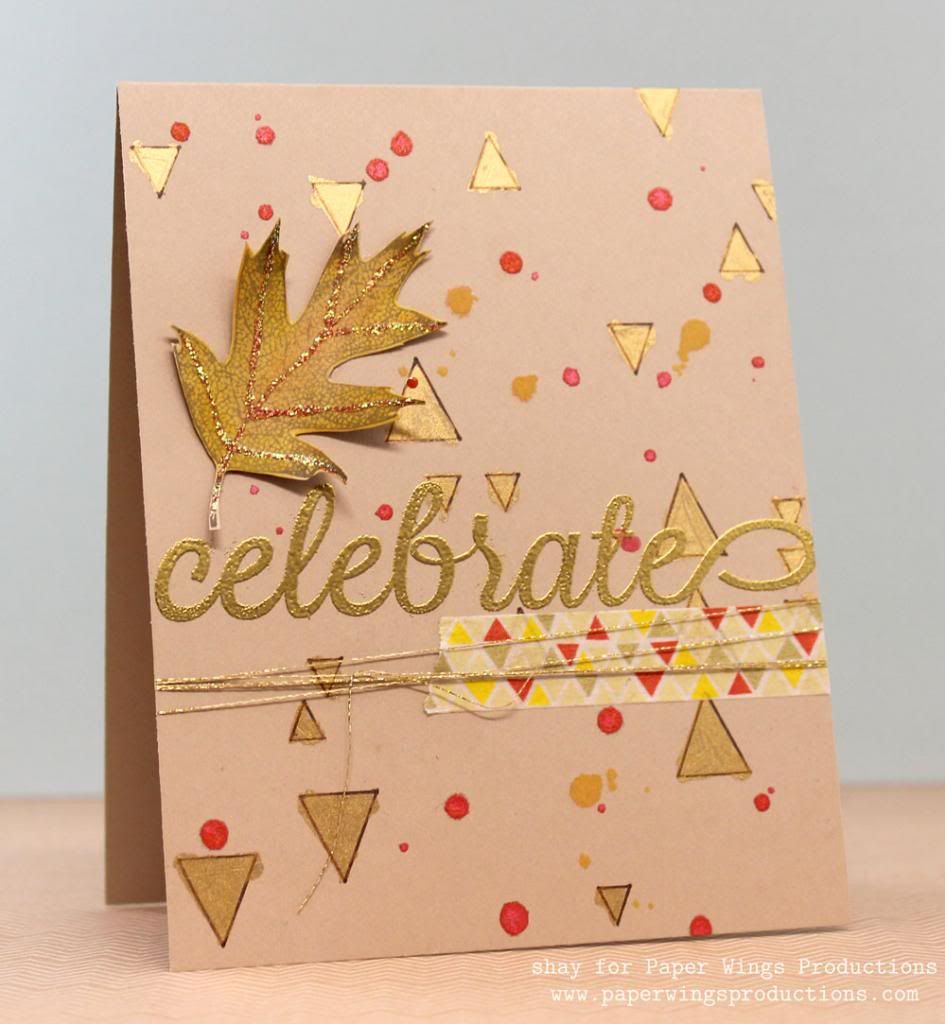
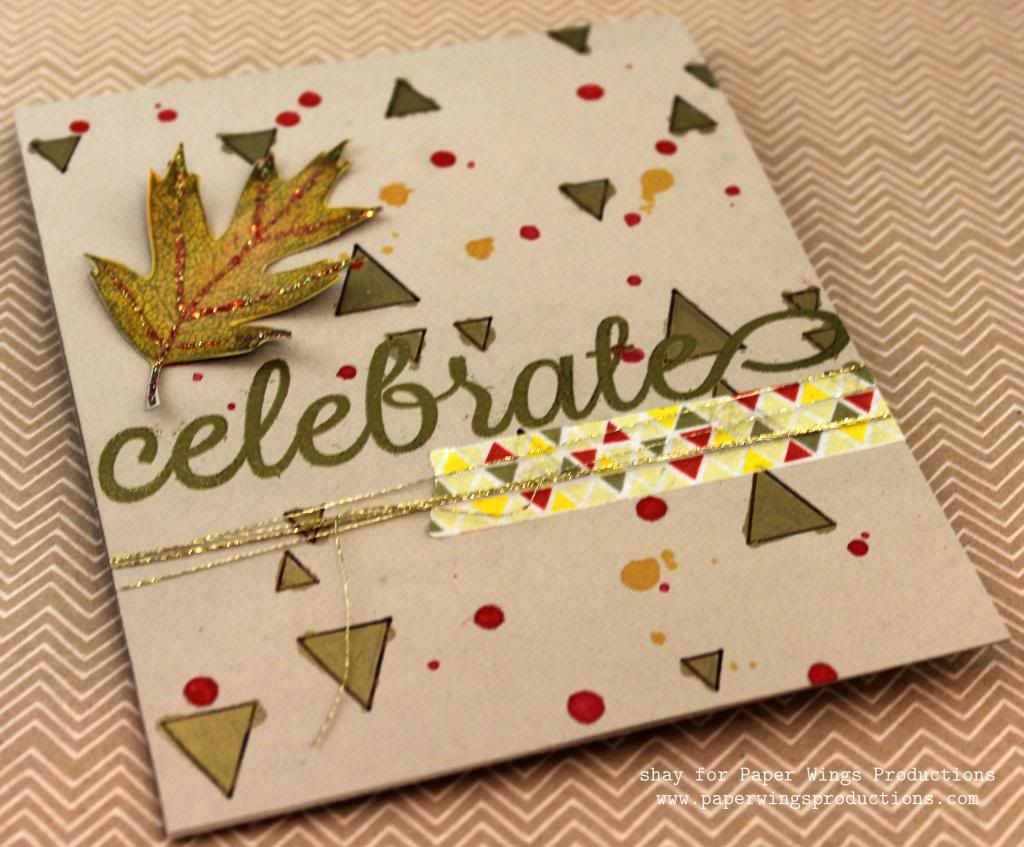
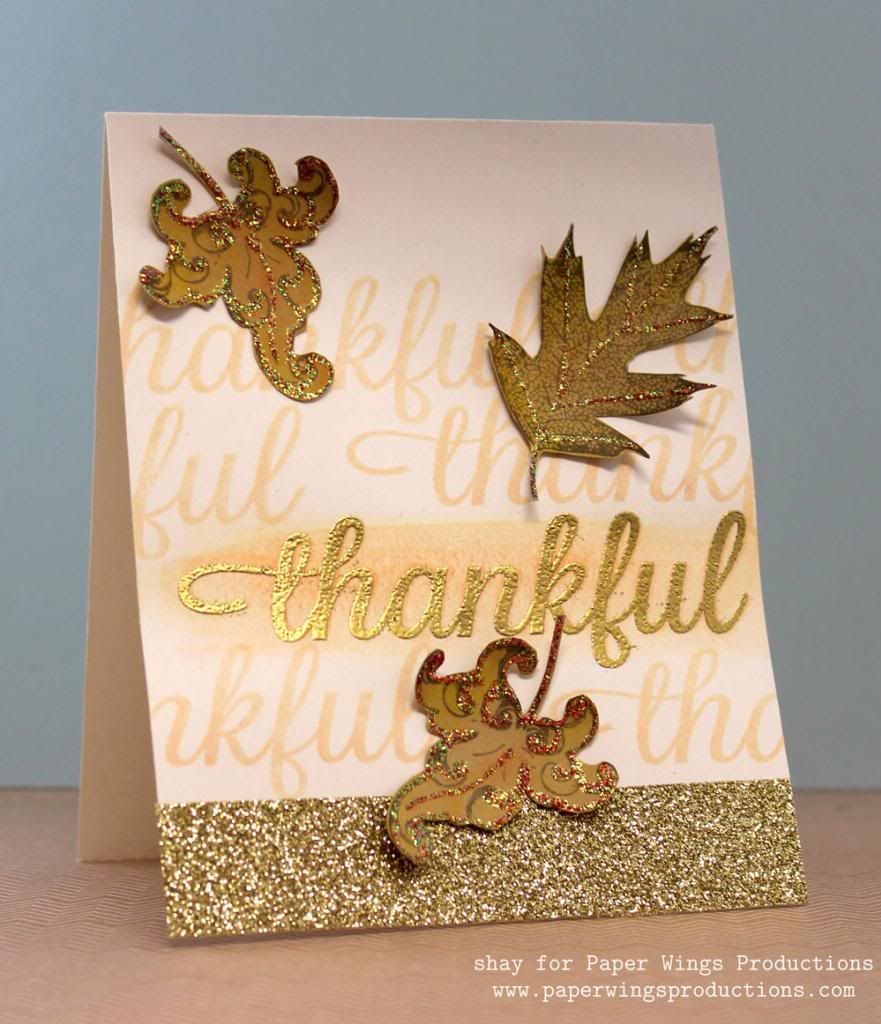
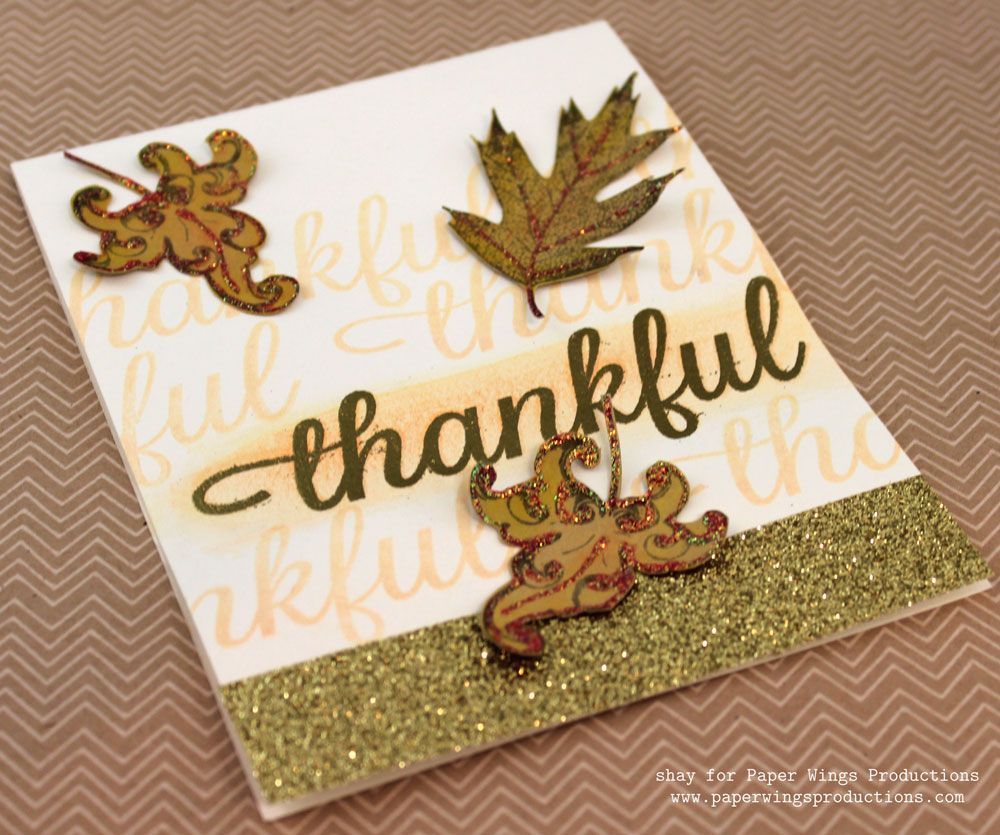
This month's blog hop prompted me to play some more with the oh so lovely leaves.  I made a few autumn themed cards and yes, maybe gold came into play a lot little.
 
 
To begin my projects I simply stamped the single leaf from Leaves or Leaf and the flourish leaf from Thanks is for Giving or Mini Thanks in brown ink 3 times on a piece of kraft cardstock.  I pulled out some yellow and orange gelatos and haphazardly colored in the leaves.  Using a slightly wet brush I blended the colors.  I added some more orange.  I set them aside to dry and then cut out each leaf.  I used Stickles and to add some veining details to the leaves.  I set aside the leaves to dry.

Card No. 1


I stamped thankful from Thankful several times in a creamy color on a off white card base.  I watercolored some gelatos over the full thankful on the card.  Over the only full thankful, I stamped thankful again in Versamark.  I heat embossed it with gold embossing powder.  I added a strip of gold glitter tape to the bottom of the card and then finished the card off by adding 3 of the leaves.
 
 
Card No. 2
 
 
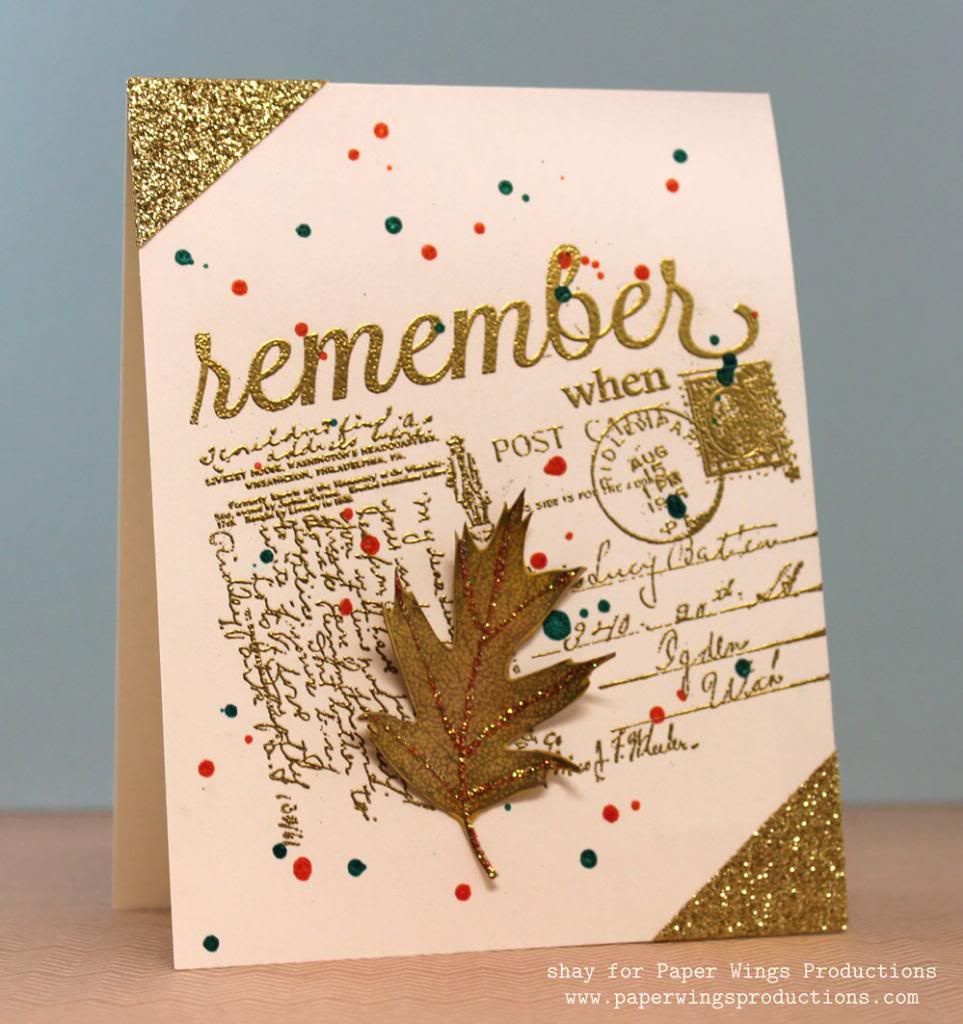
I stamped the postcard from Writing Backgrounds or Postcard with Versamark onto a card base and then stamped remember and when from Remember in Versamark.  I heat embossed them all with gold embossing powder.  I folded over some gold glitter tape over the edges pf the card for a photo corner look.  I added drops of orange and green color shine.  Last I added one of the leaves.
 
 
Card No. 3
 
 
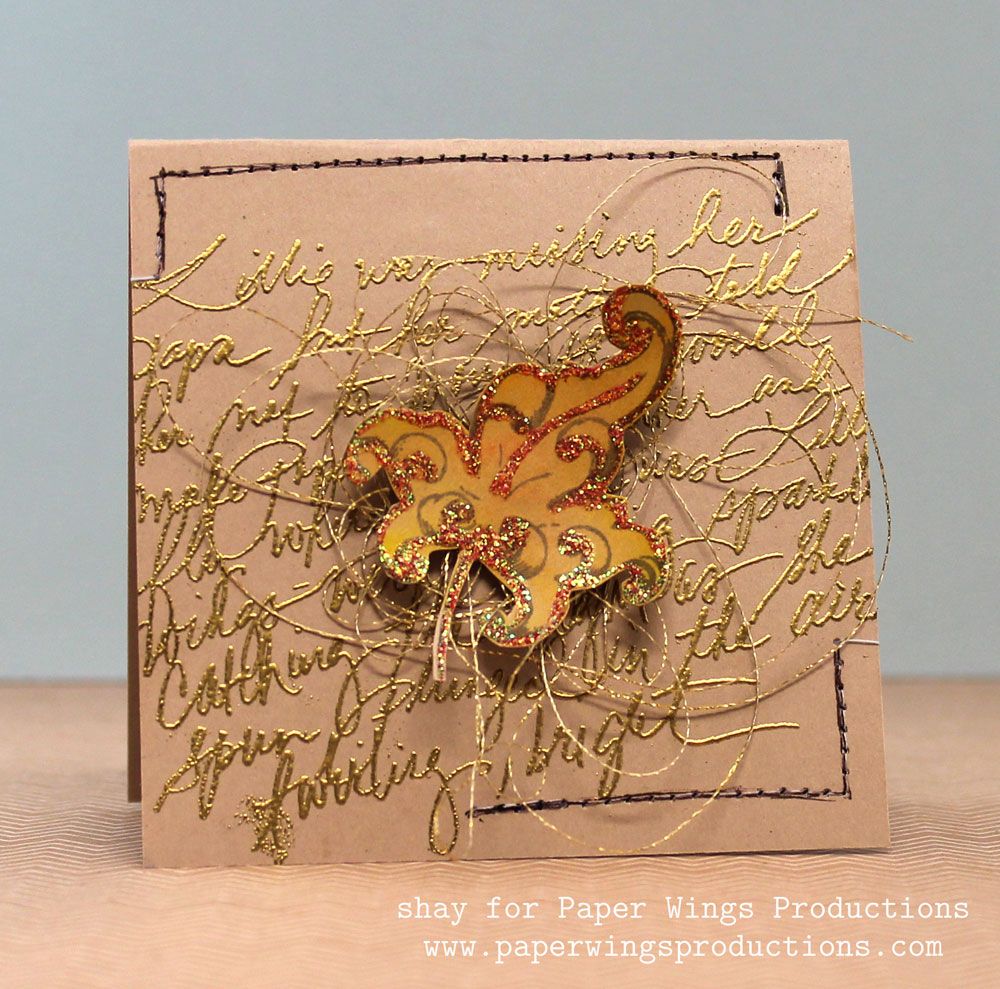
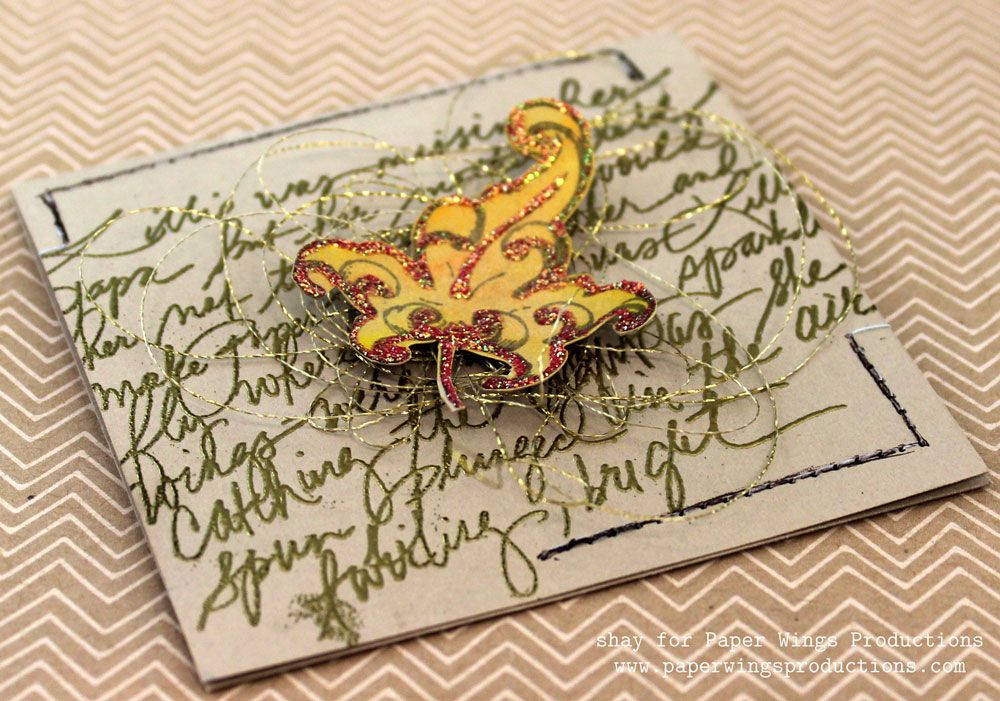
On a mini card I stamped handwriting from Writing Backgrounds or Writing with Versamark and then heat embossed it with gold embossing powder.  Next I sewed around the corners of the card.  I added a nest of gold thread and adhered one of the flourish leaves on top.  This would be a great little thank you card or card to give with a gift.
 

Card No. 4
 
 
Using a triangle stencil I colored in the stencil with a gold paint pen.  I outlined the triangles with a brown marker.  I stamped celebrate from Celebrate with Versamark and then heat embossed it with gold embossing powder.  I added a strip of washi.  I wrapped and tied some gold thread.   I added some drops of red color shine and drops of yellow mist.  Last I added one of the leaves.
 
 
I hope you feel the itch to get crafting with your Paper Wings Productions products to celebrate the coming autumn!

We would *love* to see what you make with Paper Wings Productions stamps. Add your projects to Facebook, our flickr group, to Pinterest, comment with a link on this post or even email pictures to us!

Take flight,
Shay.

Supplies:
Stamps:


Ink: Versamark, Tsukineko; malted milk, Jenni Bowlin for Ranger; cup o'joe mid-tone, Hero Arts
Cardstock: Neenah Papers
Other: fruit punch Stickles, Ranger; stencil, Prima; butter cream, lemon, mango and tangerine gelatos, Faber-Castell; gold leafing pen, Elmer's; chestnut memory marker, American Crafts; detail metallic gold embossing powder, Judi Kins; heat embossing gun; peach, mint green and sweet cherry color shine, Heidi Swapp; sunshine Mister Huey's Color Mists, Studio Calico; gold metallic thread, Coats; brown sugar glitter tape, American Crafts; washi, Freckled Fawn
Related Posts Plugin for WordPress, Blogger...