Showing posts with label writing. Show all posts

Friday, December 19, 2014

Featured Friday- Stamping in my December Album

Hey everyone, Katie here! Today is Featured Friday so I wanted to feature this spread I created in my December Album that I used multiple Paper Wings Productions stamps on!


I started the right side of my album spread spray misting over a circle stencil and then stamping over it as well with the Writing stamp and the small heart from the Holiday Tags stamp set.


After that I removed the stencil, added some doodles and more stamping, then added on my photo and embellishments.


For the left side of the page I started by scribbling some blue gelatos around just to add color. Then I did a lot of stamping using the Holiday Tags set, Vintage Technology set and the Top 10 List stamp set.


 Thanks for stopping by! Are you keeping a December Daily type album this month?

If you haven't yet, be sure to enter our December Challenge!

Tuesday, November 25, 2014

Tutorial Tuesday - Natural Components December Daily Album


Hi Paper Wings fans! Dana here today sharing a quick and easy tutorial for a December Daily album that I put together using the November Natural Nesting Components Mixed Media Kit.


The versatility of this neutral kit is fantastic! By using Gelatos and Stamper's Big Brush Pens with some of my favorite stencils and stamps, I was able to transform the kit contents into a colorful, festive December Daily album.


A 5x7-inch Canvas Corp Canvas Portfolio is included in the kit! I spritzed the outer covers of the album with water, to help the canvas absorb the color, and then applied Gelatos to the canvas. I blended the color with a paintbrush and water.


I dried the portfolio with a heat gun and then added splatters of Tattered Angels Mist. I used Stamper's Big Brush Pens and stencils to add a pattern over the colored canvas. I finished the edge of the portfolio with some script using the Writing Cling Stamp and brown Archival Ink.


I wanted to be able to tie this album shut, so I hot glued a piece of canvas ribbon from my stash across the front and back covers. I then glued the prettier lace trim from the kit over that plain ribbon to dress it up a little. I still have the majority of the Vintage Christmas Nesting Components Kit leftover from last year and I pulled the chipboard deer from that kit to add a whimsical touch to the cover of my album.


The red and green flowers are from my personal stash. The white leaves, wood veneer leaves and game pieces (numbers will vary from kit to kit) are all from the November Natural Nesting Components Mixed Media Kit. I stamped the number 25 onto the cover using the Perfect Numbers Cling Stamp Set.


The mix of yuzen, petal, printed, natural fiber, and tissue papers included in this kit are so fun to touch and make each page of the album a little more interesting! I added a couple pieces of patterned paper and cardstock from my stash to add a pop of color to the inside of the album. I gathered the papers into a stack, folded them all in half, and then stitched the pages together along the crease with a piece of twine. I then secured the bundle of paper to the portfolio binding with a piece of hand-dyed ribbon. I stamped the date onto each page using the Perfect Numbers Cling Stamp Set. I'm looking forward to documenting the last month of the year!

We'd love to have you join our Monthly Challenge! You have until the 30th to link up your project for a chance to win a $20 Gift Certificate to the Paper Wings Productions Store!

Thanks for joining me today!

Tuesday, October 21, 2014

Tutorial Tuesday- Stamped Thickers

Hey everyone, Katie here! It's Tutorial Tuesday so today I'm showing you how I stamped on the Thickers I used for the title of my camping mini album. I love camping so you'll always see a lot of camping scrapbook pages on my blog and I love finding new ways to embellish them.


I used the Writing cling stamp and Delicata gold ink by Imagine Crafts for this project. You want to use a background stamp for this technique.

1. Start by placing the thickers you want to use on a piece of plastic or something else that they will easily come back off of.
2. Ink up your stamp.
3. Place your stamp down over your thickers and just lightly press down. Be careful, you don't want to wiggle your stamp or the pattern will smear.
4. Lift your stamp straight off your thickers and let them dry.


It's a pretty easy technique, but a fun one! It adds a little extra embellishment to those fluffy letter stickers!
 

Thanks for reading! If you haven't stopped by the PWP blog lately, here are some of the amazing posts you should catch up on:
Kathleen shared some gorgeous Halloween Cards created with this month's nesting components kit.
Dana shared a spooky yet lovely Hodge Podge Mini Album.
and Agnieszka poster her beautiful mixed media layout as well as a card!

You can also join in on our October Challenge. Create a project using Orange or Black or the theme Halloween and share it with us before the end of the month for your chance to win a $20 Gift Certificate to the Paper Wings Productions Store!

Monday, March 11, 2013

Mixed Media Monday: Happy

Good Monday morning peeps!

It's Shay here, but before I share with you today you must go be amazed by the stupendous Easter project by Norma or the fantastic faux paper casting tutorial by Dana.

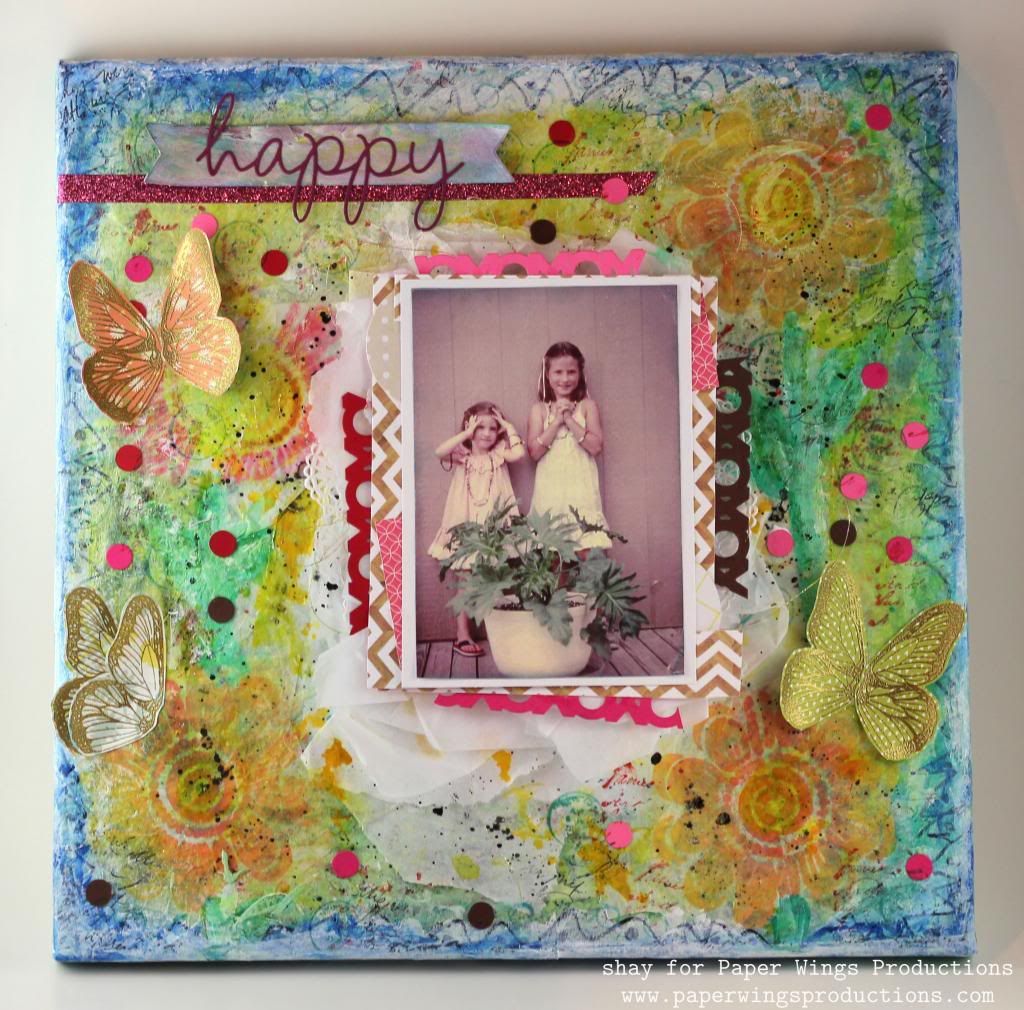
Now that you are back, I have a 12x12 canvas I made to highlight a picture of my sister and I that I am partial to and find funny...we are posing showing off jewelry we had just made with our mom.  My sister (she's the little one on the left) was so sassy and adorable and this really captures her personality from when she was young.  The colors are pretty washed out so I actually did the unexpected thing and made a very busy and bright background for it.  It pops from the background because of the muted tones, a lot of dimension and white around it.


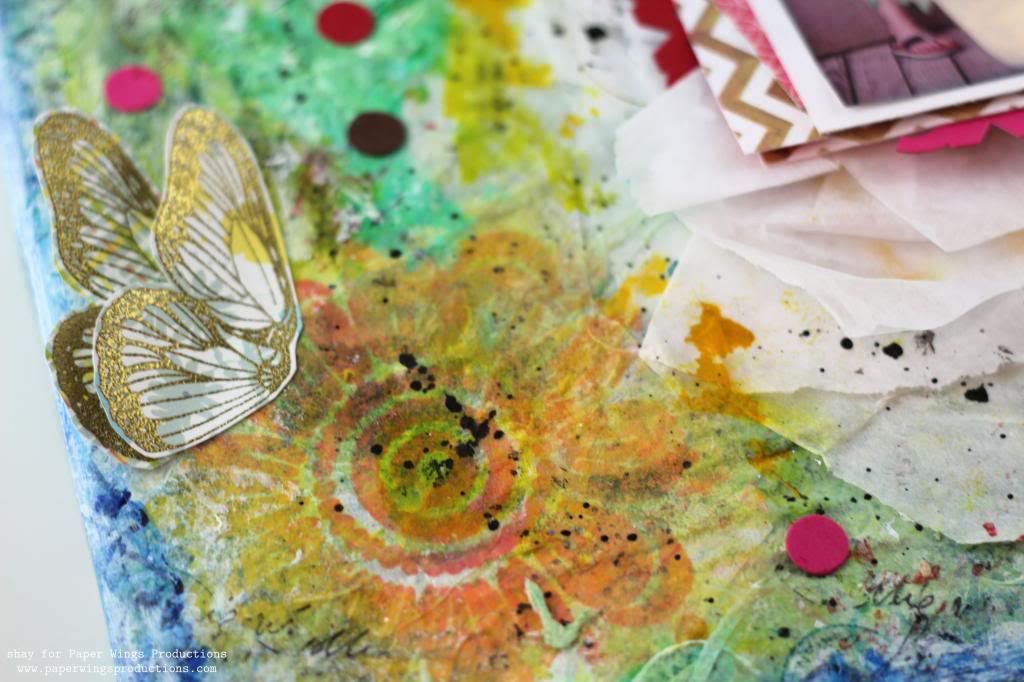
Believe it or not most of the accents on this page are actually bits and pieces sitting on my worktable left over from other projects.  Perhaps you recognize the butterflies from my March Blog Hop project?  I had 3 I didn't use and wanted to add to this piece.  They were the butterfly wings from Wings or Butterfly Wings that I gold embossed on patterned paper from the 6x6 paper pad from Daphne's Closet by Lawn Fawn.

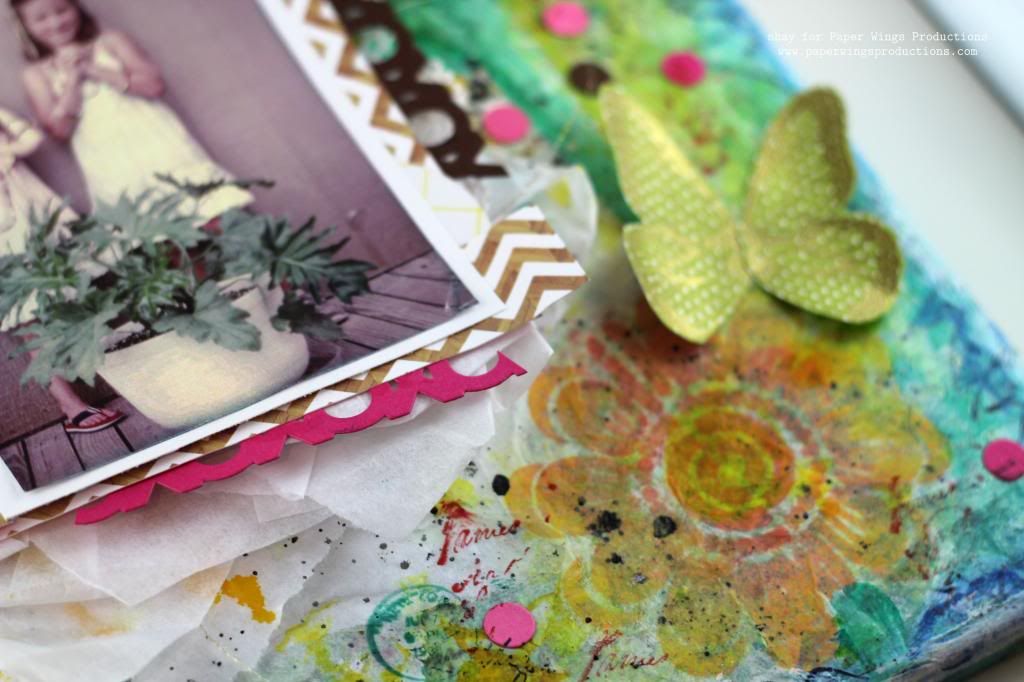
I began the canvas innocently enough with torn pieces of book paper that I adhered all over with Golden Soft Gel (Matte).  I will skip ahead about 50 steps or so because they all amount to adding and taking away paint by dabbing with a paper towel...the colors were yellow, green, blue and white.  I did add some sheets of tissue paper to the center using the Soft Gel.  I had previously stamped the large half flower from Flower Power or Half Flower onto white tissue paper in various shades of yellow, orange, pink and red.  I stamped two halves together to make an entire flower. I adhered some of the less successful ones in various places on the canvas, but added three of the best ones to three corners around where the central image would be.  Stamping on tissue paper ensures a good stamped impression and also for the image to become part of the piece it is adhered to unlike if you stamped on paper or cardstock.   I colored and painted in stems and leaves for the flowers.


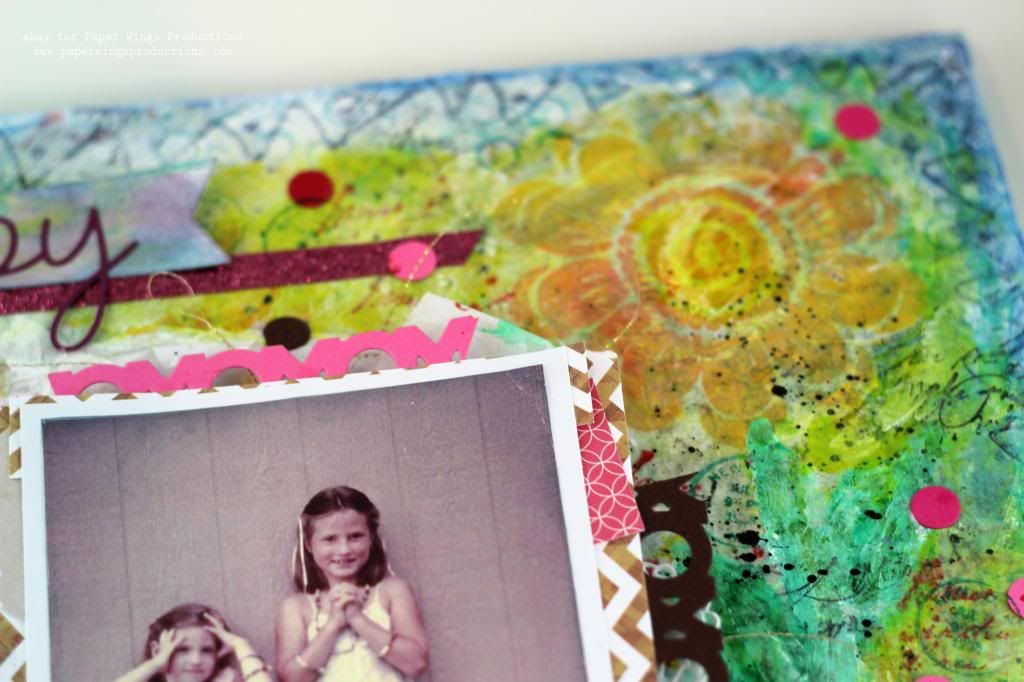
I flicked mist in white and orange and pale green and black paint.    I drew in a border with a black Sharpie.  I felt the border was too harsh so I painted over it with gesso and paints.  I added some little leftover cardstock circles all about the canvas and adhered the wings.  I added a strip of pink fabric glitter tape from the leftovers and over that I added a banner painted with gesso and paint and ink and added the happy die over it (also from my leftovers).


For added interest I stamped all over the canvas using Writing Backgrounds or Writing with black ink, some of the writing from Text Melange in red and the cancellation seal in green also from Text Melange.  Around the edges I stamped the open circles from Art Textures in blue.


The photo is layered on a piece of white cardstock then pieces of patterned paper, leftover XOXO die cuts, a doily, metallic gold thread and many layers of ripped and/or folded white tissue paper.


I got very messy, but had a whole lot of fun creating this canvas.  So the happy sentiment is true about the picture and the making of this mixed media piece.  I hope you will get out your Paper Wings Productions stamps and happily experiment too!

We would *love* to see what you make with Paper Wings Productions stamps. Add your projects to Facebook, our flickr group, to Pinterest, comment with a link on this post or even email pictures to us!

Take flight,
Shay.

Supplies:


Inks: Hero Arts Shadow Ink in butter bar, soft cantaloupe, bubble gum and pale tomato; Memento by Tsukineko in tuxedo black; Tim Holtz Distress Ink in fired brick, evergreen bough and broken china
Paints: Golden Gel Mediums Soft Gel (Matte); Claudine Hellmuth Studio by Ranger gesso; Golden Fluid Acrylics in hansa yellow medium, phthalo green (blue shade) and phthalo blue (red shade); Folk Art in metallic sequin black
Mists/sprays: Mister Huey's Color Mists by Studio Calico in sherbert and calico white
Patterned Paper: Lawn Fawn Daphne's Closet 6x6 paper pad; Allison Kreft/Echo Park Paper Co. Everyday Eclectic 6x6 paper pad; Dear Lizzy/American Crafts Neopolitan Collection sea breeze
Other: 12x12 canvas; book paper; paper towels, water, doily; copic markers; Coats gold metallic thread; white tissue paper; Papertrey Ink XOXO and happy dies cut from Papertrey Ink and Stampin' Up! cardstock (leftovers); banner cut with Lifestyle Crafts Tape It Kit using Stampin' Up! cardstock (leftover); pink glitter fabric tape; black Sharpie; Scotch Quick-Dry Adhesive (works so well!)
 
Related Posts Plugin for WordPress, Blogger...