Showing posts with label leaves. Show all posts

Thursday, October 8, 2015

Fall is in the Air

Happy October! Pam here today with a card project celebrating fall in New England.  The air is crisp and the leaves are changing colors. Such a fantastic time to get outdoors and hike.  Our hike this weekend and all the beautiful colors inspired this card.


My card  features the Leaves Cling Stamp Set -a collection of 6 stamps, including the perfect sentiment to go along with the fall theme.


The leaves were stamped as a background in alternating fall colors using Simon Says Stamp inks onto Neenah Desert Storm card stock and then the acorn was added as an overlay.
The sentiment was stamped onto vellum in Archival black. 
The entire card and the sentiment was matted with embossed gold card stock to match.

Thanks for joining me this week to celebrate Fall! Be sure to check back often for more great inspiration using the Paper Wings Productions stamps!
Embrace Imperfection!


Wednesday, September 11, 2013

What's Up Wednesday: Golden Leaves

Hello there peeps!  It's Shay here for my monthly post.  I am flabbergasted by how busy and wondrously creative Carrie and the design team have been!   
 
There are new releases of stamps to fawn over. Amazing Nesting Components Mixed Media kits like this month's seen HERE (don't miss how Norma used the kit to create a beautiful upcycled project or Dana's lovely banner).  Not to mention Irit's tremendous mixed media piece of art, Cathi's gorgeous layout, Dana's awesome fusible webbing tutorial, Amber's fun and fabulous card, and Erica's delightful and dazzling card. Things are heating up!  If you are new or haven't had a chance to look around for a while I recommend checking out this month's Autumn blog hop.  

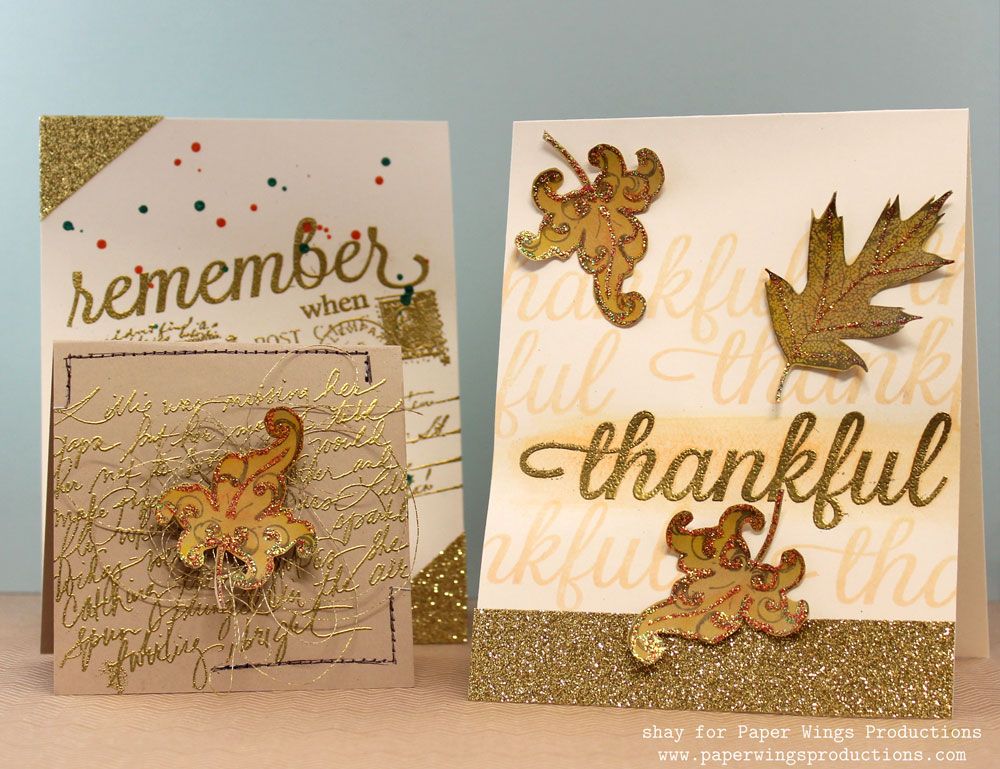
This month's blog hop prompted me to play some more with the oh so lovely leaves.  I made a few autumn themed cards and yes, maybe gold came into play a lot little.
 
 
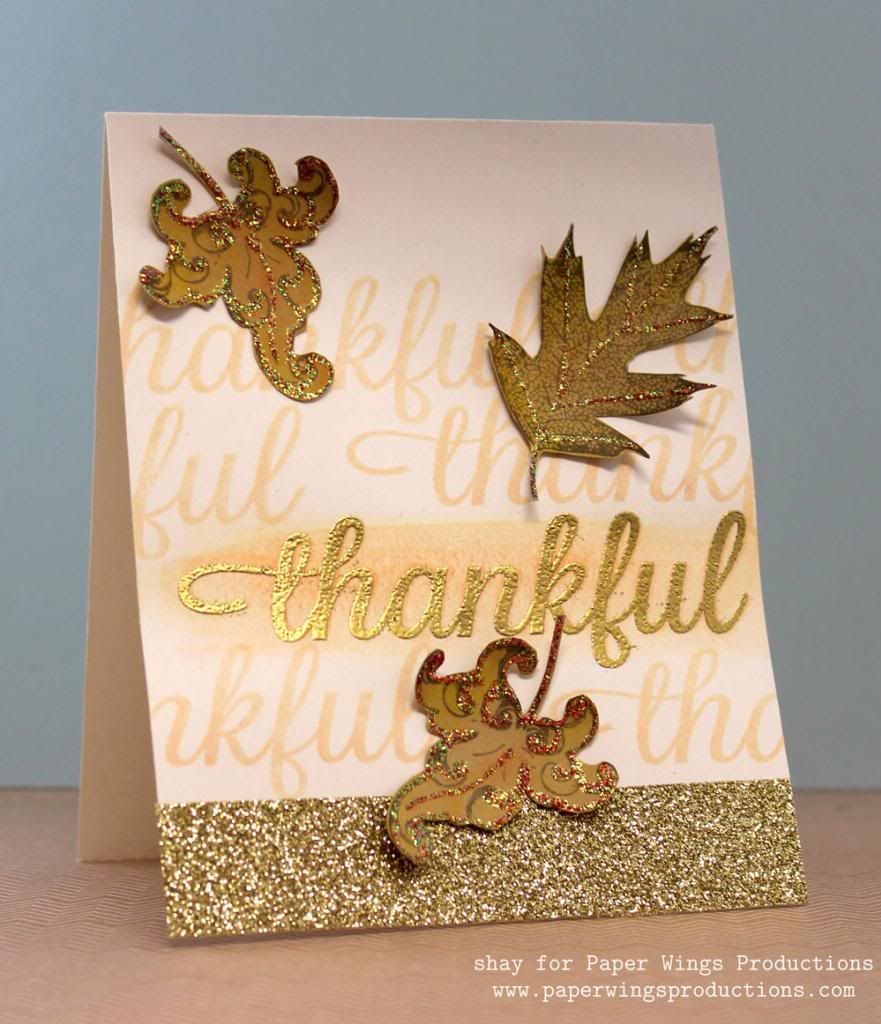
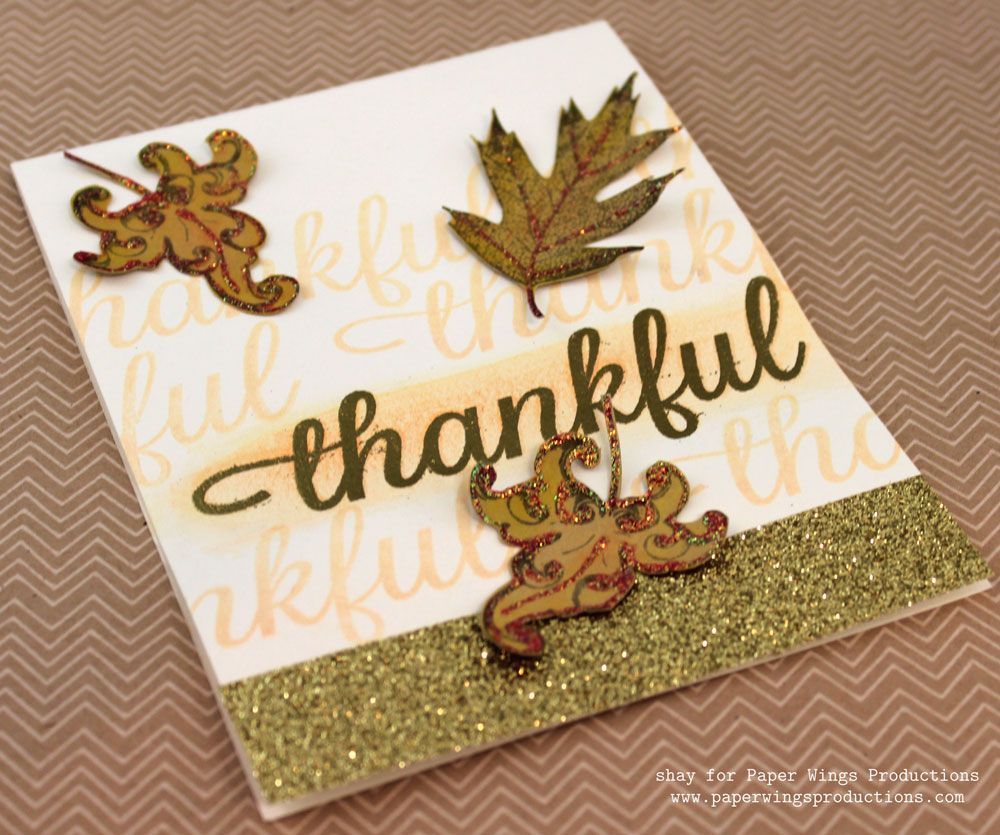
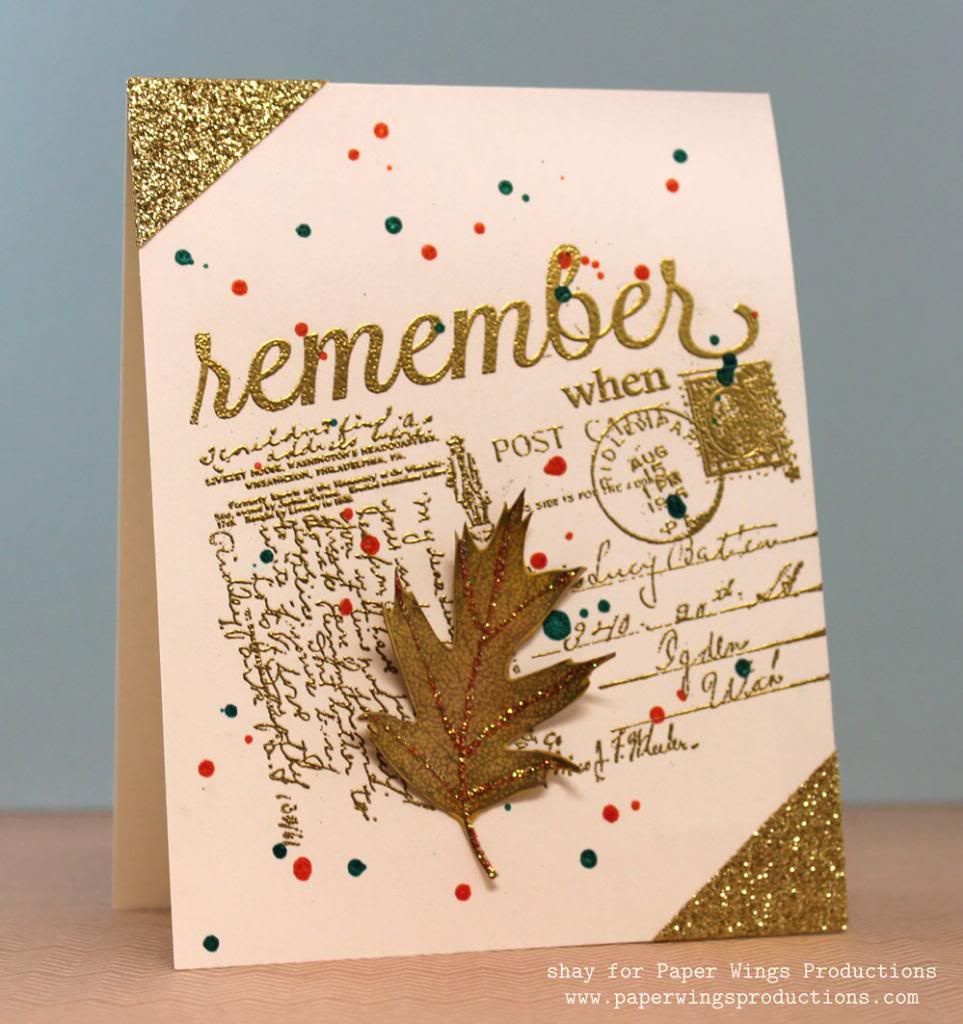
To begin my projects I simply stamped the single leaf from Leaves or Leaf and the flourish leaf from Thanks is for Giving or Mini Thanks in brown ink 3 times on a piece of kraft cardstock.  I pulled out some yellow and orange gelatos and haphazardly colored in the leaves.  Using a slightly wet brush I blended the colors.  I added some more orange.  I set them aside to dry and then cut out each leaf.  I used Stickles and to add some veining details to the leaves.  I set aside the leaves to dry.

Card No. 1


I stamped thankful from Thankful several times in a creamy color on a off white card base.  I watercolored some gelatos over the full thankful on the card.  Over the only full thankful, I stamped thankful again in Versamark.  I heat embossed it with gold embossing powder.  I added a strip of gold glitter tape to the bottom of the card and then finished the card off by adding 3 of the leaves.
 
 
Card No. 2
 
 
I stamped the postcard from Writing Backgrounds or Postcard with Versamark onto a card base and then stamped remember and when from Remember in Versamark.  I heat embossed them all with gold embossing powder.  I folded over some gold glitter tape over the edges pf the card for a photo corner look.  I added drops of orange and green color shine.  Last I added one of the leaves.
 
 
Card No. 3
 
 
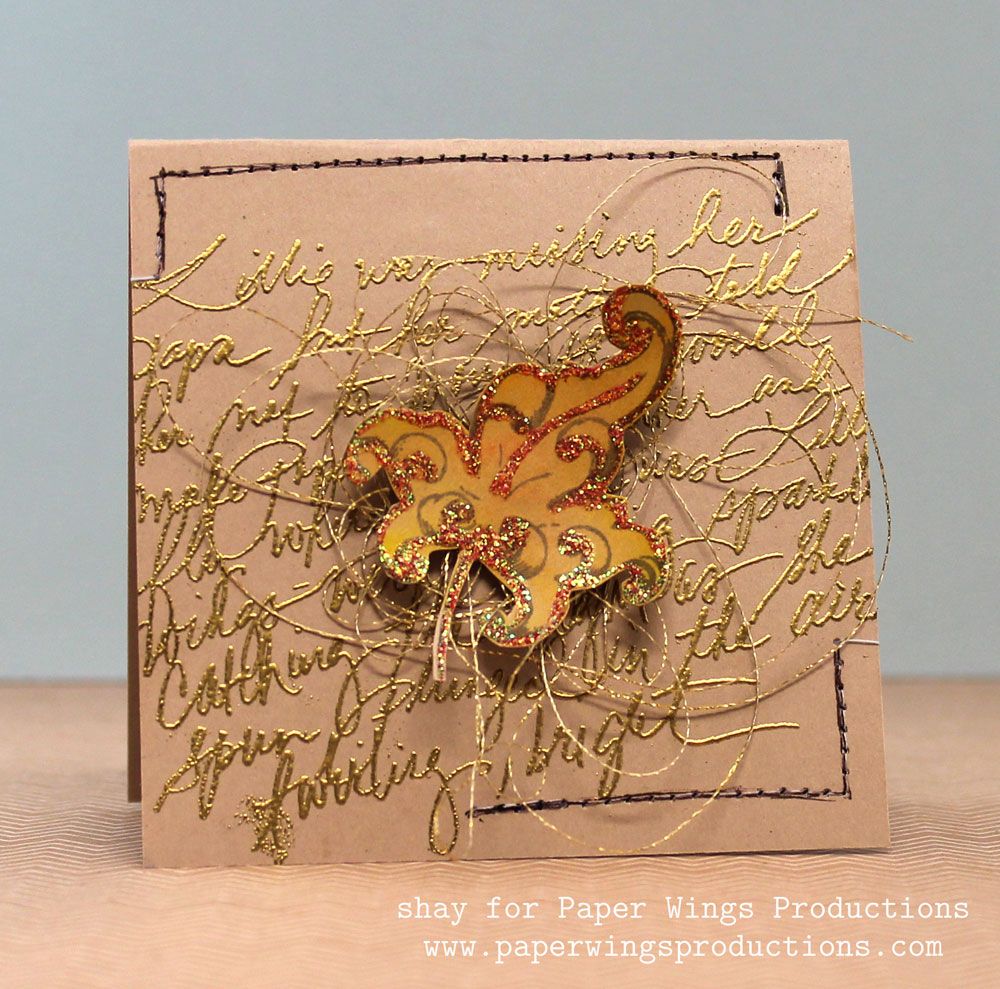
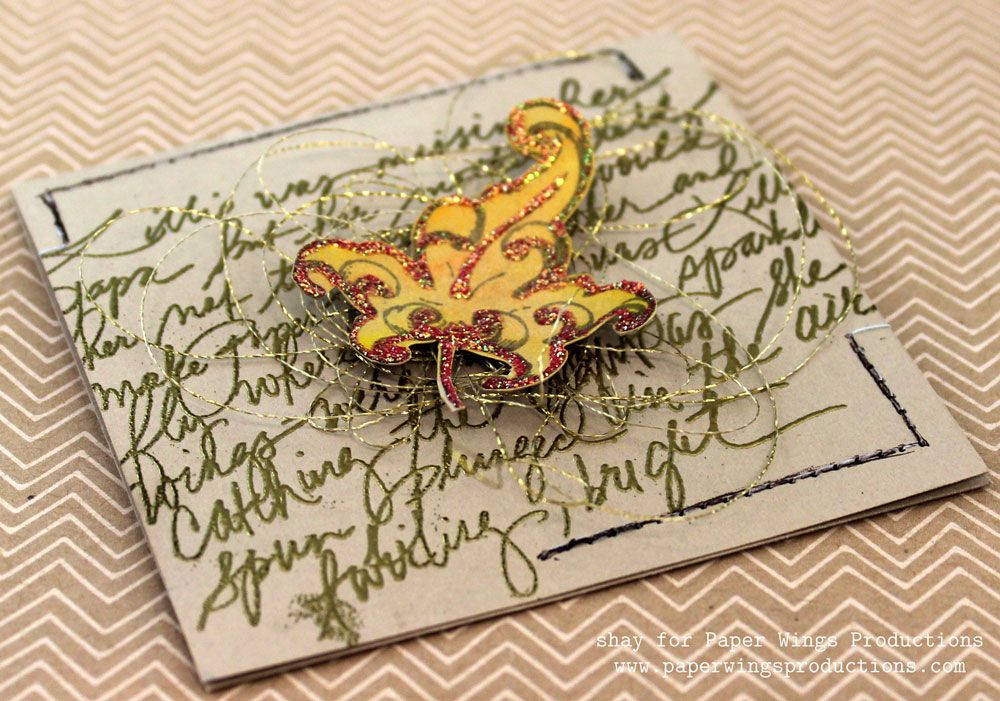
On a mini card I stamped handwriting from Writing Backgrounds or Writing with Versamark and then heat embossed it with gold embossing powder.  Next I sewed around the corners of the card.  I added a nest of gold thread and adhered one of the flourish leaves on top.  This would be a great little thank you card or card to give with a gift.
 

Card No. 4
 
 
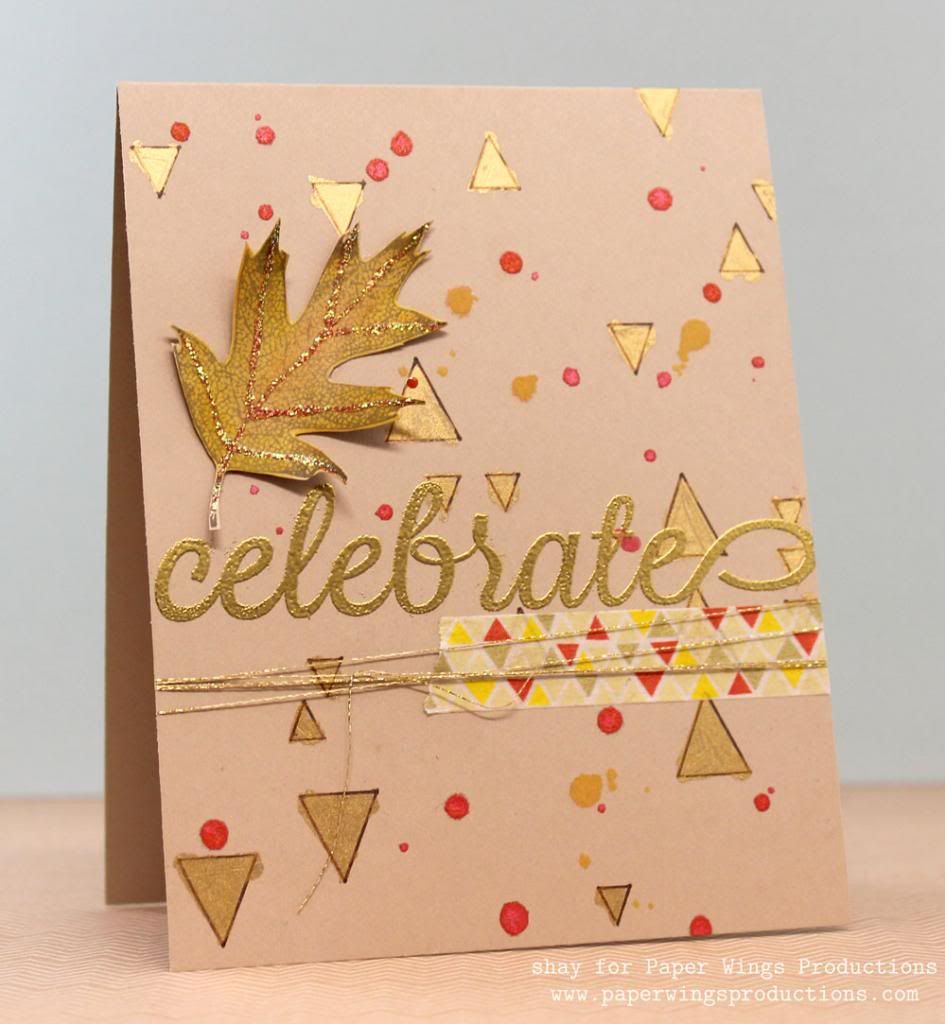
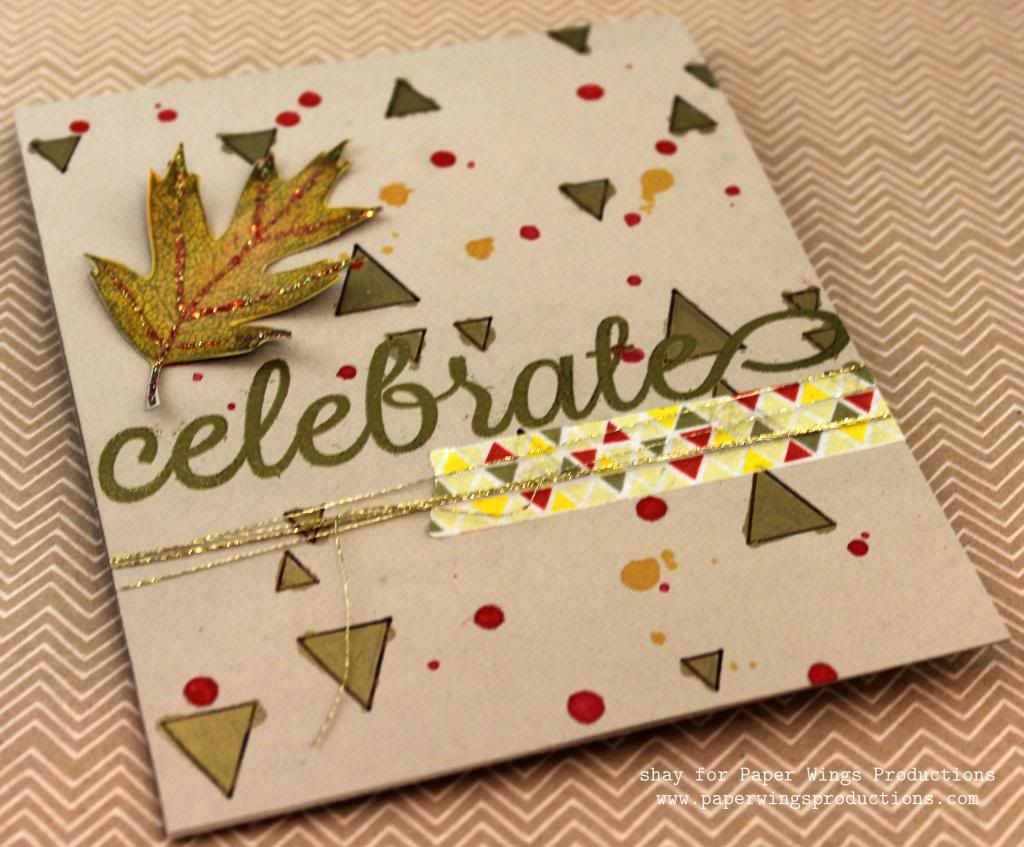
Using a triangle stencil I colored in the stencil with a gold paint pen.  I outlined the triangles with a brown marker.  I stamped celebrate from Celebrate with Versamark and then heat embossed it with gold embossing powder.  I added a strip of washi.  I wrapped and tied some gold thread.   I added some drops of red color shine and drops of yellow mist.  Last I added one of the leaves.
 
 
I hope you feel the itch to get crafting with your Paper Wings Productions products to celebrate the coming autumn!

We would *love* to see what you make with Paper Wings Productions stamps. Add your projects to Facebook, our flickr group, to Pinterest, comment with a link on this post or even email pictures to us!

Take flight,
Shay.

Supplies:
Stamps:


Ink: Versamark, Tsukineko; malted milk, Jenni Bowlin for Ranger; cup o'joe mid-tone, Hero Arts
Cardstock: Neenah Papers
Other: fruit punch Stickles, Ranger; stencil, Prima; butter cream, lemon, mango and tangerine gelatos, Faber-Castell; gold leafing pen, Elmer's; chestnut memory marker, American Crafts; detail metallic gold embossing powder, Judi Kins; heat embossing gun; peach, mint green and sweet cherry color shine, Heidi Swapp; sunshine Mister Huey's Color Mists, Studio Calico; gold metallic thread, Coats; brown sugar glitter tape, American Crafts; washi, Freckled Fawn

Wednesday, November 14, 2012

What's Up Wednesday: Thanks is for Giving

Hello there peeps,

It's Shay here to bring you some more autumn inspiration which is a pleasure with all the new autumn stamps.

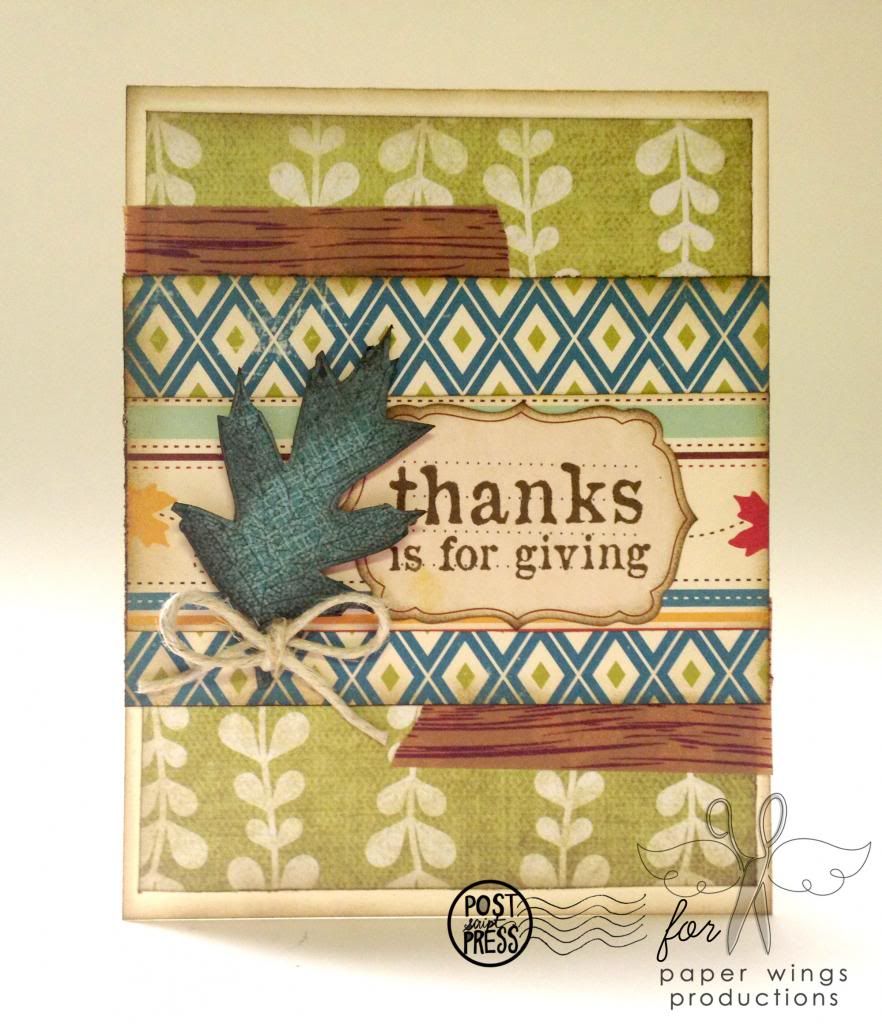
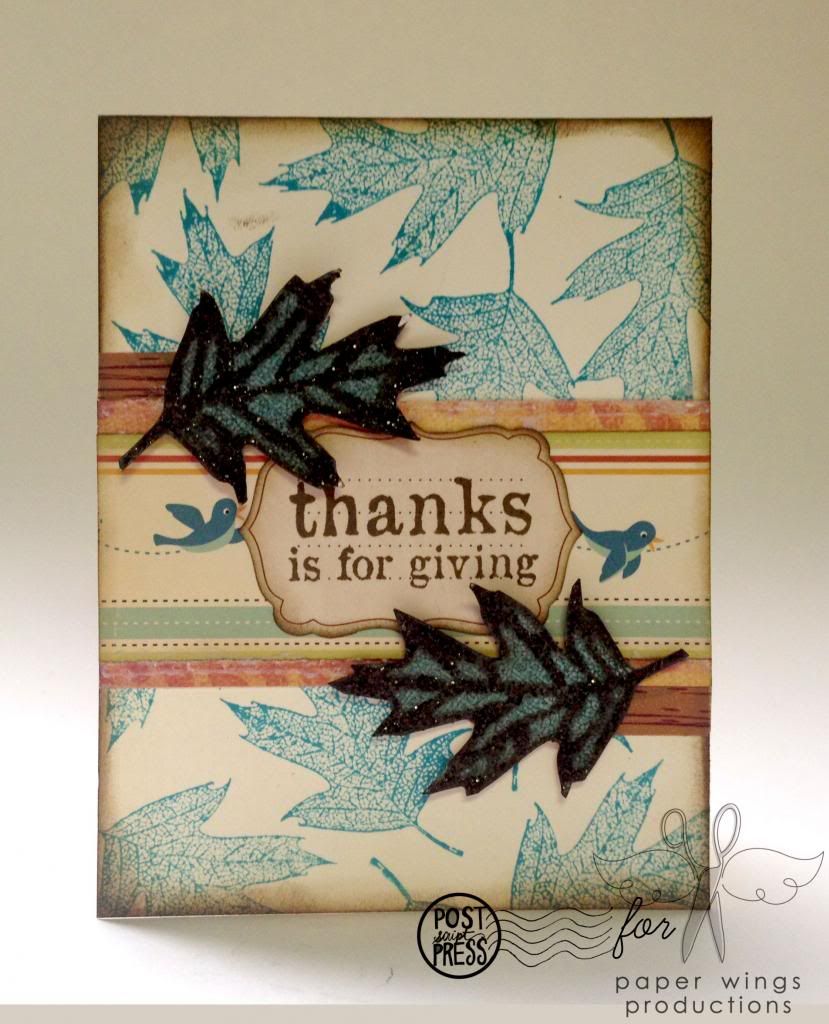
This season is a great time to thank all those wonderful people in our lives.  For the busy crafter who wants to make simple handmade cards I have some examples.  Using mostly the same products, colors and just two stamps: the single leaf from the Leaf cling stamp set or Leaves cling stamp set and the thanks is for giving sentiment from the Thanks is for Giving cling set you can make cards easily and still alter them to make them each unique.

My cards all began with the single leaf from the Leaf set or Leaves set.  I really love how elegant it is and perfect for any autumn project.  I stamped the leaf three times on a piece of teal patterned paper, cut them out and them edged them with Distress Ink in walnut stain.  I then started shaping the leaf to give them more dimension.

I decided to split the leaves to make two cards.  The first card with a single teal leaf and the second card with two leaves.  The first card has less stamping with only one ink color and is even faster to make, while the second has more stamping (in two ink colors) if you feel like inking up your stamps a bit more.  The first card also has very little embellishment on the leaf other than a little twine bow while on the second card, the leaves are given a much bolder look using Stickles.

Card No. 1 (less stamping)


This particular card relies more on bold patterns from paper and washi tape.  I love these bright, but fall friendly colors.  Nearly everything is edged with Distress Ink in walnut stain as I believe brown is a very welcome neutral during this season.

Card No. 2 (more stamping)


This card relies mostly on a leaf stamped card base with some accents of patterned paper and washi tape.  Again nearly everything is edged with Distress Ink in walnut stain.  For the cut out leaves I outlined them with Distress Stickles in walnut stain.

I hope this inspires you to pull out your Paper Wings Productions stamps and make something to celebrate autumn by giving thanks.  We would love to see what you make with Paper Wings Productions stamps.  Add your projects to our flickr group, to Pinterest, comment with a link on this post or even email pictures to us!


Take flight,
Shay.


Supplies:

Stamps: Leaf or Leaves and Thanks is for Giving
Ink: Tim Holtz Distress Ink by Ranger in walnut stain and peacock feather
Cardstock: Neenah Paper in recycled 100 natural white
Patterned Paper: My Mind's Eye and October Afternoon
Other: Inksentials ink blending tool by Ranger; K & Company die cuts; Distress Stickles by Ranger in walnut stain; Freckled Fawn woodgrain washi tape; hemp twine; dimensional adhesive

Friday, November 9, 2012

Feature Friday: Season of Thanks

Happy Friday peeps!

It's Shay here.  Have you seen all the recent cool projects by Carrie, Norma and Julie?  You really need to check out past posts.

I have a really easy project for you today.  I was inspired by the beautiful autumn cling stamp sets Carrie designed this release.  You can find the stamps I used in the Acorn Elements and Leaf cling stamp sets.  If you want some additional lovely stamps too you can go with the bigger stamp sets: Leaves and Thanks is for Giving.  


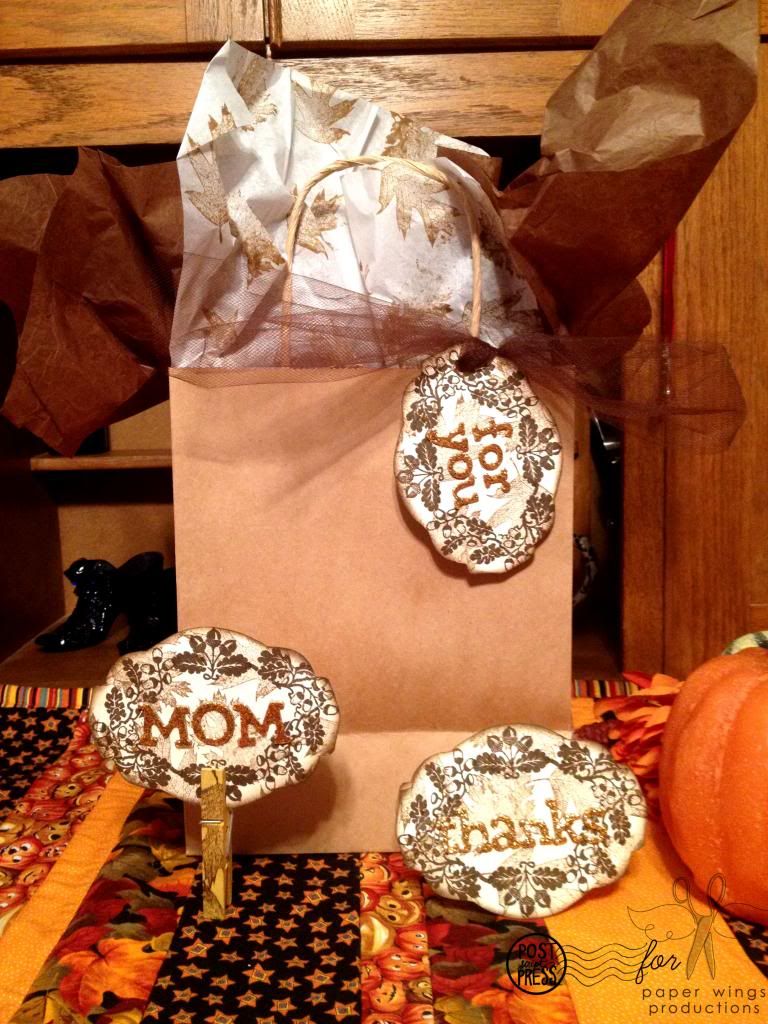
I found a Maya Road mini chipboard album I had for a while now that I loved the shape of and thought I could make a myriad of things from if I traced the shape.  You could also use a punch, die or an electronic die cutting machine to cut out a shape you like.

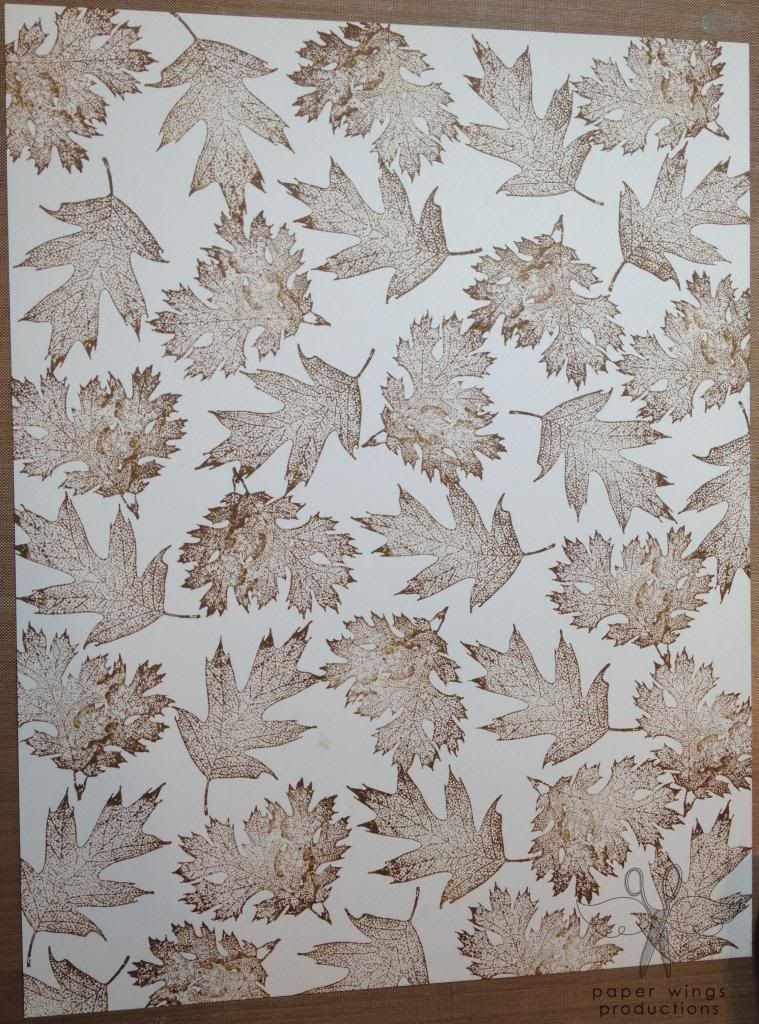
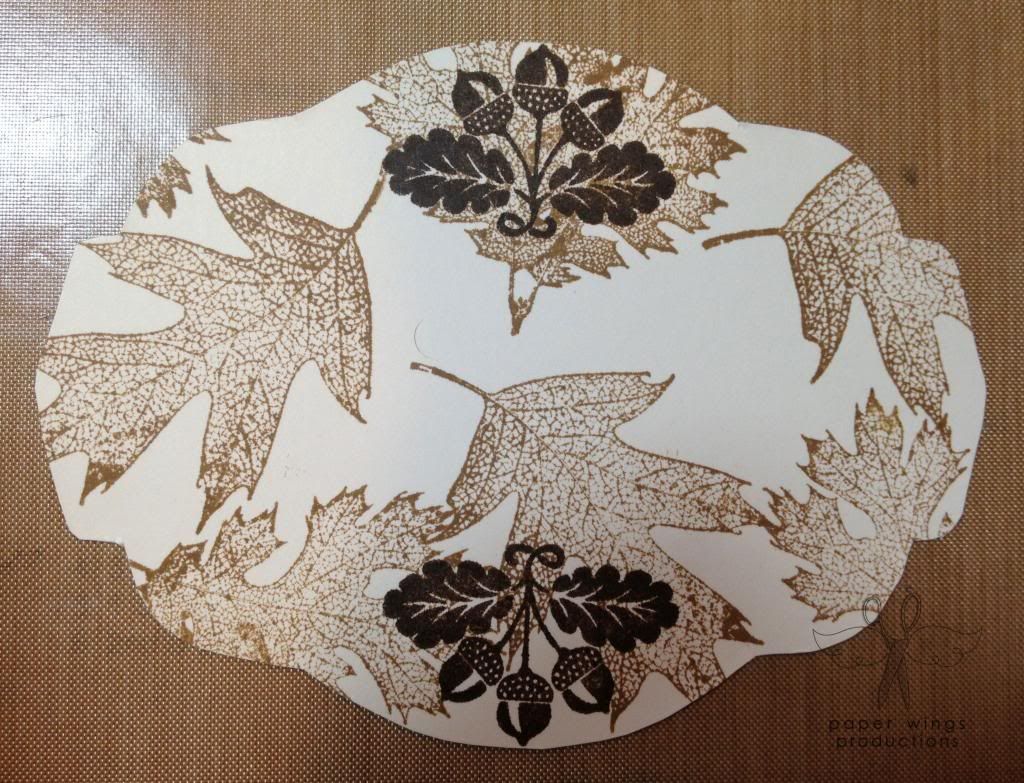
1. With the leaves from Leaf or Leaves stamp sets I stamped them sporadically with Distress Ink in brushed corduroy on a cream piece of cardstock.  


2. I traced the shape on the back side of the stamped piece of cardstock.  I cut out the shapes.  


3. I stamped the pretty acorns with its leaves on the top and bottom of the label with Distress Ink in walnut stain.


4. I stamped the acorn spray on each side with Distress Ink in walnut stain.  This happened to fit just right!


5. I inked all the edges with my ink blending tool and Distress Ink in walnut stain. 

This is where my mind got thinking about what I could do with all these labels.  

Here is what I came up for you today:

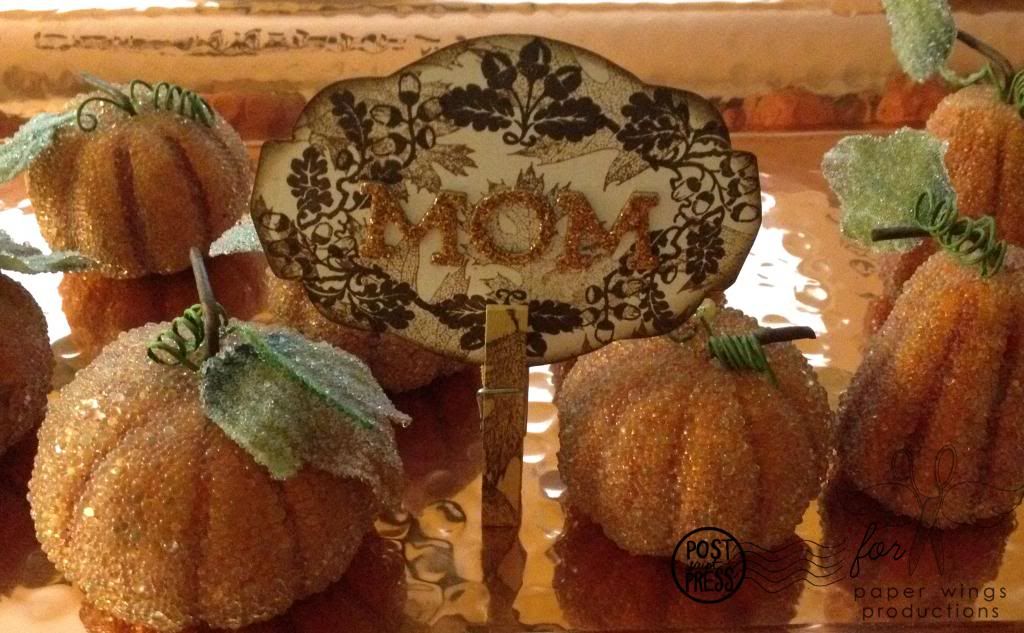
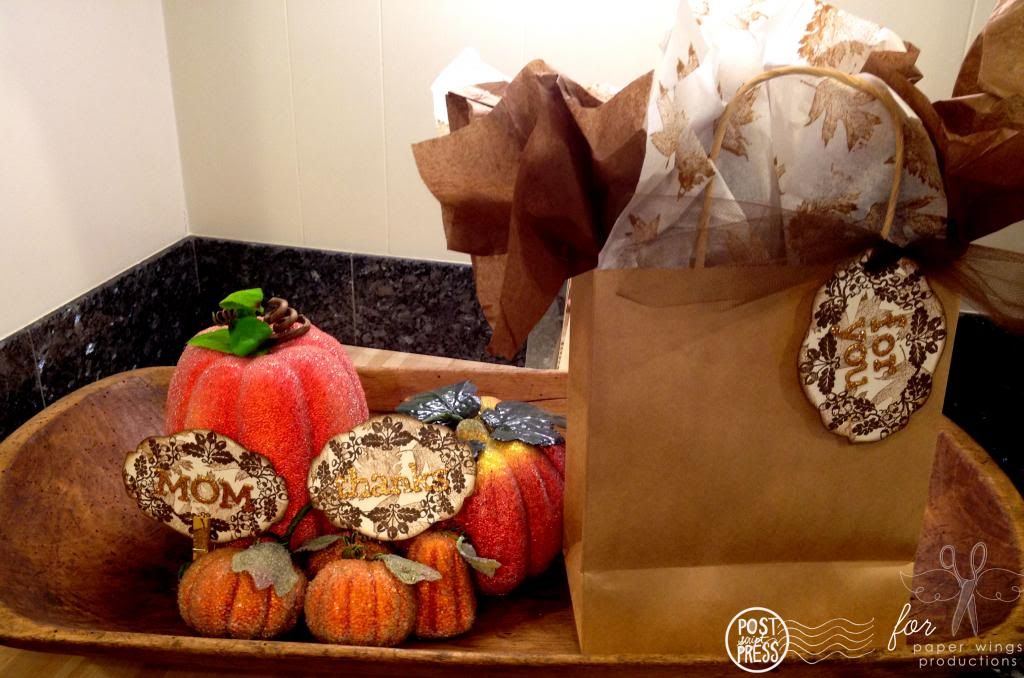
1. Make a place card by adding a person's name in gold Thickers.  You could also stamp the name using some of our alphabets like: Funky Lower Case,  Perfect Alphabet or Whimsical Pattern Alphabet.  You could also type it or handwrite the names as well.  I also used a very inexpensive wood clothespin from the dollar store to make a matching place card holder.  I simply sprayed it with gold mists/sprays and stamped it with the leaves with Distress Ink in brushed corduroy after it was dry.


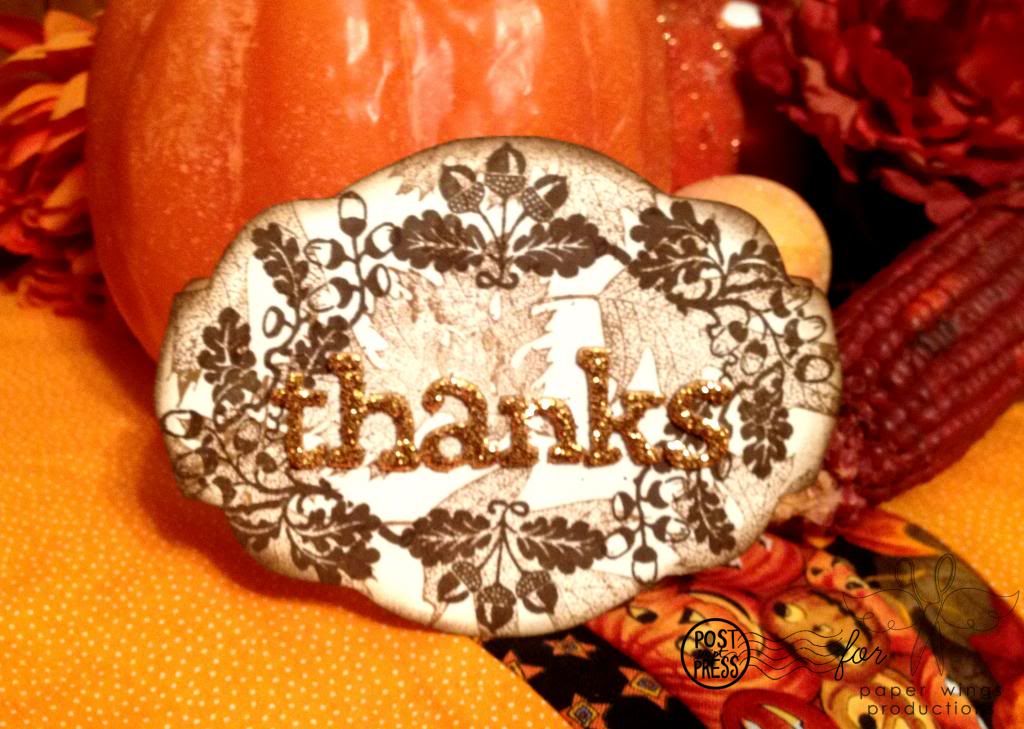
2. Make a little thank you card that is very appropriate for the season. 


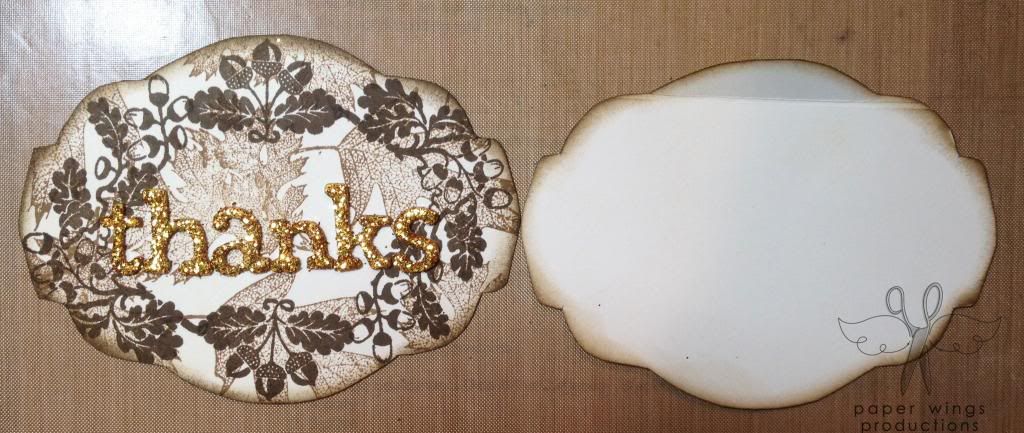
I cut another label from plain cream cardstock and scored a line on the top of it to create a hinge.  I inked the edges with Distress Ink in walnut stain.  I then attached the decorated label to the scored label to make a card.  For a uniform look I again used the gold Thickers to spelled out "thanks".  You could also use the Thankful stamp set and it would be beautiful embossed in gold.


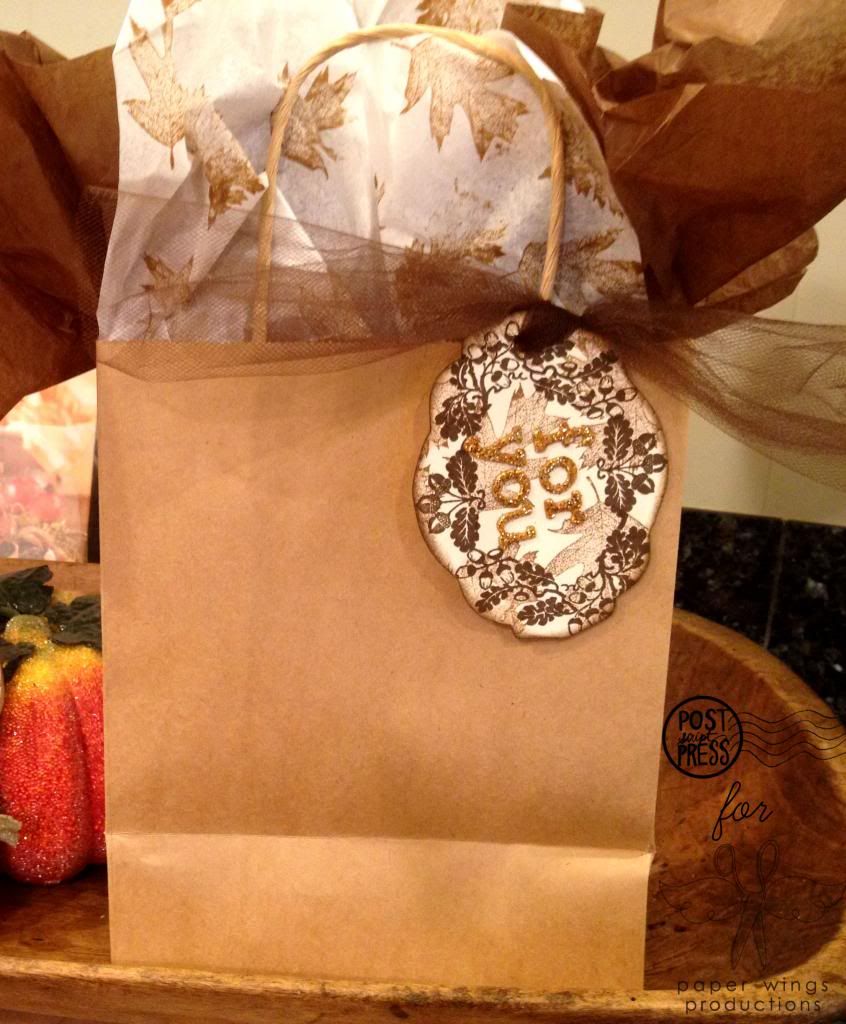
3. A tag for a gift bag that could hold a hostess gift.  I simply added "for you" in gold Thickers.  I also punched a hole and attached it to a kraft bag using some brown tulle (thanks Liz!).  I also stamped some really inexpensive white tissue paper with Distress Ink in brushed corduroy with the leaves from the Leaf or Leaves stamp sets.  It just adds that perfect touch.


Just imagine changing up the colors and images to make these items perfect for winter and/or Christmas!

And another look at all those labels put to use:


I hope this inspires you to pull out your Paper Wings Productions stamps and make something to celebrate autumn and the season of thanks.  We would love to see what you make with Paper Wings Productions stamps.  Add your projects to our flickr group, to Pinterest, comment with a link on this post or even email pictures to us!

Take flight,
Shay.

Supplies:

Ink: Tim Holtz Distress Ink in brushed corduroy and walnut stain
Cardstock: Neenah Paper in recycled 100 natural white
Other: Inksentials Ink Blending Tool by Ranger; Thickers by American Crafts; clothespin; kraft gift bag, brown tulle, hole punch, white and brown tissue paper; Glimmer Mist in gold; Mister Huey's by Studio Calico in gold
Related Posts Plugin for WordPress, Blogger...