Hi friends! Ashley here today sharing a card I made with the Fairies stamp set.
This little fairy is adorable and could be colored so many ways! I heat
embossed her with gold and then used mostly pink Copics to color her.
Then I fussy cut her and adhered her to my card base with foam adhesive.
My card base was made using the packaging technique and misting. I added some flicks of gold and pink shimmer mist too.
My sentiment is from the Brave Girls stamp set.
I heat embossed it with the same fine gold detail embossing powder that
I used my on fairy girl. Fairies seem like they need gold in their life
- am I right?
Showing posts with label misting. Show all posts
Wednesday, February 28, 2018
Saturday, August 23, 2014
Scrapbook Saturday!
I really wanted to use the With Wings stamp set but the sentiment I wanted to use said "with brave wings she flies" so it was not going to work. No problem. I just masked the 's' in she and made the stamp work for my page!

The gold wings were something I really wanted to use with the With Wings stamp set; obviously they were made for each other! The gold foil didn't coordinate with my page so I altered them. I sanded the top layer of the wings to scuff them up a bit and then heat embossed with a layer of white embossing powder. Before the white layer was cool and dry, I added a layer of the fired brick embossing powder. This time I let the wings completely cool and then I added a second layer of fired brick. Since it was distress embossing powder, the wings have great dimension, some of the white layer shows through, and you can still see all their detail. I love how they look on this page!
On my patterned papers, I misted Mister Huey's Shine in a few places. I grabbed my Art Textures cling stamp set and started to build some dimension. I mixed gesso with the Shine spray and stamped the smaller circles. You can use your heating tool to help this dry more quickly. With the chicken wire stamp, I heat embossed with white and fired brick. Then I mixed more Shine mist into my gesso/Shine combo and stamped the large circles. Lastly I added some heat embossed smaller circles in fired brick.
I've linked up my products below. Thanks so much for stopping by today and thanks to the PWP girls and Carrie for having me this month! It's been a blast! :)
Saturday, December 28, 2013
Scrapbook Saturday: add tag to your layout and BE HAPPY
Hello my dear crafty friends!
Irit is here today and this is my " Made by mistake" layout. Really. I was sure that I need to make a Mixed Media day post, so I made a fancy Mixed Media tag with a lot of PWP products.
Then I discovered that I made a huge mistake and actually I need to post a layout. But then there is no time left to make a whole stamped page, so I decided to make " use whatever you have" page and this lovely piece was born.
Here is a tag I made.
The full lo is out due to print publication
My niece's lovely photo is just a perfect fit to our PWP clip image as you can see.
And the sentiment is just a great fit to the clip bird image too.
So as you can see even a tag made by mistake can be great as a main embellishment part of your scrap page.
And here is a list of products used for this project (over the tag only, but still a lot of them)
Wednesday, September 11, 2013
What's Up Wednesday: Golden Leaves
Hello there peeps! It's Shay here for my monthly post. I am flabbergasted by how busy and wondrously creative Carrie and the design team have been!
There are new releases of stamps to fawn over. Amazing Nesting Components Mixed Media kits like this month's seen HERE (don't miss how Norma used the kit to create a beautiful upcycled project or Dana's lovely banner). Not to mention Irit's tremendous mixed media piece of art, Cathi's gorgeous layout, Dana's awesome fusible webbing tutorial, Amber's fun and fabulous card, and Erica's delightful and dazzling card. Things are heating up! If you are new or haven't had a chance to look around for a while I recommend checking out this month's Autumn blog hop.
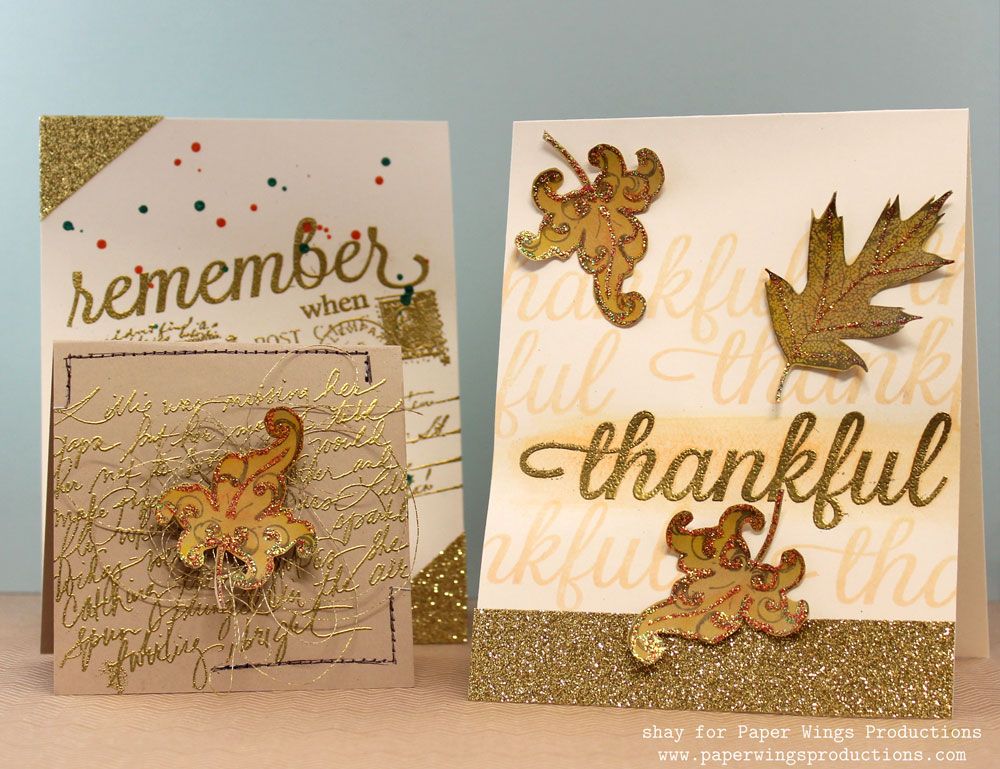
This month's blog hop prompted me to play some more with the oh so lovely leaves. I made a few autumn themed cards and yes, maybe gold came into play a lot little.
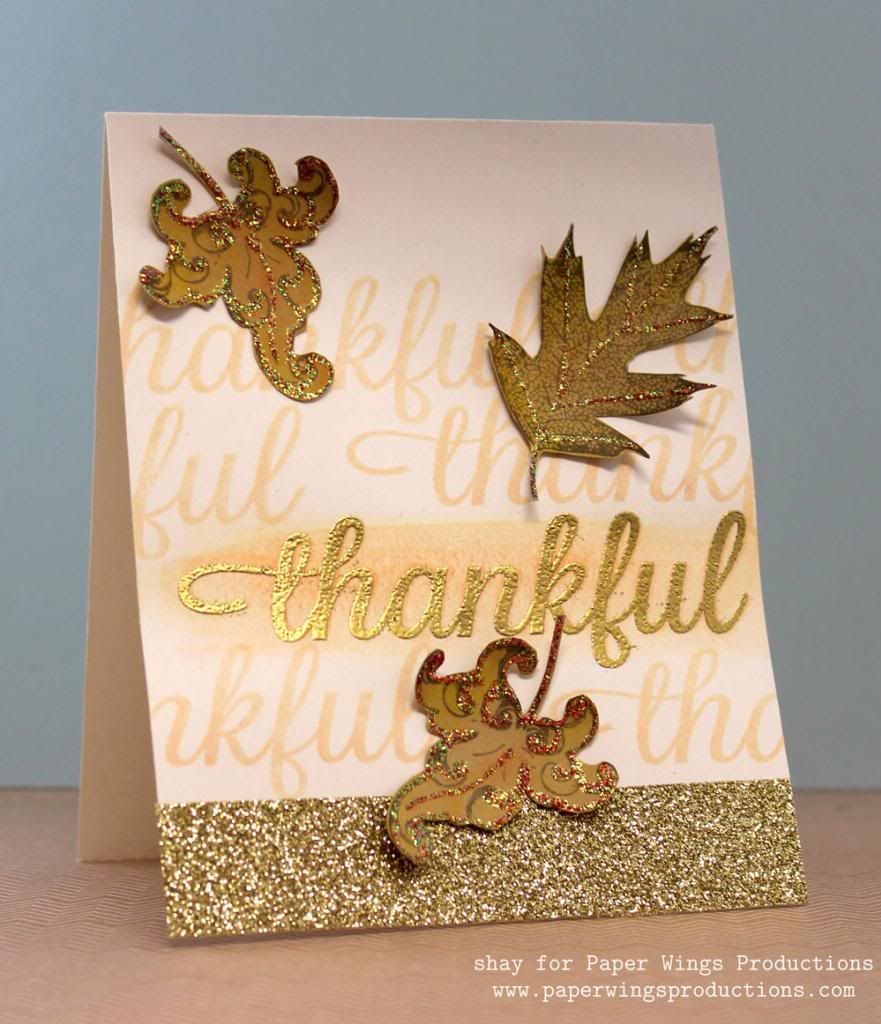
To begin my projects I simply stamped the single leaf from Leaves or Leaf and the flourish leaf from Thanks is for Giving or Mini Thanks in brown ink 3 times on a piece of kraft cardstock. I pulled out some yellow and orange gelatos and haphazardly colored in the leaves. Using a slightly wet brush I blended the colors. I added some more orange. I set them aside to dry and then cut out each leaf. I used Stickles and to add some veining details to the leaves. I set aside the leaves to dry.
Card No. 1
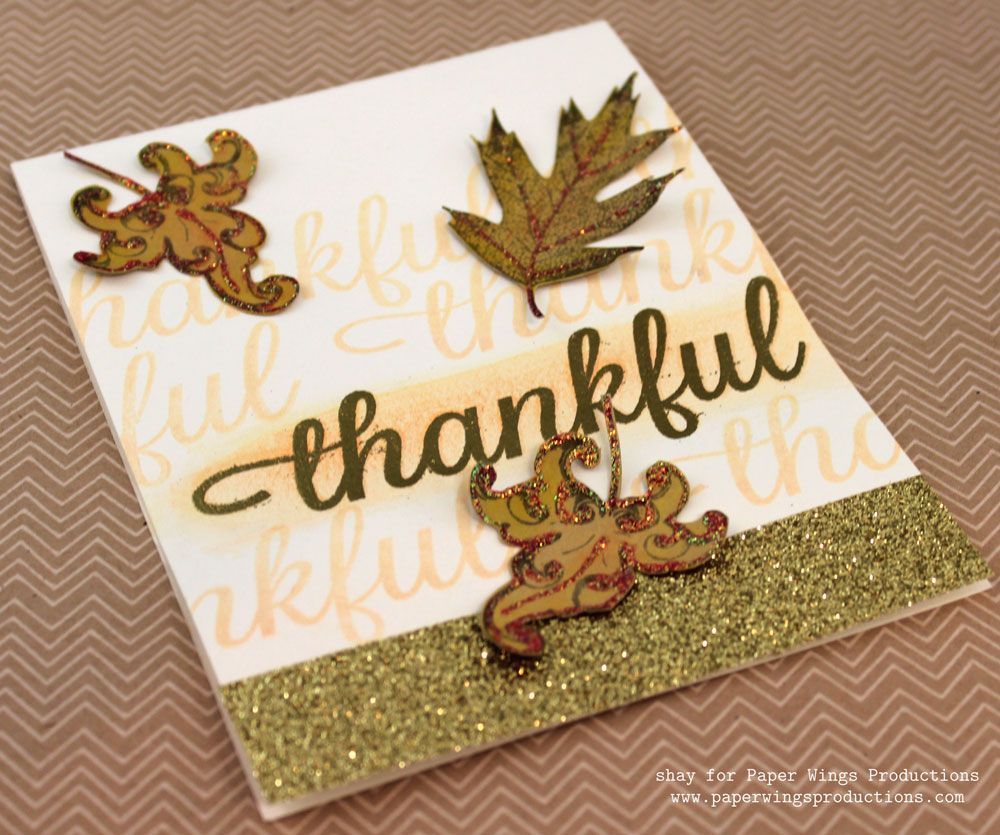
I stamped thankful from Thankful several times in a creamy color on a off white card base. I watercolored some gelatos over the full thankful on the card. Over the only full thankful, I stamped thankful again in Versamark. I heat embossed it with gold embossing powder. I added a strip of gold glitter tape to the bottom of the card and then finished the card off by adding 3 of the leaves.
Card No. 2
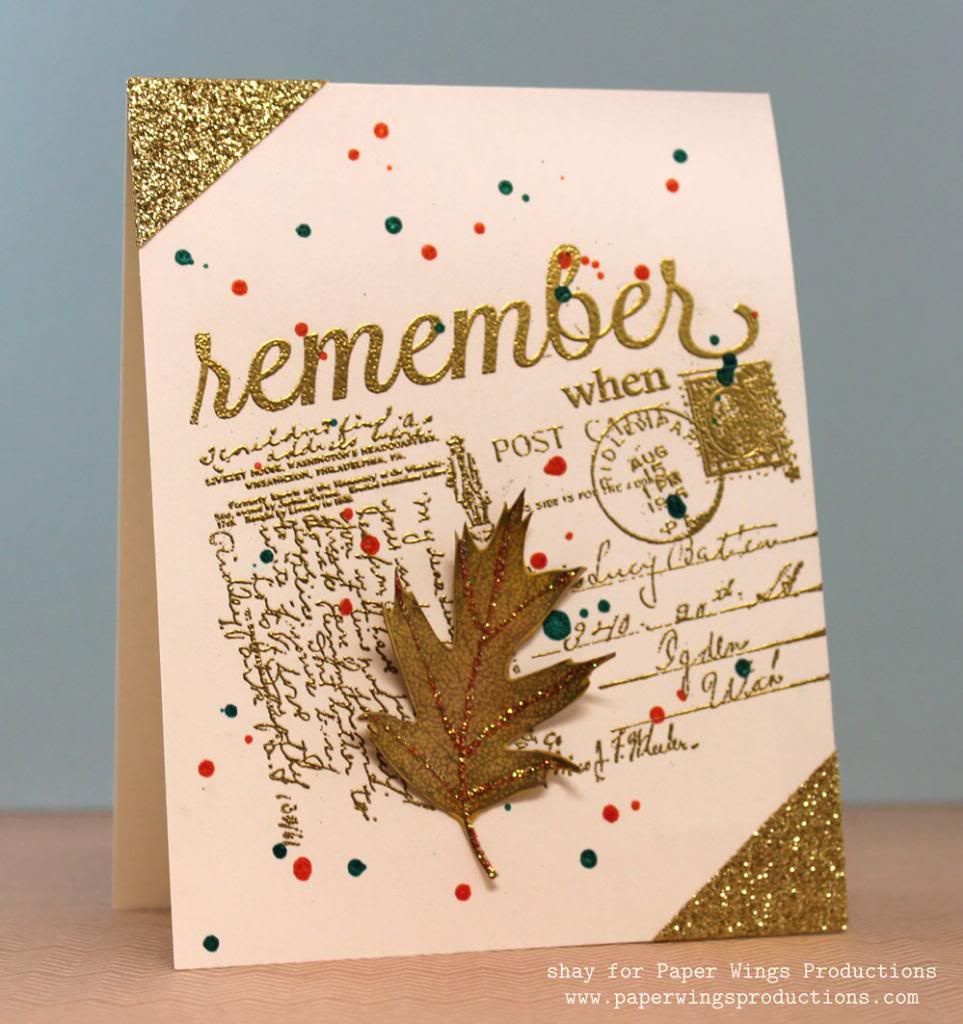
I stamped the postcard from Writing Backgrounds or Postcard with Versamark onto a card base and then stamped remember and when from Remember in Versamark. I heat embossed them all with gold embossing powder. I folded over some gold glitter tape over the edges pf the card for a photo corner look. I added drops of orange and green color shine. Last I added one of the leaves.
Card No. 3
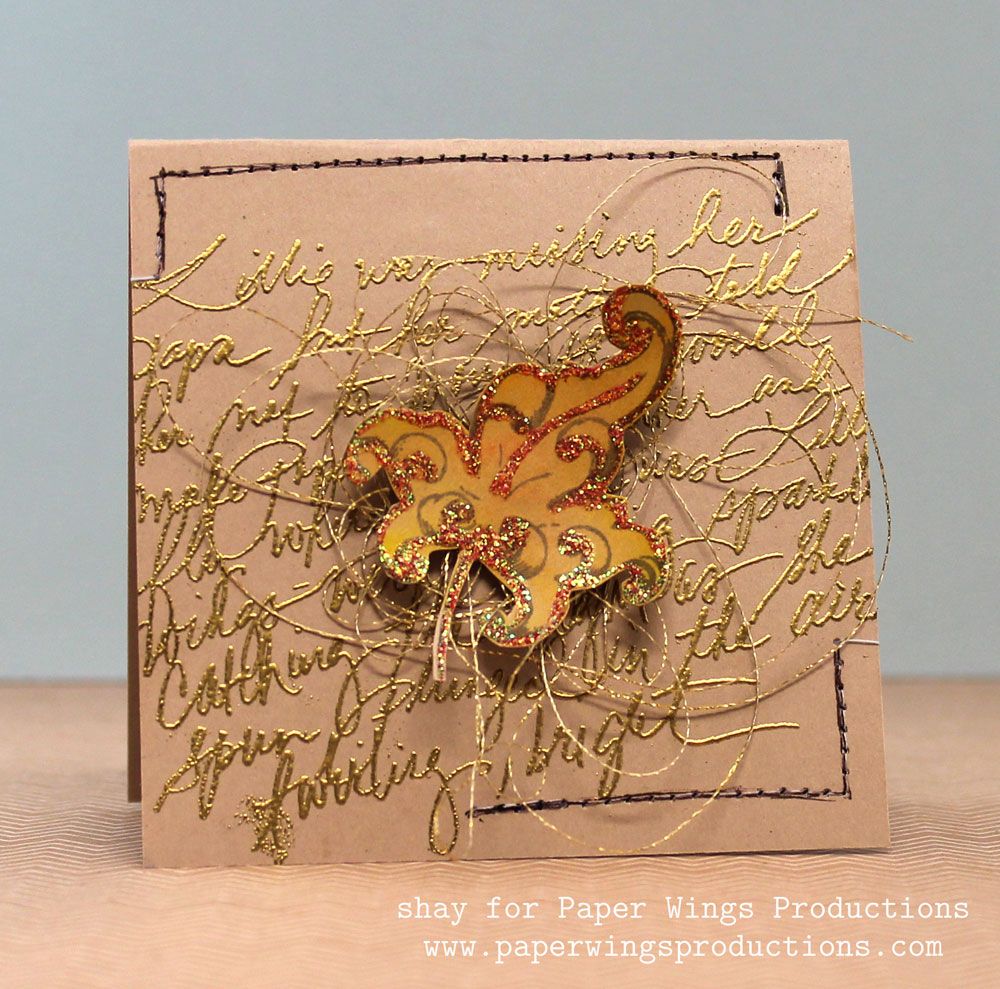
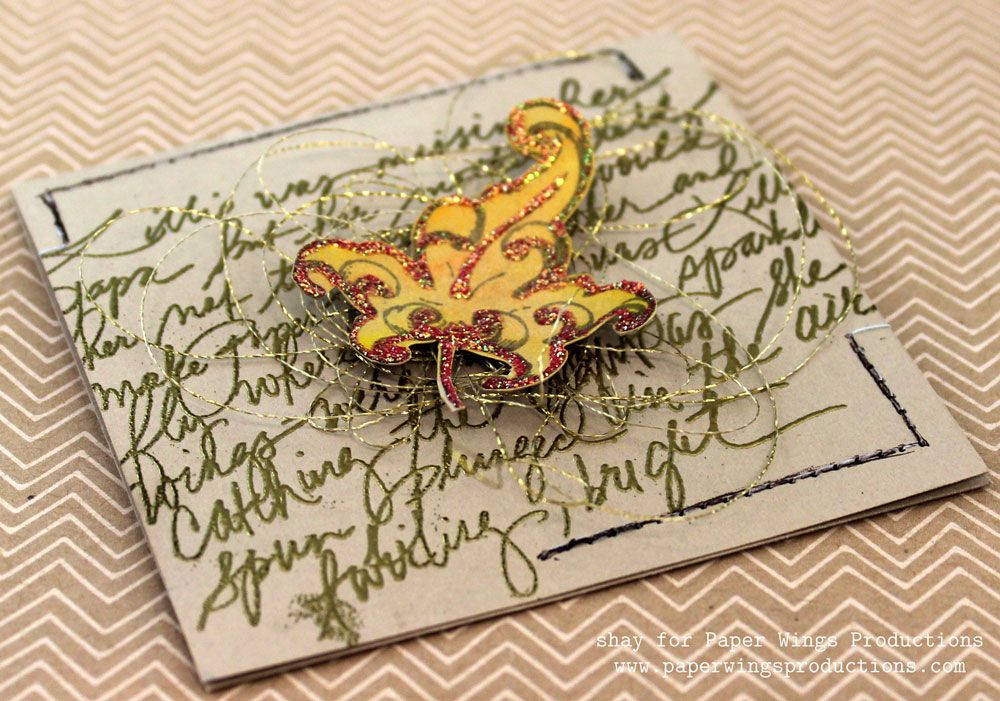
On a mini card I stamped handwriting from Writing Backgrounds or Writing with Versamark and then heat embossed it with gold embossing powder. Next I sewed around the corners of the card. I added a nest of gold thread and adhered one of the flourish leaves on top. This would be a great little thank you card or card to give with a gift.
Card No. 4
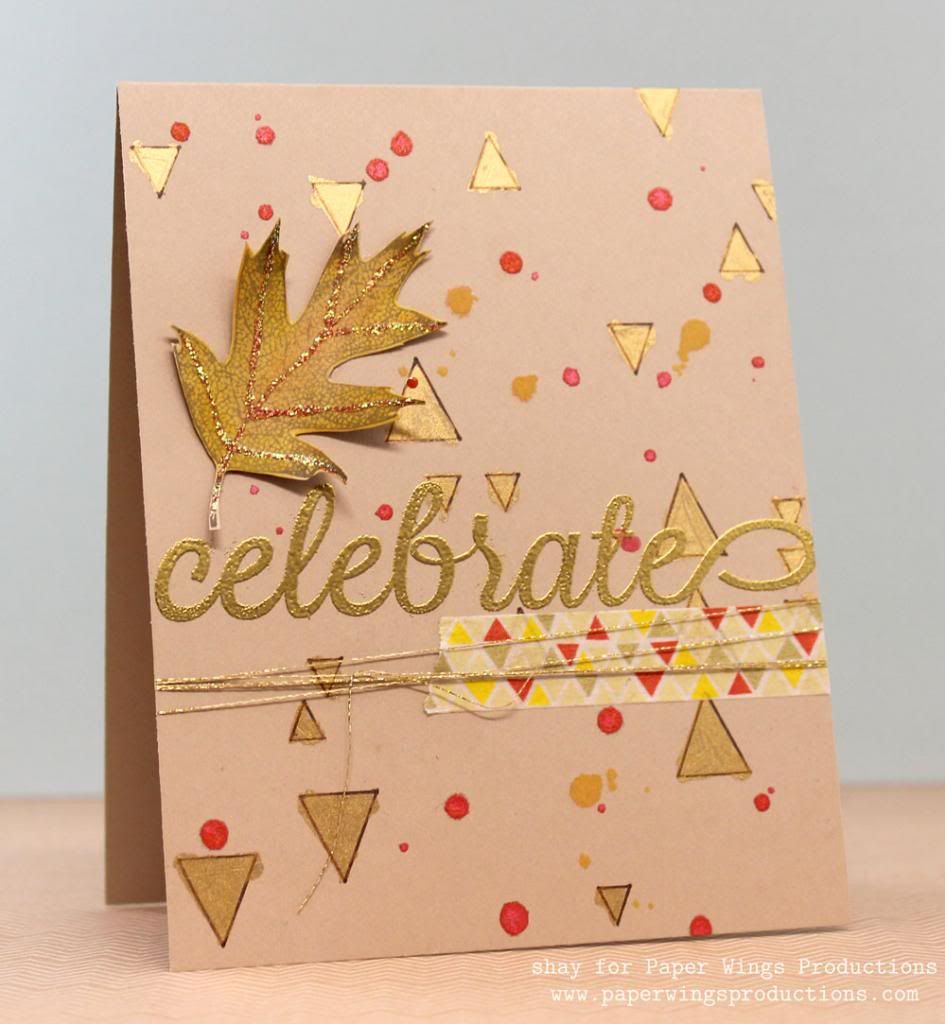
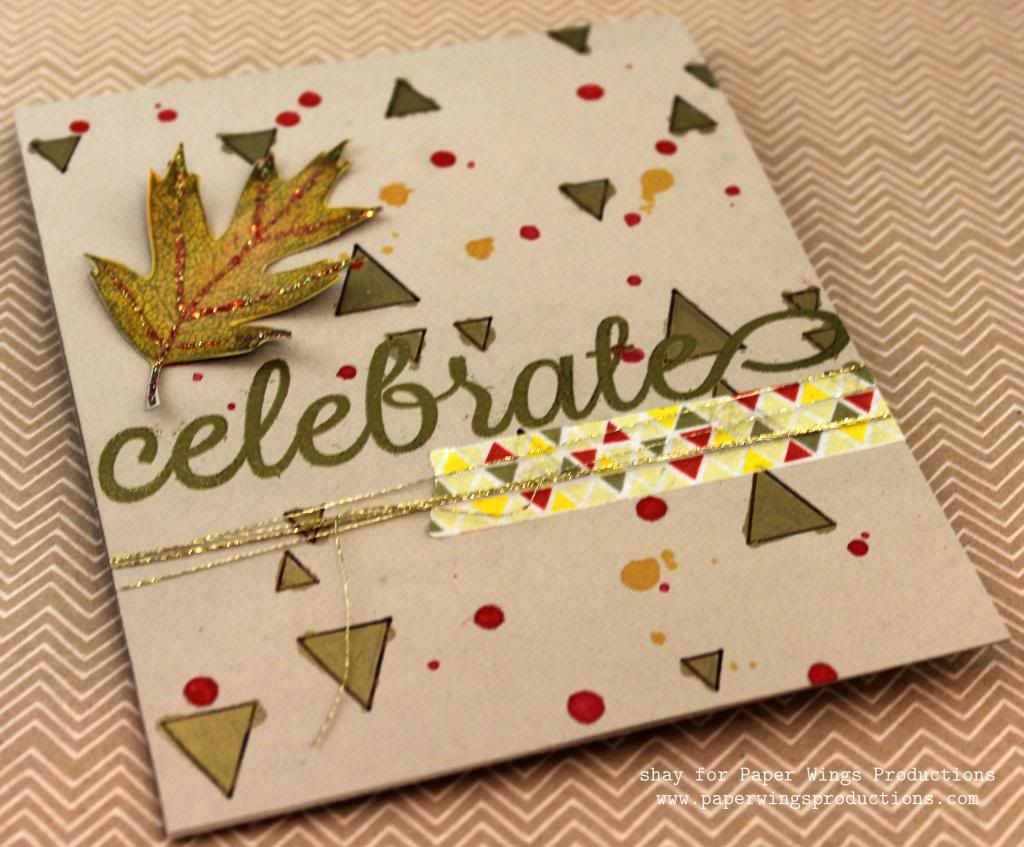
Using a triangle stencil I colored in the stencil with a gold paint pen. I outlined the triangles with a brown marker. I stamped celebrate from Celebrate with Versamark and then heat embossed it with gold embossing powder. I added a strip of washi. I wrapped and tied some gold thread. I added some drops of red color shine and drops of yellow mist. Last I added one of the leaves.
I hope you feel the itch to get crafting with your Paper Wings Productions products to celebrate the coming autumn!
We would *love* to see what you make with Paper Wings Productions stamps. Add your projects to Facebook, our flickr group, to Pinterest, comment with a link on this post or even email pictures to us!
Take flight,
Shay.
Supplies:
Stamps:
Ink: Versamark, Tsukineko; malted milk, Jenni Bowlin for Ranger; cup o'joe mid-tone, Hero Arts
Cardstock: Neenah Papers
Other: fruit punch Stickles, Ranger; stencil, Prima; butter cream, lemon, mango and tangerine gelatos, Faber-Castell; gold leafing pen, Elmer's; chestnut memory marker, American Crafts; detail metallic gold embossing powder, Judi Kins; heat embossing gun; peach, mint green and sweet cherry color shine, Heidi Swapp; sunshine Mister Huey's Color Mists, Studio Calico; gold metallic thread, Coats; brown sugar glitter tape, American Crafts; washi, Freckled Fawn
Monday, September 9, 2013
Mixed Media Monday: Every little thing

If you are looking for the Fall Blog Hop, please click HERE!
Hello my dear crafty friends, Irit here!
Today is my Mixed Media day on PWP blog and I made a " true" Mixed Media project: with more mediums than paper and some stamping too.First I used an old post card as my base. Then I stamped a couple Texture images over the kraft leftover cardstock with Copper heat embossing (OK, after all possible paints and medium it's hardly seen, but the texture on the left upper corner.
Then I added a bunch of Tando Creative chipboards in steampunk style, both cogs and never used letters. Next all piece was heavily painted with Copper acrylic paint and when it was still wet covered with Turquoise mist for this rusty look.
Then I added some micro beads, glass beads and even red embossing powder and heat embossed all the piece. As the paint was still wet it made this lovely and unique textured look.
More Orange misting was added above the wet piece and them I finally let it dry.
Now the book plate was made with black powder heat embossing and copper paint over it. The stamped in black permanent ink sentiment from Bird Melange set was misted too.
And now for a few stamped and hand cut birds from Bird Melange set and an Owl from Owl Panel set: 2 stamp sets were used, stamped with clear embossing powder, heat embossed in black and misted with the same Turquoise mist. All together it made a lovely Mixed Media journal page/wall deco/ anything you want it to be.
You can try this technique of making your own " add anything possible" backgrounds and it's even better if you use our gorgeous PWP stamps!
Monday, August 26, 2013
Mixed Media Mondays:Spread your wings Bottle frame
Hello my dear friends and welcome to our Mixed Media Monday!
Irit is here today and this time with another Mixed Media project.
My project this time is an altered chipboard Bottle frame from Tando creative, but then it is full of our gorgeous PWP stamps, cut image and all possible mediums too.
It's an easy project to make even for not experienced MM crafter: all the work is done over the solid cream cardstock and then embellished over the frame.
The cardstock is cut to the basic chipboard shape and then I added a few parts of one single stencil (TCW) with gesso only. I made it pretty much around the frame as I wanted to leave space for the cut out image and for some stamping too.
I used Build a Shrine set of stamps- the upper one with an angel and a part of the Celtic knot here and there. Then I added a few splashed of Textures stamps and then, as it happens with frames, the Angel was suddenly all covered. So we need to be creative and I just added it over the frame and over the heat embossed with red powder heart. All inside of the frame was misted with a mix of Nantucket mists set ;
so was the cut out Angel head.
The girl from Summer clip art sheet was hand cut and glued over the background.
Then I stamped a pair of wings from Wings set over vellum and heat embossed with gold embossing glitter. The cut out wings were glued over the image back and now she became an angel too.
Anything else was just embellishing: golden leave, vintage flowers, some pearls, a bit of lace and the cap, heat embossed with the same glitter as my wings.
This is a lovely vintage piece that can be a great gift to a teen girl who adores fairies and angels, pearls, flowers and golds.
And here is our supply list:
Subscribe to:
Posts (Atom)