Hello there peeps! It's Shay here for my monthly post. I am flabbergasted by how busy and wondrously creative Carrie and the design team have been!
There are new releases of stamps to fawn over. Amazing Nesting Components Mixed Media kits like this month's seen HERE (don't miss how Norma used the kit to create a beautiful upcycled project or Dana's lovely banner). Not to mention Irit's tremendous mixed media piece of art, Cathi's gorgeous layout, Dana's awesome fusible webbing tutorial, Amber's fun and fabulous card, and Erica's delightful and dazzling card. Things are heating up! If you are new or haven't had a chance to look around for a while I recommend checking out this month's Autumn blog hop.
This month's blog hop prompted me to play some more with the oh so lovely leaves. I made a few autumn themed cards and yes, maybe gold came into play a lot little.
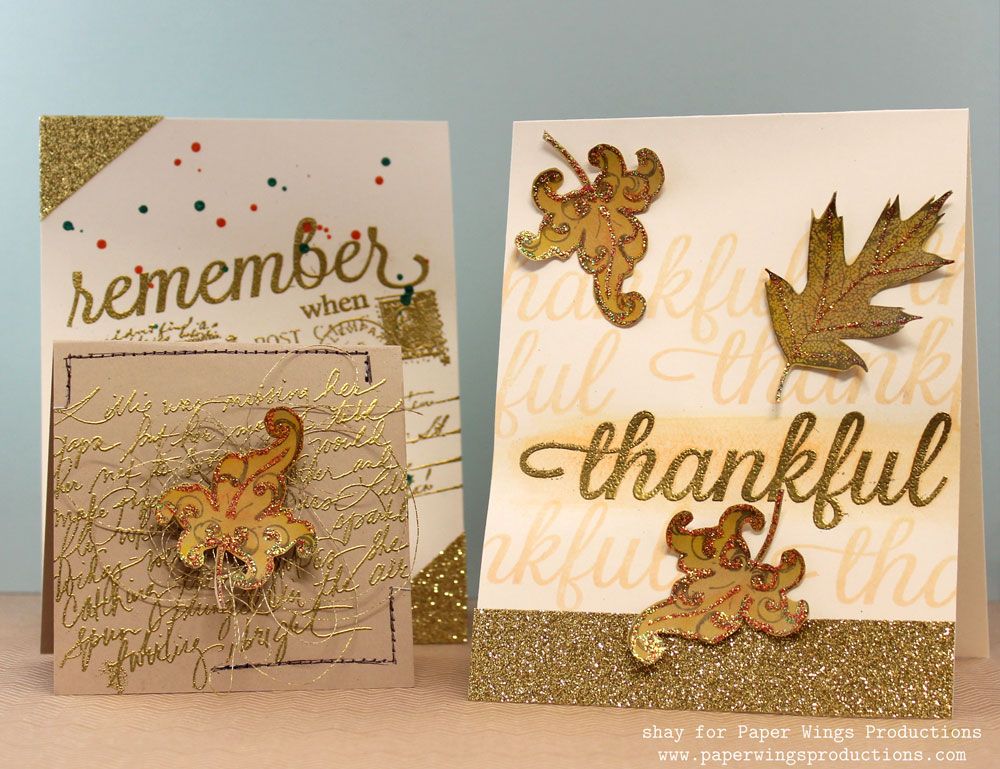
To begin my projects I simply stamped the single leaf from Leaves or Leaf and the flourish leaf from Thanks is for Giving or Mini Thanks in brown ink 3 times on a piece of kraft cardstock. I pulled out some yellow and orange gelatos and haphazardly colored in the leaves. Using a slightly wet brush I blended the colors. I added some more orange. I set them aside to dry and then cut out each leaf. I used Stickles and to add some veining details to the leaves. I set aside the leaves to dry.
Card No. 1
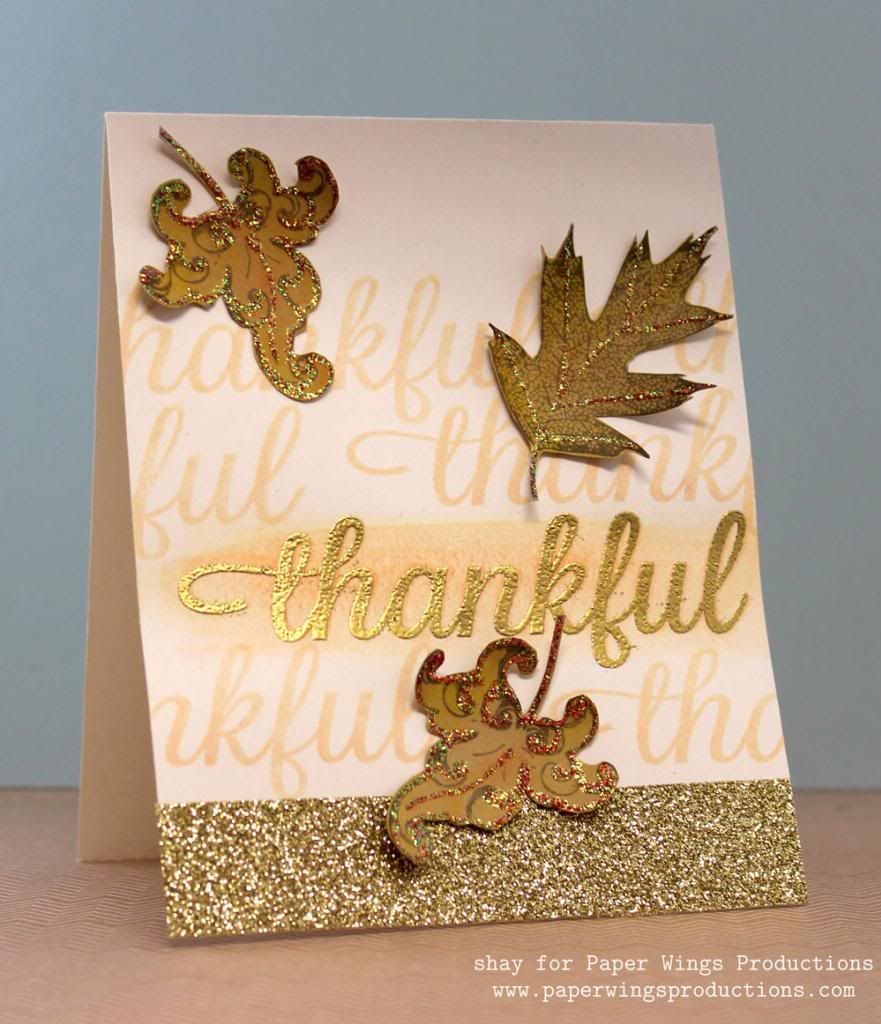
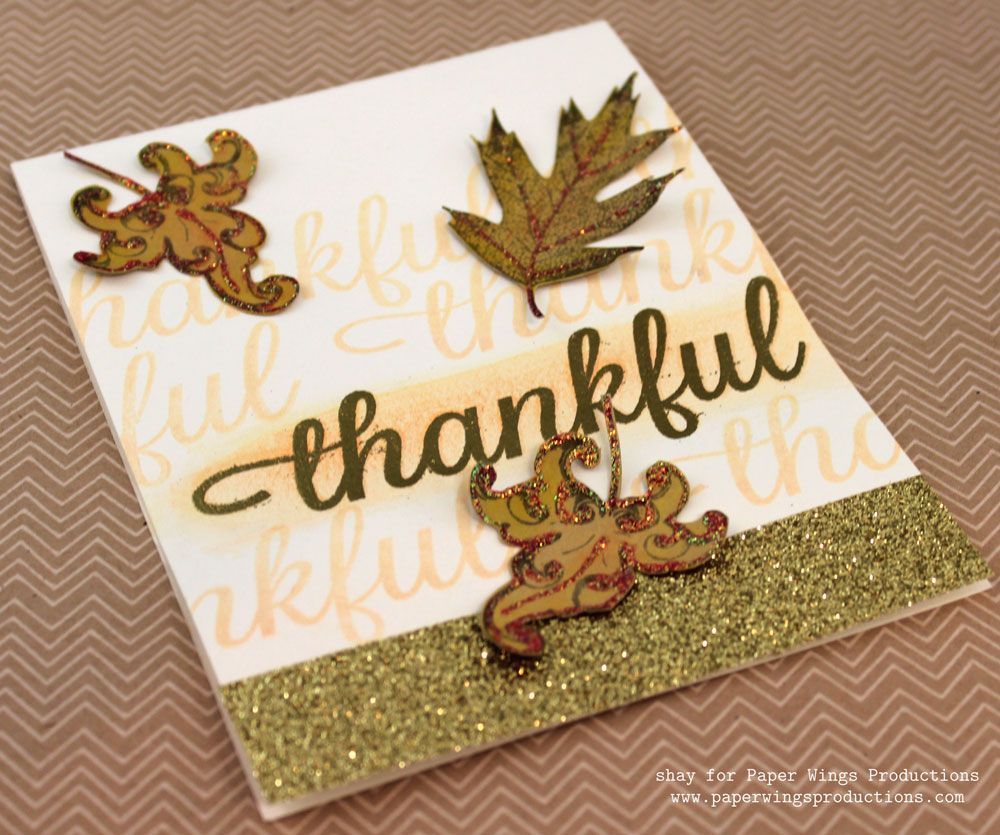
I stamped thankful from Thankful several times in a creamy color on a off white card base. I watercolored some gelatos over the full thankful on the card. Over the only full thankful, I stamped thankful again in Versamark. I heat embossed it with gold embossing powder. I added a strip of gold glitter tape to the bottom of the card and then finished the card off by adding 3 of the leaves.
Card No. 2
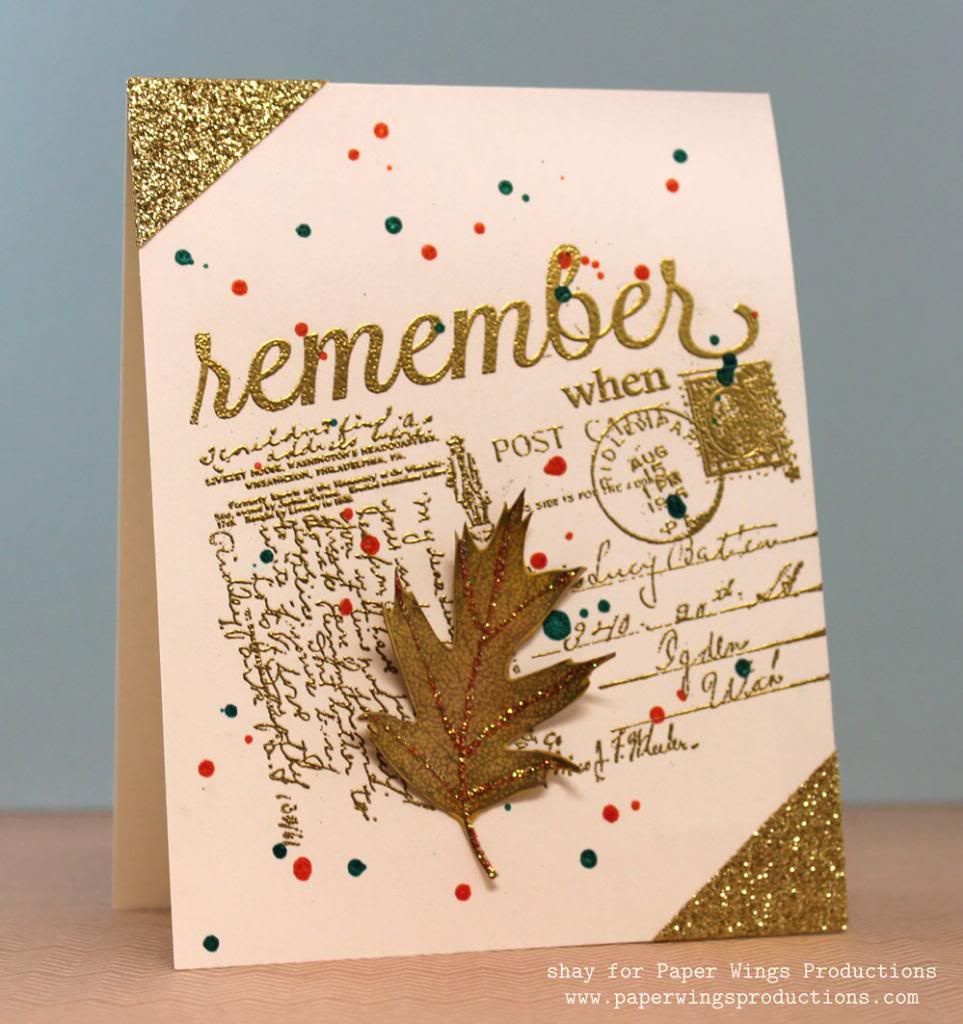
I stamped the postcard from Writing Backgrounds or Postcard with Versamark onto a card base and then stamped remember and when from Remember in Versamark. I heat embossed them all with gold embossing powder. I folded over some gold glitter tape over the edges pf the card for a photo corner look. I added drops of orange and green color shine. Last I added one of the leaves.

Card No. 3
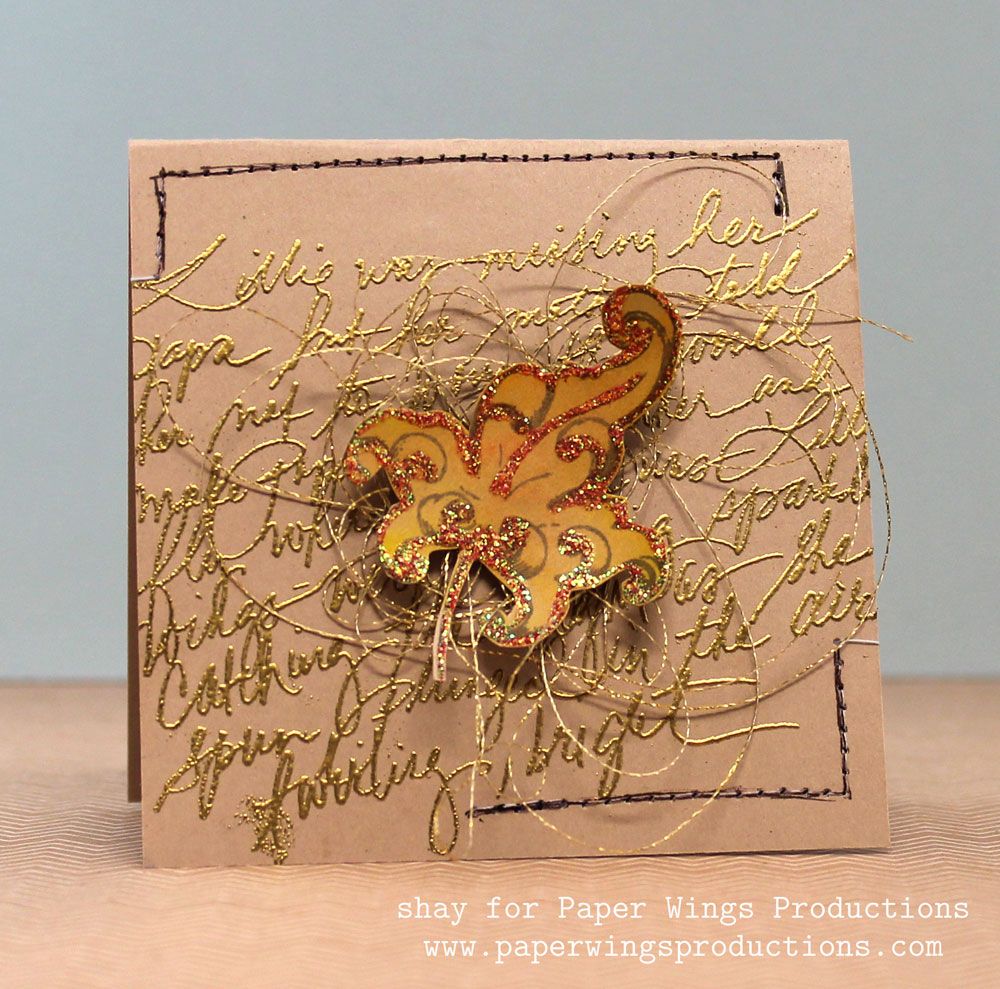
On a mini card I stamped handwriting from Writing Backgrounds or Writing with Versamark and then heat embossed it with gold embossing powder. Next I sewed around the corners of the card. I added a nest of gold thread and adhered one of the flourish leaves on top. This would be a great little thank you card or card to give with a gift.
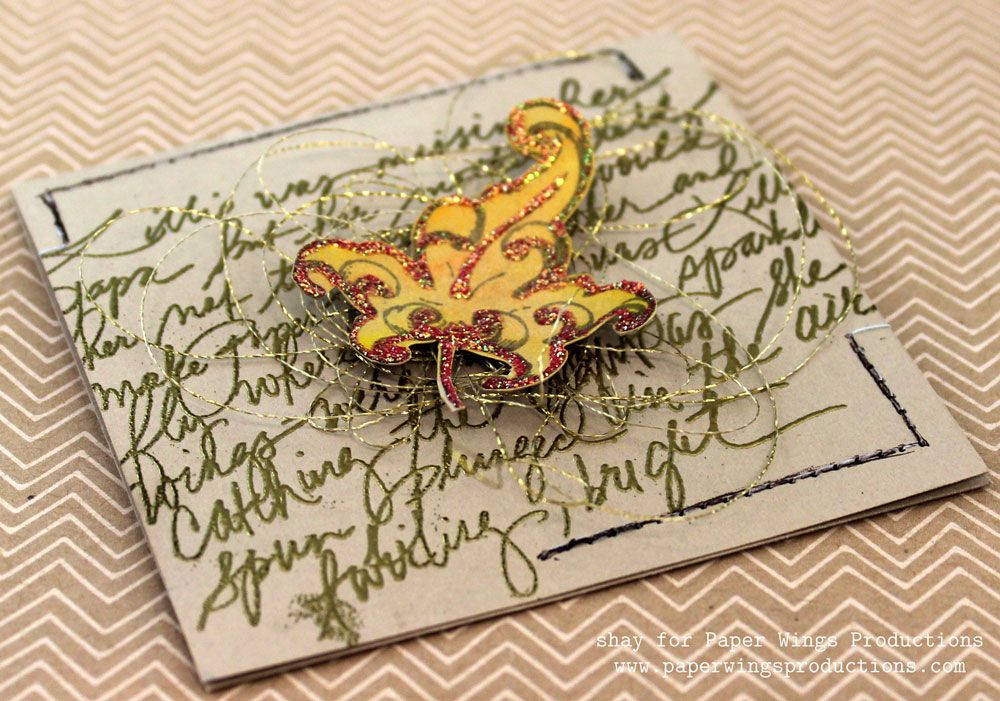
Card No. 4
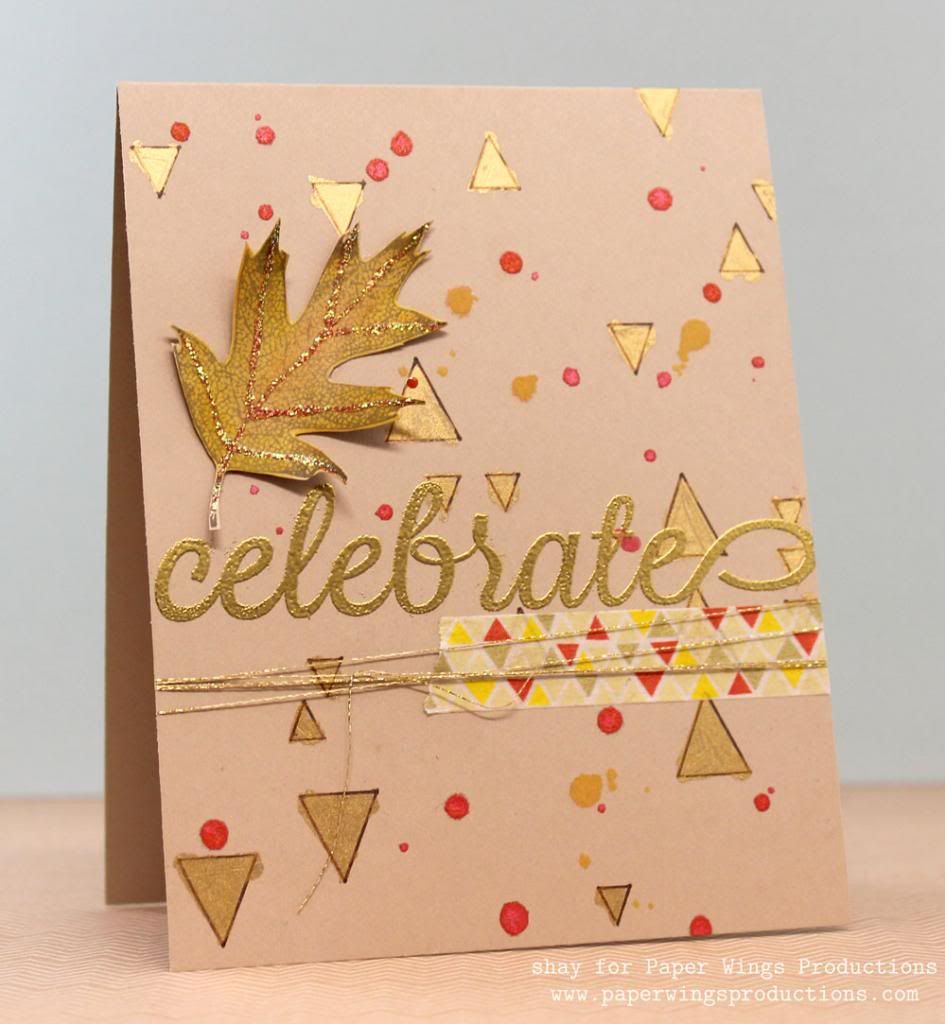
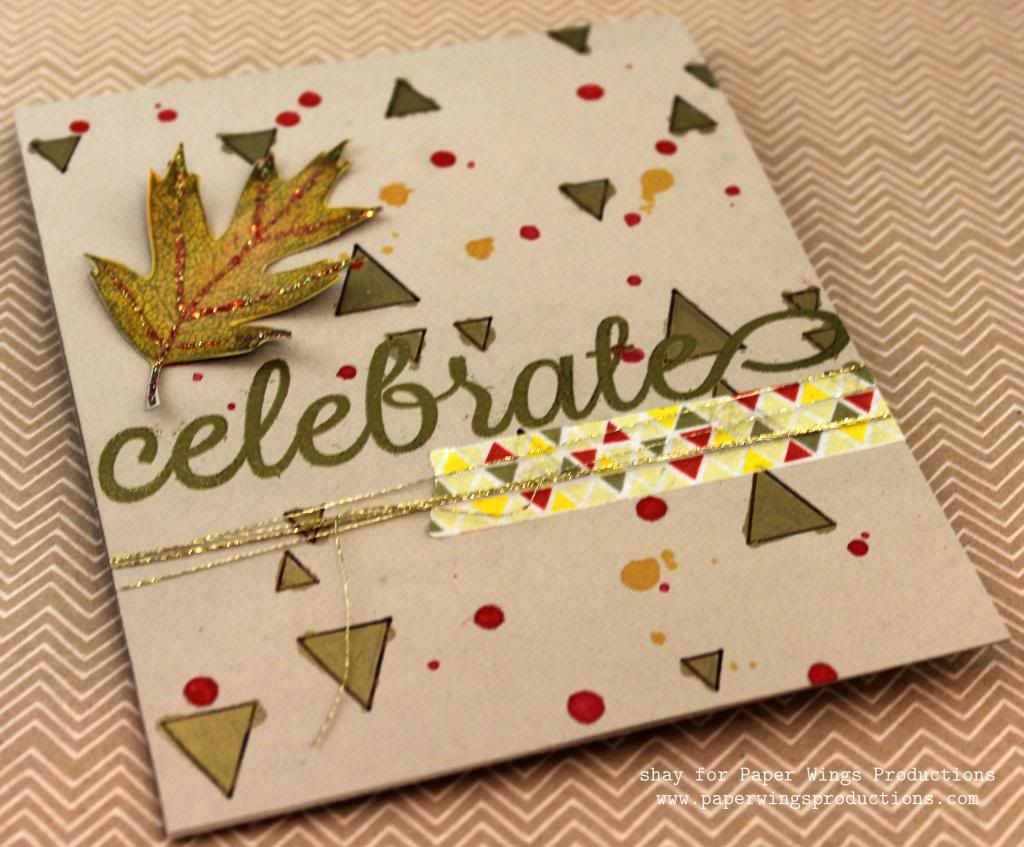
Using a triangle stencil I colored in the stencil with a gold paint pen. I outlined the triangles with a brown marker. I stamped celebrate from Celebrate with Versamark and then heat embossed it with gold embossing powder. I added a strip of washi. I wrapped and tied some gold thread. I added some drops of red color shine and drops of yellow mist. Last I added one of the leaves.
I hope you feel the itch to get crafting with your Paper Wings Productions products to celebrate the coming autumn!
We would *love* to see what you make with Paper Wings Productions stamps. Add your projects to Facebook, our flickr group, to Pinterest, comment with a link on this post or even email pictures to us!
Take flight,
Shay.
Supplies:
Stamps:


Ink: Versamark, Tsukineko; malted milk, Jenni Bowlin for Ranger; cup o'joe mid-tone, Hero Arts
Cardstock: Neenah Papers
Other: fruit punch Stickles, Ranger; stencil, Prima; butter cream, lemon, mango and tangerine gelatos, Faber-Castell; gold leafing pen, Elmer's; chestnut memory marker, American Crafts; detail metallic gold embossing powder, Judi Kins; heat embossing gun; peach, mint green and sweet cherry color shine, Heidi Swapp; sunshine Mister Huey's Color Mists, Studio Calico; gold metallic thread, Coats; brown sugar glitter tape, American Crafts; washi, Freckled Fawn