Showing posts with label thanksgiving. Show all posts

Thursday, November 24, 2016

Thanksgiving

Happy Thanksgiving to all of you from us here at Paper Wings!

Here are some of our favorite Thanksgiving samples from years past...


View our collection of


Friday, October 11, 2013

Feature Friday: Easy Halloween and Thanksgiving Fun


Hello there peeps!  It's Shay here coming in to bring you a little festive fun.  Before I do, I wanted to point you to what the rest of the awesome design team are doing recently (if you haven't seen it already of course!).  Dana did this howlin' cool card in which she stamped on felt!  Cathi created this pretty and charming art journal cover with plenty of ideas on how to use layers of stamps to create interest and beauty.  Irit created this happy and loving scrapbook layout to showcase her adorable grandson.  The incomparable Norma created this trio of stupendous ATCs (her first, but who could tell?!?) with a tutorial to create your own.  This month there is are TWO incredible kits...for more information check out this post HERE (don't miss out).  Our guest artist, Diana Rivera, enchanted with this vibrant art journaling page.  Erica's fabulous 2014 journal cover will inspire you to sparkle!

Lastly, but not least, if you were unable to make this month's Wicked Blog Hop still be inspired by our sinfully delightful projects by starting HERE.

Now that you are dazzled by all you have seen, let's have some more fun.  I am featuring the Halloween Mix It Up and Little Halloween stamp sets today in a very simple way.  If you have little ones this would be a great project to do with them.

There is a little witch's hat in the Halloween Mix It Up set which actually can be used for another holiday other than Halloween.


See that pilgrim's hat on the right?  Simply cut off at the line of the witch's hat and you have it!
 
Here are the directions of what I did:
  • All you need is some Paper Wings Productions stamps (I used the Halloween Mix It Up, Little Halloween, School Journaling Lines and Funky Lower Case Alphabet, cardstock, your favorite coloring agents (I used Copic markers), scissors, cutting tool and adhesive.   Of course pull out your favorite embellishments too to make them exactly how you want them.
  • Ink up your witch's hat from Halloween Mix It Up with black ink.  Before stamping lightly rub off the line near the tip and stamp upon a scrap piece of white cardstock.  Also stamp another witch's hat in black ink without rubbing off any ink.  Color in.  For the hat with the rubbed off line cut the entire hat out.  For the hat without the rubbed off line cut off the tip of the hat at the line.  Set aside (but don't misplace as I am prone to do).
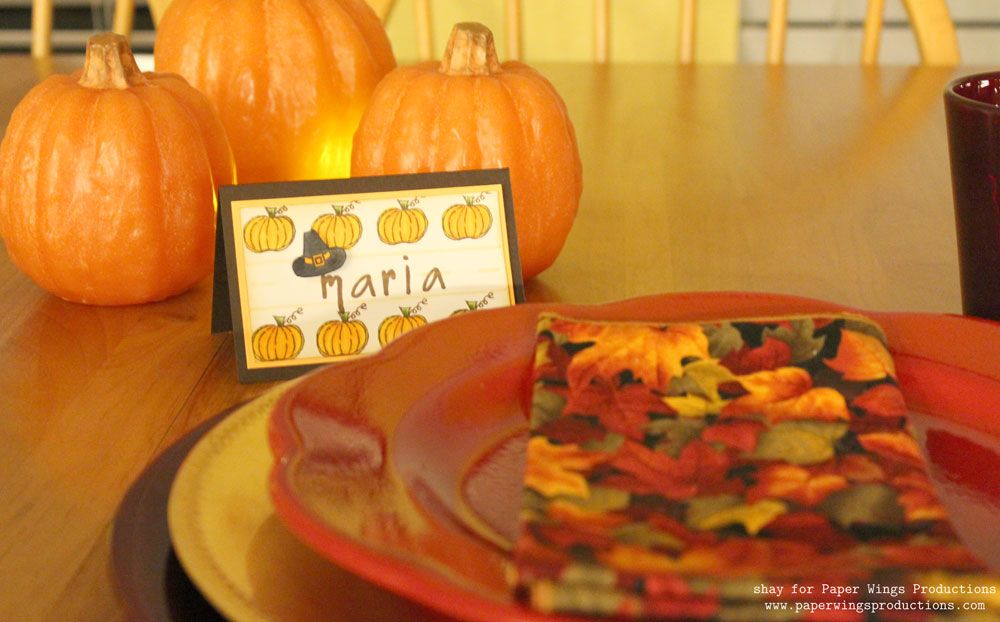
  • On two pieces of white cardstock (mine measured 4x2.25 inches) I stamped the handwriting practice journaling line from School Journaling Lines in roughly the middle for the Halloween placeholder in grey and soft brown for the Thanksgiving one. 
  • Spell out your guest's name using Funky Lower Case Alphabet.  Stamp over line in black for Halloween and brown for Thanksgiving.
  • Stamp your holiday specific images from Halloween Mix It Up and Little Halloween above and below the line.  Color in as desired.
  • Attach little hats above the name with dimensional foam adhesive.
  • Distress edge of white panels with ink blending tool--black for Halloween and brown for Thanksgiving. 
  • Layer on top of yellow piece of cardstock and then attach to a folded piece of charcoal grey cardstock for Halloween and dark chocolate for Thanksgiving (mine measured 4.5x6 before folding and 4.5x3 after).

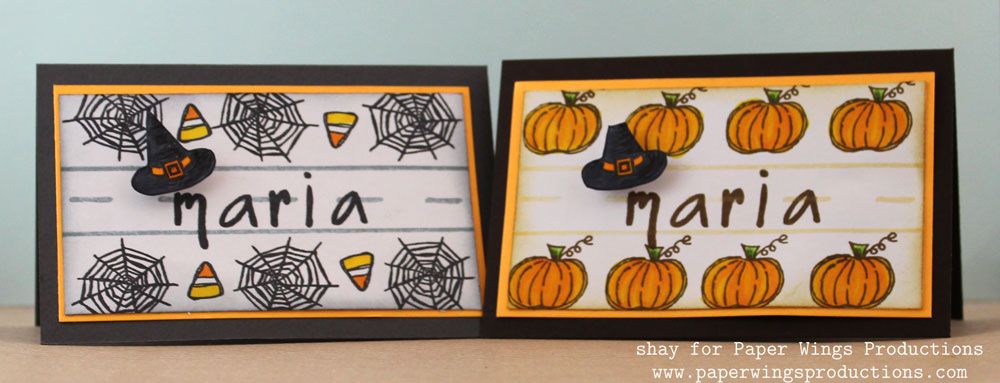
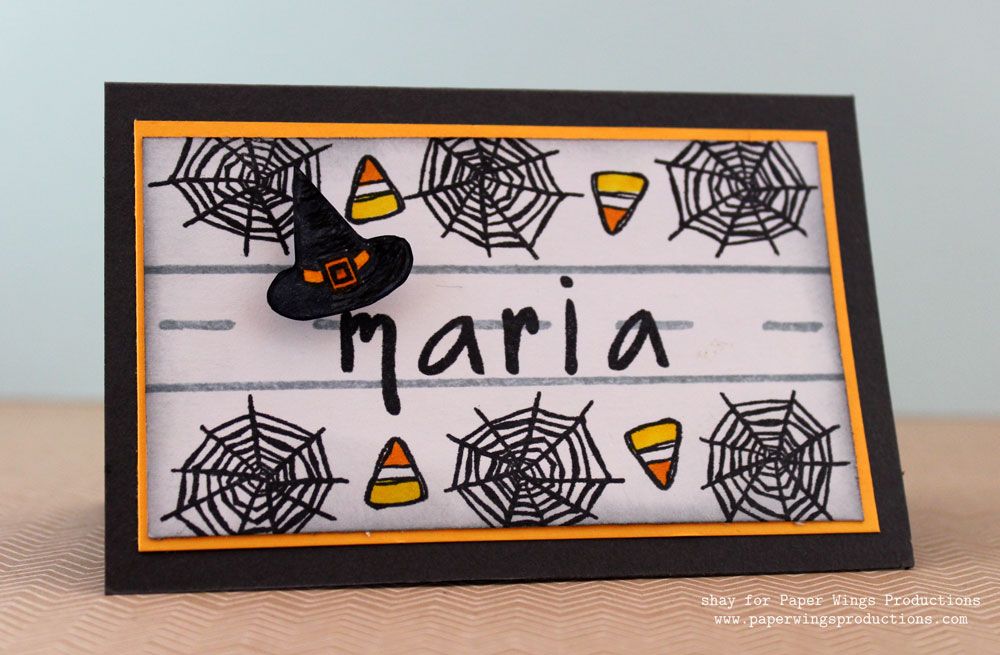
A closer look at the Halloween placeholder:


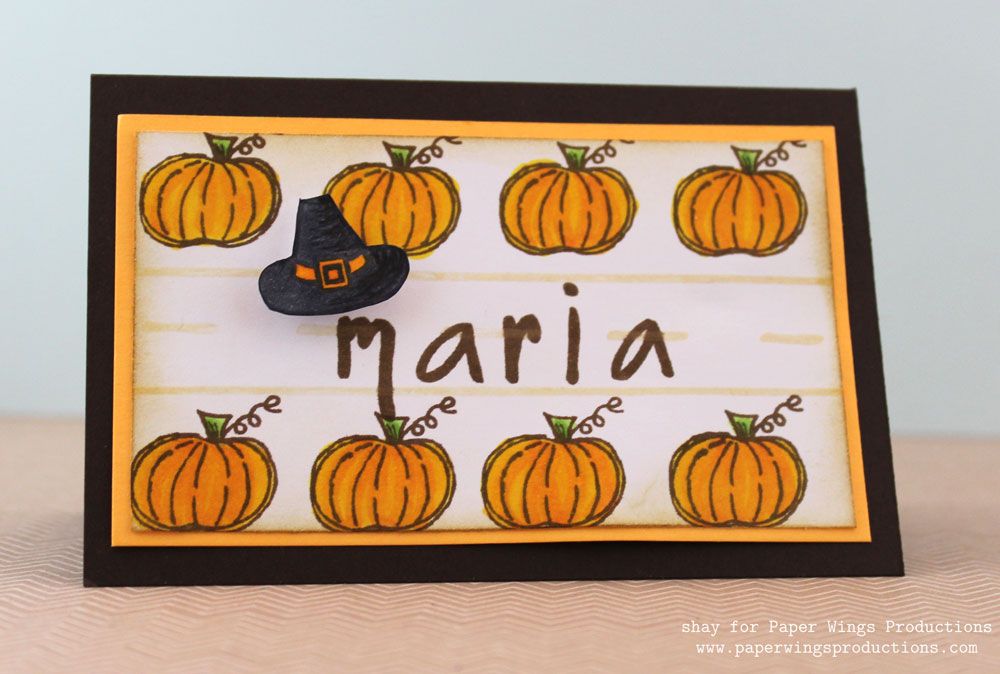
And the Thanksgiving placeholder:


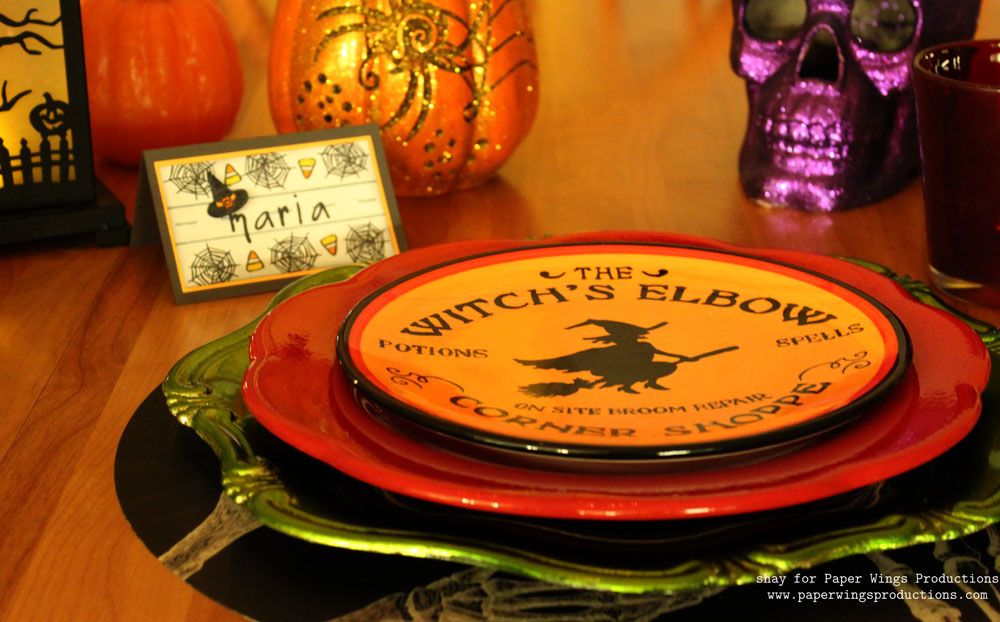
The placeholder added to your Halloween table:


Or on your Thanksgiving table:


Inside the placeholders you can write a note to your guest or even include a gift card.  Who wouldn't be thrilled with a thoughtful treat like that?

I hope you enjoyed today's Featured Friday!  Come back here on The Aviary Sunday for another great project.

We would *love* to see what you make with Paper Wings Productions stamps. Add your projects to Facebook, our flickr group, to Pinterest, comment with a link on this post or even email pictures to us!

Happy creating,
Shay.


Supplies:

Stamps:


Ink: tuxedo black, Memento by Tsukineko; weather vane, malted milk and brown sugar, Jenni Bowlin for Ranger
Cardstock: white, Georgia Pacific; charcoal grey cover and chocolate truffle, The Paper Company; yellow, stash
Other: Inkssentials ink blending tool, Ranger; cool gray no. 7 (C7), lightening yellow (Y18), pumpkin yellow (YR15), chartreuse (YG13) and grass green (YG17), Copic; black precision pen, American Crafts; dimensional foam adhesive

Friday, November 9, 2012

Feature Friday: Season of Thanks

Happy Friday peeps!

It's Shay here.  Have you seen all the recent cool projects by Carrie, Norma and Julie?  You really need to check out past posts.

I have a really easy project for you today.  I was inspired by the beautiful autumn cling stamp sets Carrie designed this release.  You can find the stamps I used in the Acorn Elements and Leaf cling stamp sets.  If you want some additional lovely stamps too you can go with the bigger stamp sets: Leaves and Thanks is for Giving.  


I found a Maya Road mini chipboard album I had for a while now that I loved the shape of and thought I could make a myriad of things from if I traced the shape.  You could also use a punch, die or an electronic die cutting machine to cut out a shape you like.

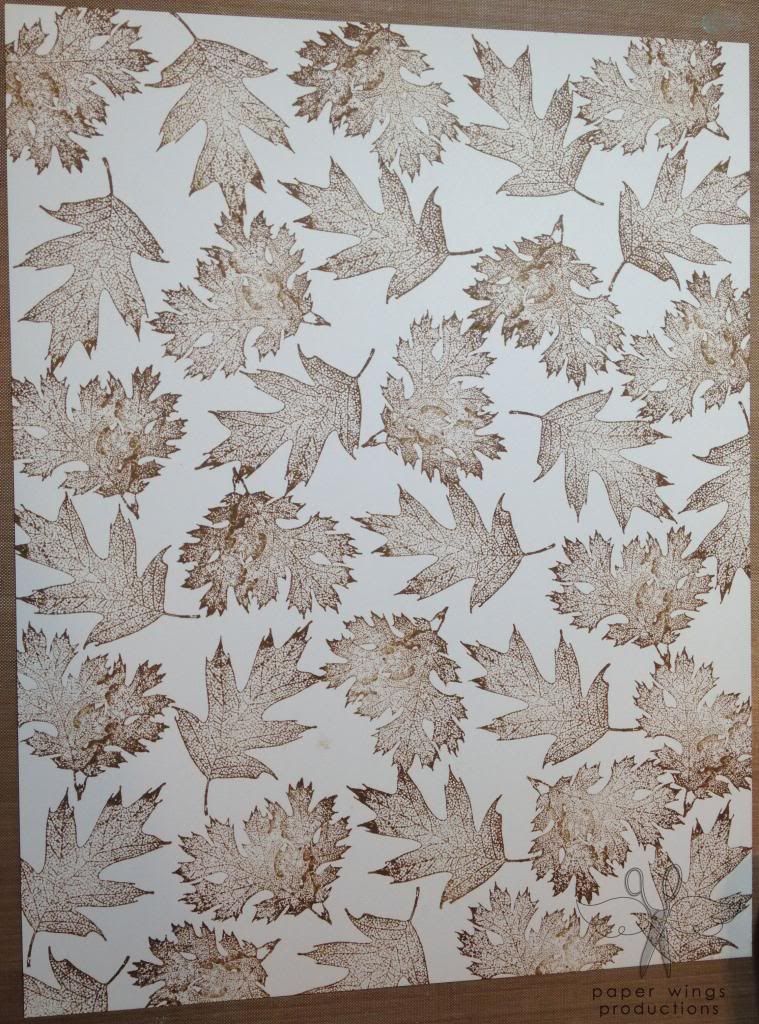
1. With the leaves from Leaf or Leaves stamp sets I stamped them sporadically with Distress Ink in brushed corduroy on a cream piece of cardstock.  


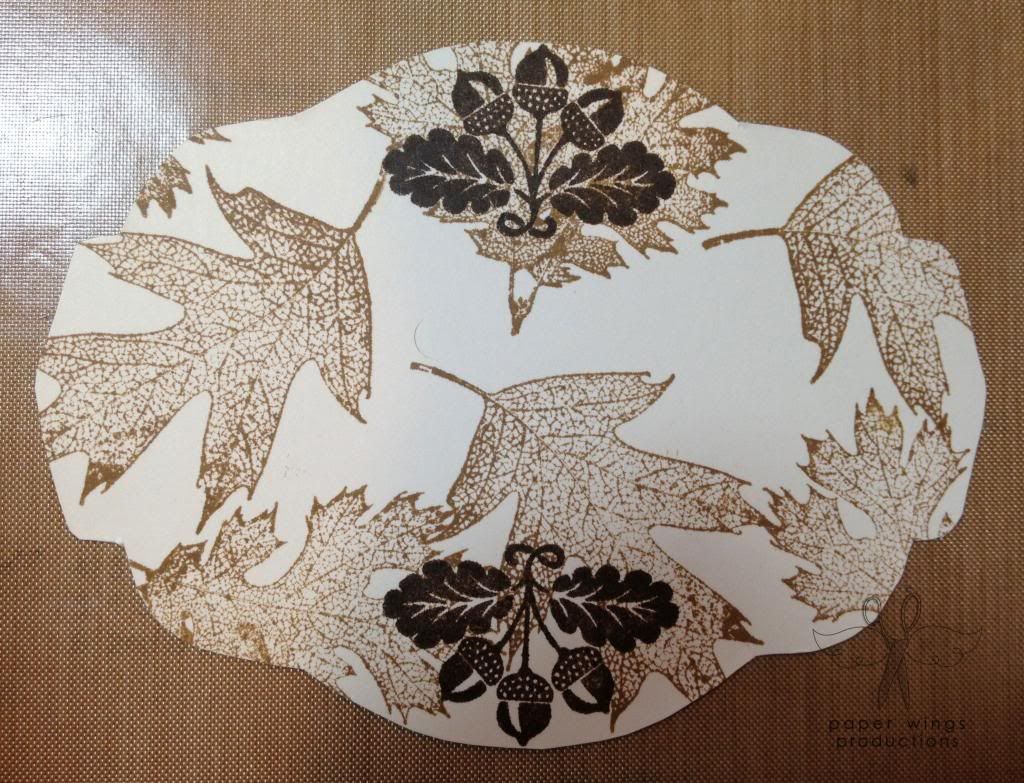
2. I traced the shape on the back side of the stamped piece of cardstock.  I cut out the shapes.  


3. I stamped the pretty acorns with its leaves on the top and bottom of the label with Distress Ink in walnut stain.


4. I stamped the acorn spray on each side with Distress Ink in walnut stain.  This happened to fit just right!


5. I inked all the edges with my ink blending tool and Distress Ink in walnut stain. 

This is where my mind got thinking about what I could do with all these labels.  

Here is what I came up for you today:

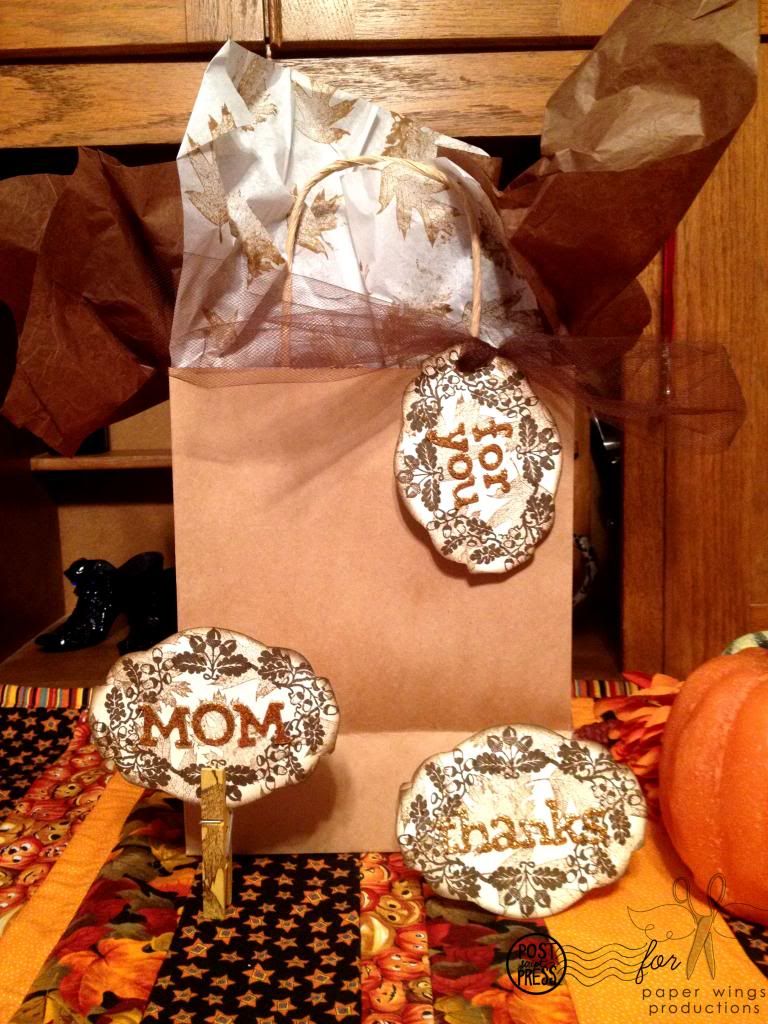
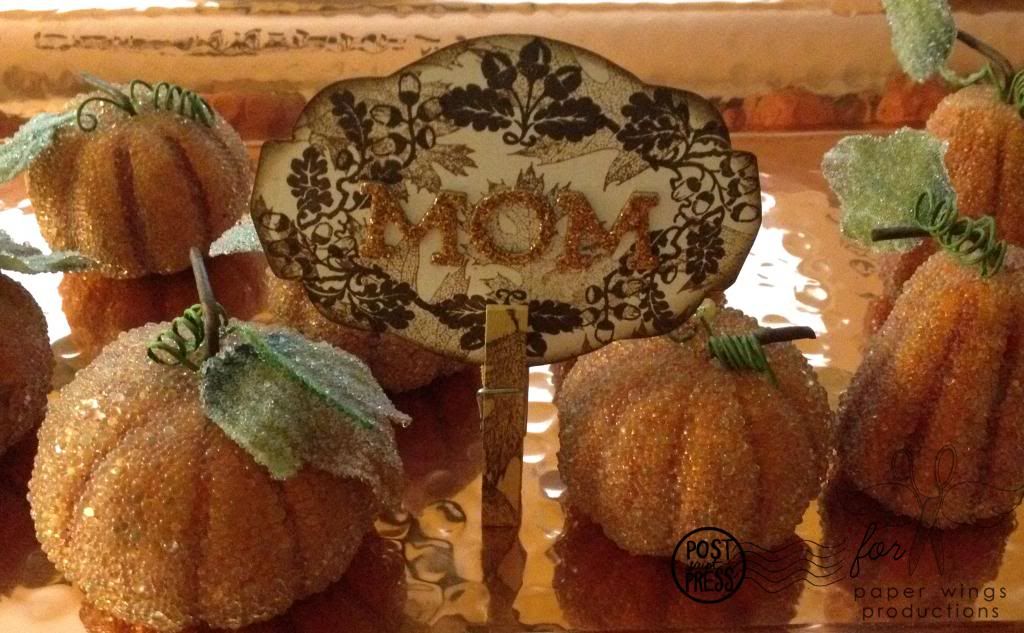
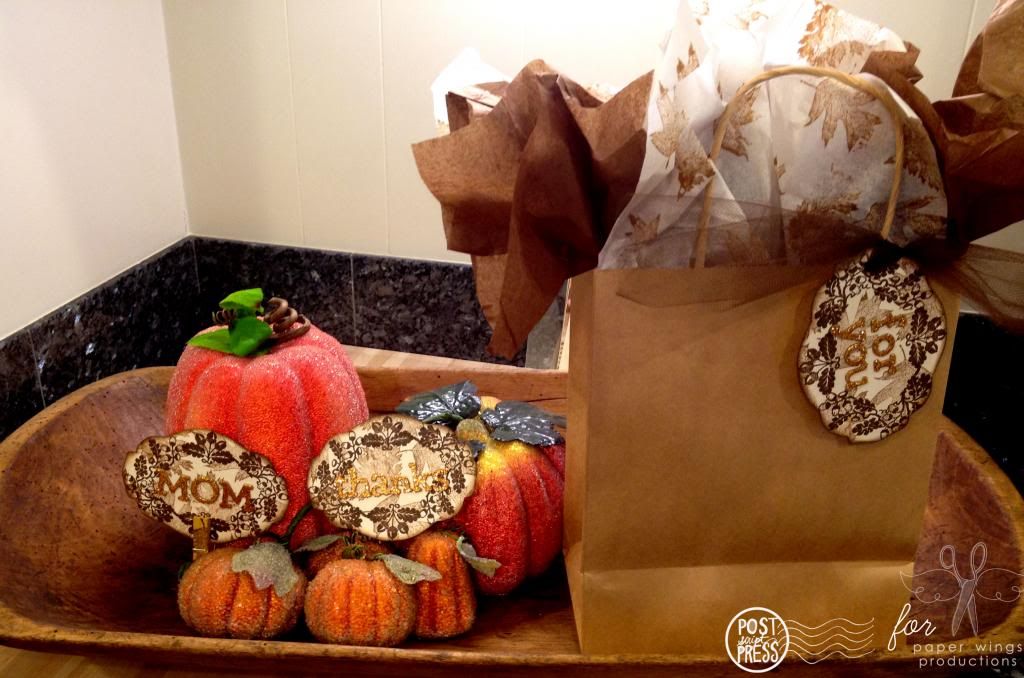
1. Make a place card by adding a person's name in gold Thickers.  You could also stamp the name using some of our alphabets like: Funky Lower Case,  Perfect Alphabet or Whimsical Pattern Alphabet.  You could also type it or handwrite the names as well.  I also used a very inexpensive wood clothespin from the dollar store to make a matching place card holder.  I simply sprayed it with gold mists/sprays and stamped it with the leaves with Distress Ink in brushed corduroy after it was dry.


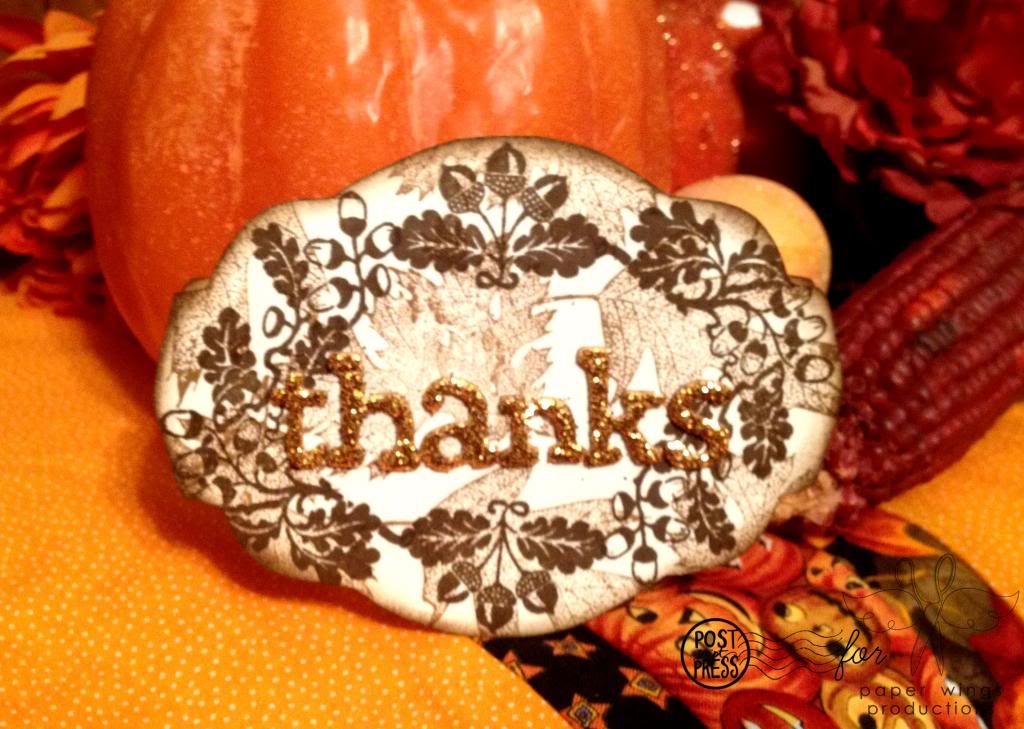
2. Make a little thank you card that is very appropriate for the season. 


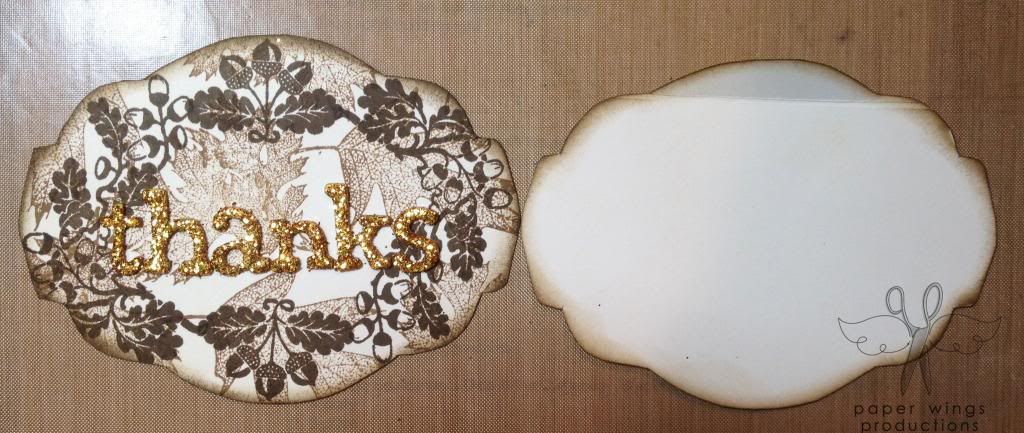
I cut another label from plain cream cardstock and scored a line on the top of it to create a hinge.  I inked the edges with Distress Ink in walnut stain.  I then attached the decorated label to the scored label to make a card.  For a uniform look I again used the gold Thickers to spelled out "thanks".  You could also use the Thankful stamp set and it would be beautiful embossed in gold.


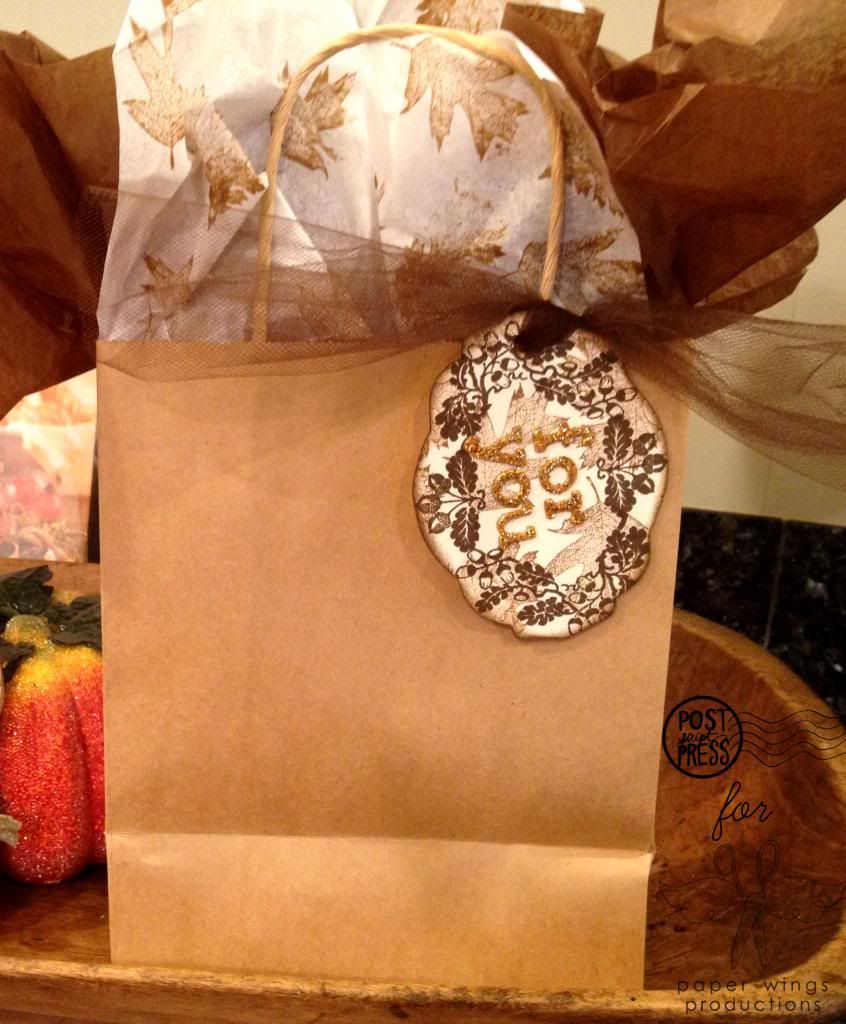
3. A tag for a gift bag that could hold a hostess gift.  I simply added "for you" in gold Thickers.  I also punched a hole and attached it to a kraft bag using some brown tulle (thanks Liz!).  I also stamped some really inexpensive white tissue paper with Distress Ink in brushed corduroy with the leaves from the Leaf or Leaves stamp sets.  It just adds that perfect touch.


Just imagine changing up the colors and images to make these items perfect for winter and/or Christmas!

And another look at all those labels put to use:


I hope this inspires you to pull out your Paper Wings Productions stamps and make something to celebrate autumn and the season of thanks.  We would love to see what you make with Paper Wings Productions stamps.  Add your projects to our flickr group, to Pinterest, comment with a link on this post or even email pictures to us!

Take flight,
Shay.

Supplies:

Ink: Tim Holtz Distress Ink in brushed corduroy and walnut stain
Cardstock: Neenah Paper in recycled 100 natural white
Other: Inksentials Ink Blending Tool by Ranger; Thickers by American Crafts; clothespin; kraft gift bag, brown tulle, hole punch, white and brown tissue paper; Glimmer Mist in gold; Mister Huey's by Studio Calico in gold
Related Posts Plugin for WordPress, Blogger...