Showing posts with label paris. Show all posts

Wednesday, May 16, 2018

Burned Cork Gift Card Tins

Burned Cork Gift Card Tins

Hi! Dana Tatar here today sharing a fun way to alter metal tins. As both the sports season and school year come to a close, I find myself giving a lot of gift cards to the teachers and coaches that have helped my daughters over the year. Instead of tucking the gift cards into an envelope, I decided to upcycle some metal tins. I used some of my favorite Paper Wings Productions stamp sets and a wood burning tool to embellish pieces of cork. I love using my wood burning tool on soft materials like cork and leather.

Hello Kitty Metal Cookie Tins Before Altering

Here's what my metal tins looked like before I started this project. The bottom half of the tins are a solid color, so I chose to leave that portion of the tin untouched and focus my efforts on covering the top of the tin.

How to Apply Fabric Tape to Metal Tins

Metal can be tricky to cover with paint, so instead I applied a strip of fabric tape around edge of the lid.

How to Stamp on Cork with Archival Ink

Next, I cut pieces of cork to size and stamped designs onto them using archival ink.

How to Use a Wood Burning Tool on Cork

Once I was happy with the designs, I used a wood burning tool to trace over the stamped images.

How to Attach a Burned Cork Piece to a Metal Tin

Finally, I simply used hot glue to attached the burned cork pieces to the top of the metal tins. I love the look of burned cork. I plan to wrap a piece of colorful ribbon around each tin before I give them away. Markers work great on cork, and would be a great way to add color to the burned designs.

Je'Taime Floral Burned Cork Gift Card Tin

Sprinkle Magic Fairy Burned Cork Gift Card Tin


Paper Wings Productions Supplies:
Hanging Stars Clear Stamp Set
Fairies Clear Stamp Set
Paris Clear Stamp Set
Evening Primrose Cling Stamp Set
Mexican Hat Cling Stamp Set
Black Eyed Susan Cling Stamp Set
Bluebonnet Cling Stamp Set

Other Supplies: Metal Tins, Cork Sheet, Archival Ink, Fabric Tape. Wood Burning Tool

Pin It!

Burned Cork Gift Card Tin Tutorial


Thursday, July 11, 2013

Themed Thursday: European Vacation


Hello there!  It's Shay here today to bring you Themed Thursday.

But first I need to toot the horn of the rest of the design team because they are doing a fabulous job! 
Want to see what I mean?  Of course you do!

Here are some recent posts to enjoy:


Wow!  That's a whole lot of gorgeous inspiration. 

Hopefully I can live up to what has preceded me.  Let me know how I did!

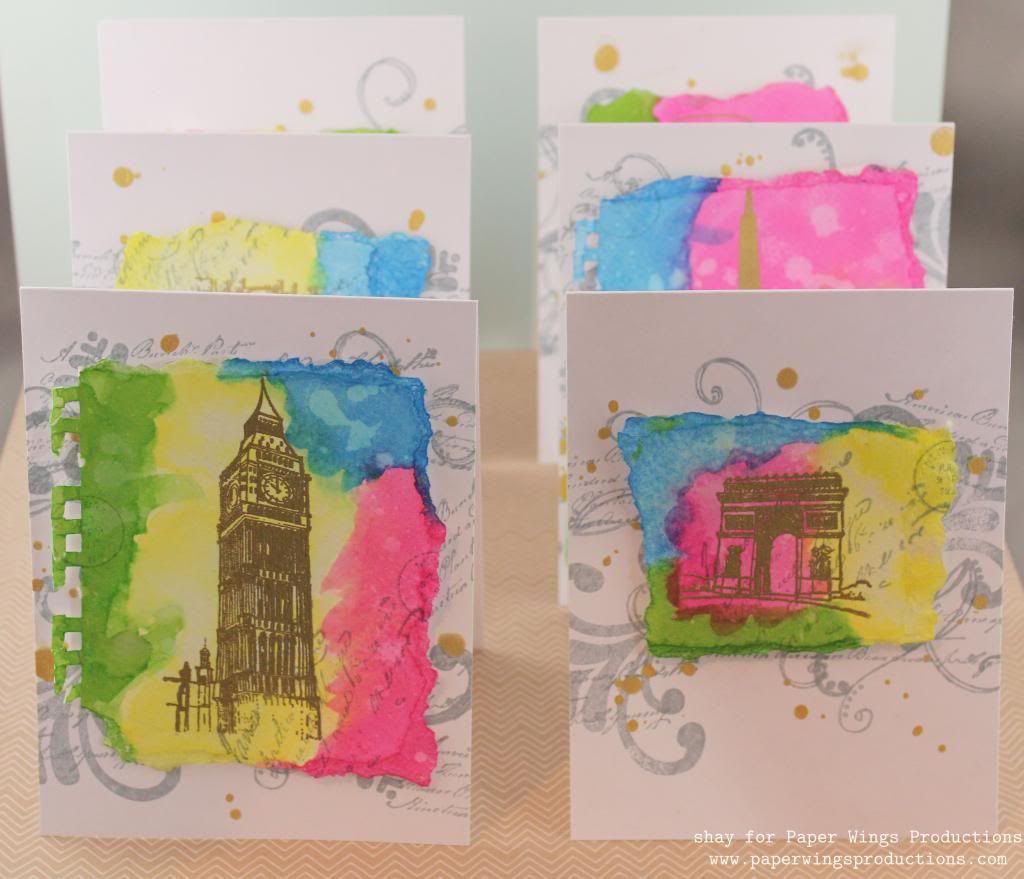
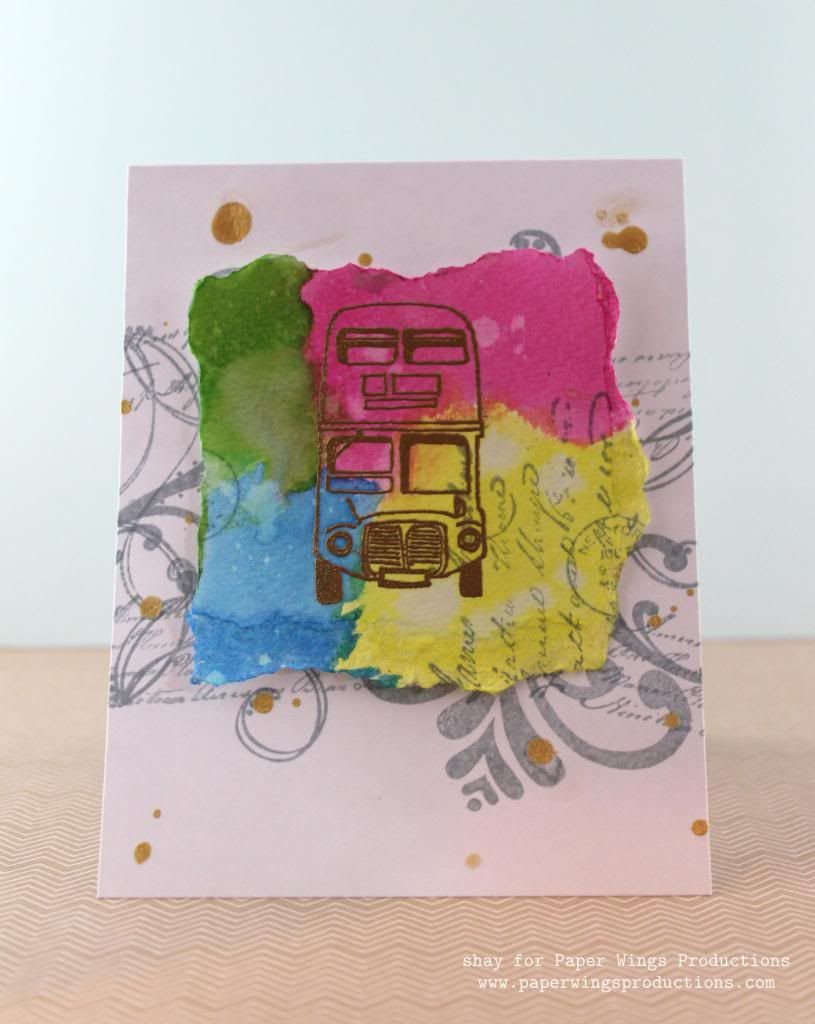
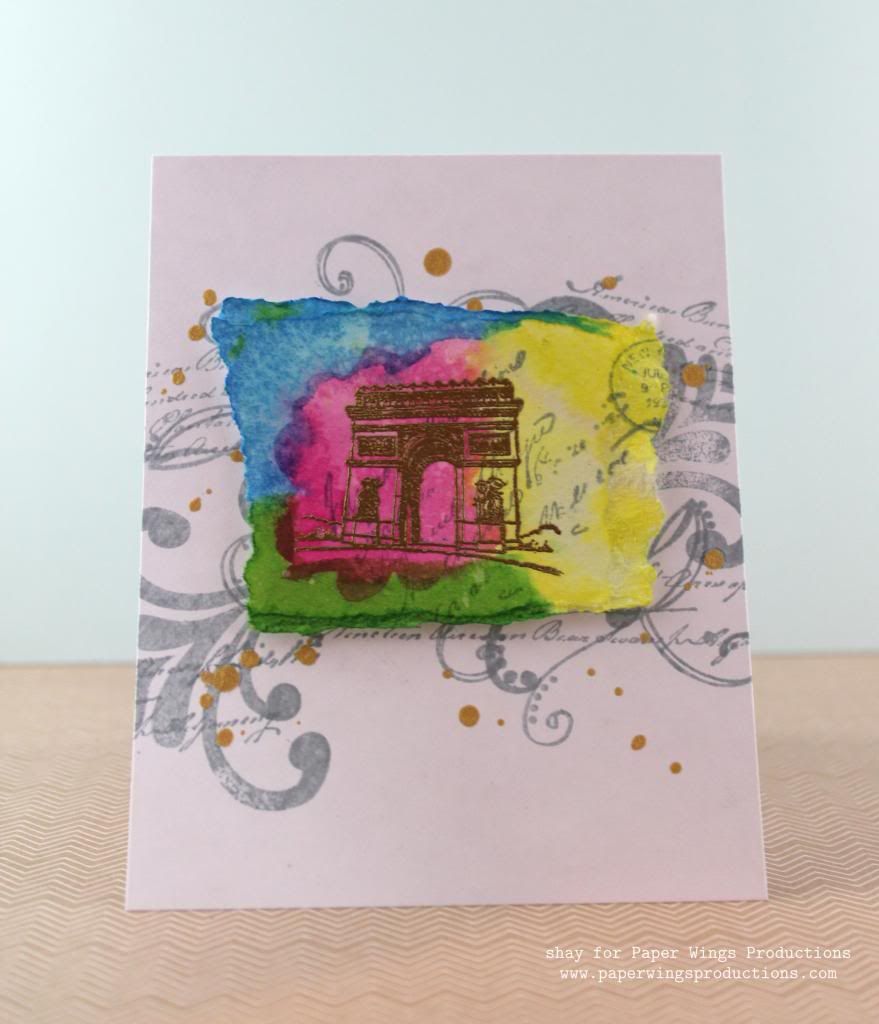
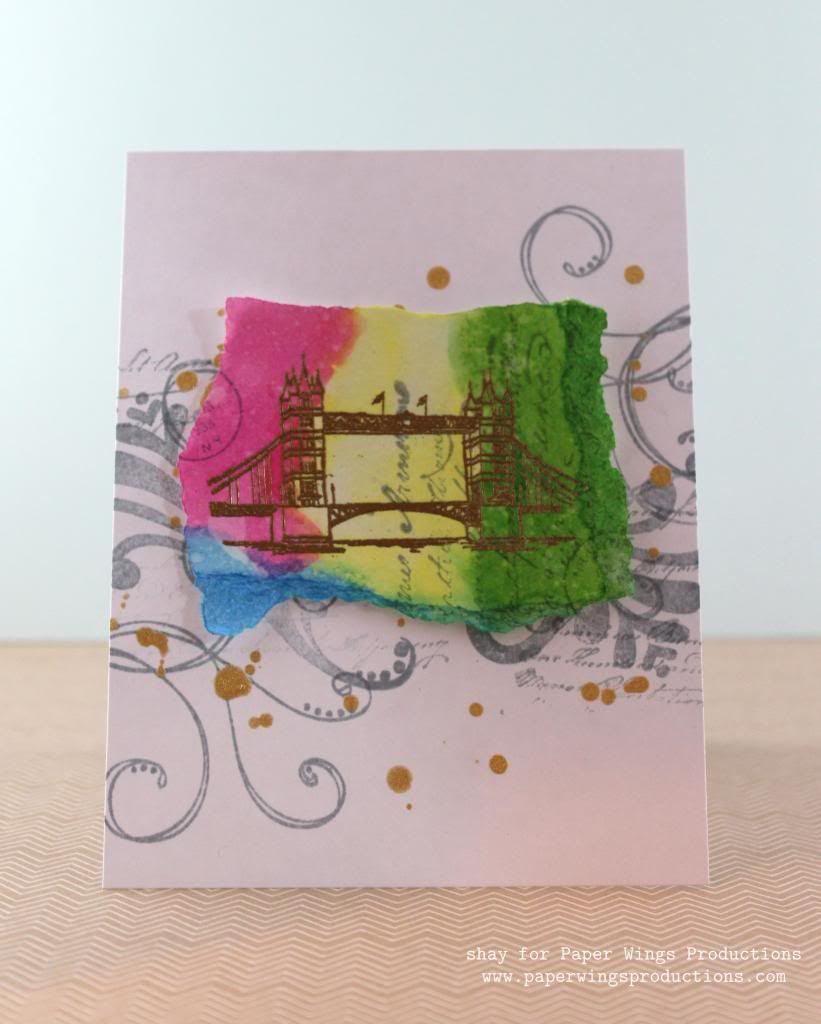
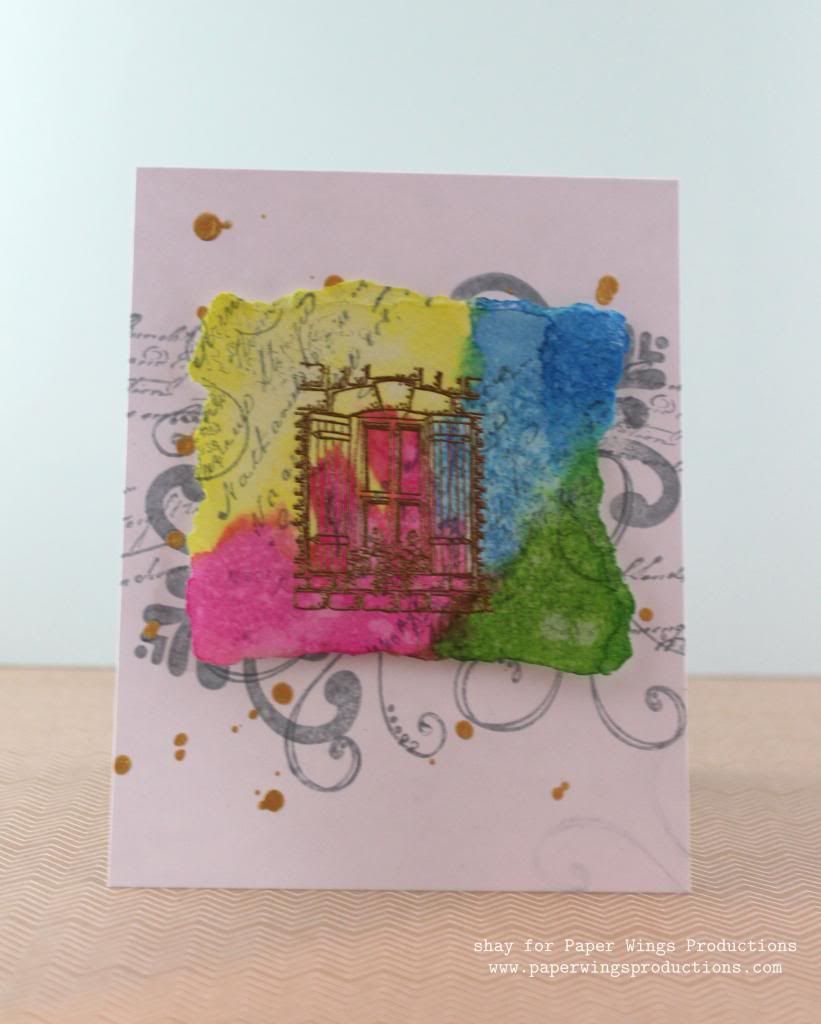
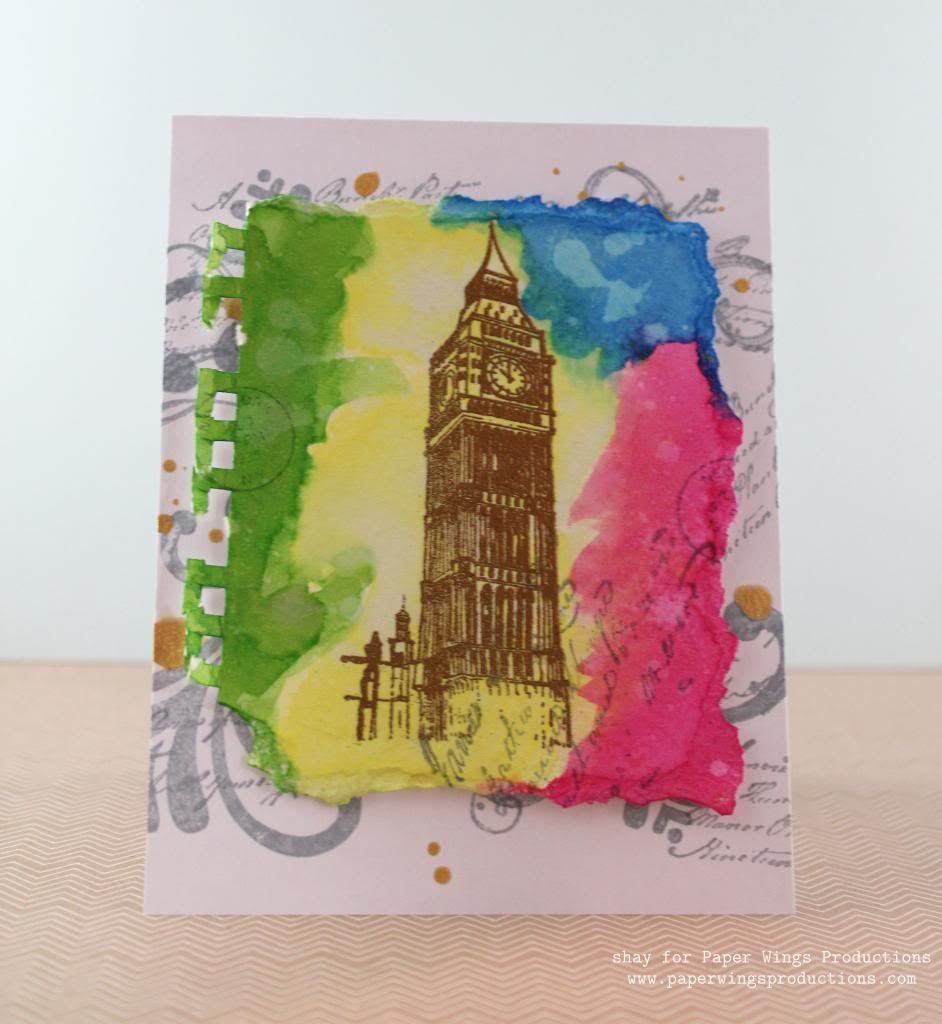
I went for a set of bright and happy cards using the London and Paris stamp sets.  Summer is the time of travel and although I am not travelling anytime in the foreseeable future, I can always dream and use these stamps to travel vicariously.


What I did:

1. I stamped an image from the London and Paris sets onto a piece of torn watercolor paper with VersaMark and heat embossed it using gold embossing powder.
2. I painted the piece of watercolor paper with watered down Distress Inks.  Flicked water over the image and let it dry.
3. I stamped the postage seal and some of the handwriting from Text Melange or Text onto the piece of watercolor paper in grey ink. 
4. For the background of each card I stamped in grey ink some images from Flourish Fun 1, Flourish Fun 2 and Text Melange or Text. 
5. The final touch for the background were drops of gold color shine. 
6. I adhered the watercolor panel to the card base with dimensional adhesive.


Voila!  A bunch of fun cards.  You can easily add a stamped or handwritten sentiment under the image or do all the writing inside.

We would *love* to see what you make with Paper Wings Productions stamps. Add your projects to Facebook, our flickr group, to Pinterest, comment with a link on this post or even email pictures to us!

Take flight,
Shay.


Supplies:
Stamps:


Ink: mowed lawn, squeezed lemonade, picked raspberry and salty ocean, Tim Holtz Distress Ink by Ranger; weather vane, Jenni Bowlin for Ranger; VersaMark, Tsukineko
Paper: white cardstock, Georgia Pacific; watercolor cold press 400 series 140 lb., Strathmore
Other: detail metallic gold, JudiKins; heat embossing gun; gold color shine, Heidi Swapp; dimensional adhesive


Monday, April 22, 2013

Altered Train Case - April In Paris Mixed Media Kit

Happy Monday Everyone!  Did you have a great weekend?  Well I hope you did!  Today is one of my very favorite days, Mixed Media Monday!!


I've been so excited about each and every kit that Carrie has put together and this month's kit is no exception.  These kits offer such a gorgeous assortment of items and I just loved what Dana did with it last week.  If you missed her post, you can check it out HERE.  Today I'm sharing my spin  on this gorgeous kit!


I've had this vintage case that I picked up at a local antiques mall for awhile now.  I knew that I wanted to refinish it but really had no idea how, until I saw April's Mixed Media kit.


This is what it looked like before.  I peeled off the alligator paper and sanded the box down.


Next I applied a layer of gesso and then a layer of fluid acrylic paint.


Once the paint was dry, I just went to town stamping.  I literally used every single stamp in the Royal Melange stamp set included in the kit.  After I was done stamping, I gave the case a light white wash with the Tim Holtz Distress Stain from the March Mixed Media kit.


To create this collage, I used a combination of items from the March and April Mixed Media Kits. I used a library card and some book text from the March kit, images from the April kit and the Faber Castell gel medium to adhere them to the case.  I created additional texture with the Mr. Huey stencil and molding paste.


I combined the key trim from the March kit with the beautiful May Arts ribbon in the April kit.  To create the king charm, I added a layer of book text from the March kit to an unfinished wood charm and stamped the king.  Then I applied a layer of the Faber Castell glaze for some shine.  To alter the crown charm included in the April kit, I painted it with the Faber Castell gesso then applied a layer of fluid acrylic in Raw Umber, rubbing the excess off of the raised parts.  The rest of the beads are from my stash.


To finish off the case I rubbed a little of the Raw Umber fluid acrylic to all of the edges.


All of the sides received the same treatments as the front.


This beautiful kit made altering this vintage case so easy and it blended so well with March kit.  To get a closer look at the April kit, please visit the PWP Online Store and I think you might still be able to pick up the March Mixed Media kit too (but don't quote me on that).  


Well I hope Dana and I have inspired you to get creative with these gorgeous Mixed Media kits!  Feel free to share pics of your PWP projects with us on Facebook, we'd love to see what you're creating!!  Have a Wonderful week and THANKS for joining me today!!


Thursday, April 18, 2013

Themed Thursday - Texture and the April Mixed Media Kit


Hi PWP fans! Dana here today with you sharing a themed post all about texture and the fabulous April Mixed Media Kit. The mask, rub-ons, clip art, Textural Accents and Paper Wings Productions Stamps found in the kit make adding layers of texture to your projects easy and fun!


If you'd like a closer look at the April Kit, Carrie put together a great video showcasing the contents, which feature a Paris theme. You can find the video HERE.


The kit comes with blank artist trading cards, which is a great size to experiment with new techniques and mediums. I started this card by covering it with a pretty patterned paper and one of the clip art photos from the kit. I then added some cloud rub-ons to the photo and a postal stamp from the Royal Melange Set to the top right-hand corner of the card. Both of these items are included in the kit!The "Paris" stamp is part of the Paris Clear Stamp Set.


I mixed some ink into the Gel Medium from the Textural Accents Set to create the rich brown color and spread it over the Huey's Circles Mask to add a textured pattern to the card. I highlighted the Eiffel Tower with some Star Dust Stickles (also in the kit!) to finish the card.


I started this second ATC the same as the first, with patterned paper and an image from the clip art sheet. I then added several layers of clear embossing powder. 


While the final layer of embossing powder was still hot, I pressed two stamps from the Royal Melange Stamp Set into the powder. To keep the stamps from sticking to the card, coat them with watermark ink before you press them into the melted powder. 


I chilled the card in the freezer for a couple of minutes and then bent the card in several places to crack the surface. I mixed Glaze from the Textural Accents Set with some brown ink and brushed it over the surface of the card to highlight the stamped impressions and cracks and to give the card an aged look.

Thanks so much for stopping by today! I hope I have inspired you! You can pick up the April Mixed Media Kit from the Paper Wings Productions Store. There are also a couple March Mixed Media Kits available! If you missed Tara's Technique Tuesday post from this week, scroll down to learn how to add texture to your projects using a crayon resist!

We would love to see what you make with Paper Wings Productions Stamps! Add your projects to our Flickr Group, to Pinterest, to our facebook page or leave a comment on any blog post with a link to your project.


Related Posts Plugin for WordPress, Blogger...