Showing posts with label london. Show all posts

Thursday, July 11, 2013

Themed Thursday: European Vacation


Hello there!  It's Shay here today to bring you Themed Thursday.

But first I need to toot the horn of the rest of the design team because they are doing a fabulous job! 
Want to see what I mean?  Of course you do!

Here are some recent posts to enjoy:


Wow!  That's a whole lot of gorgeous inspiration. 

Hopefully I can live up to what has preceded me.  Let me know how I did!

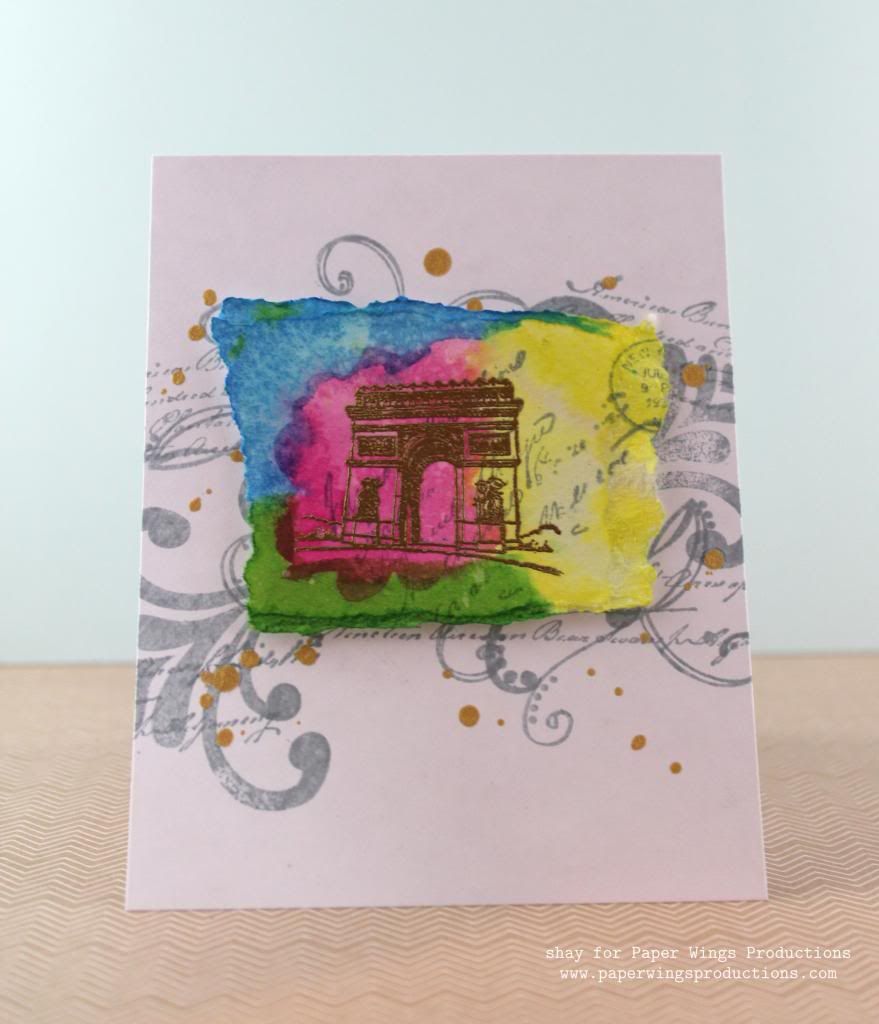
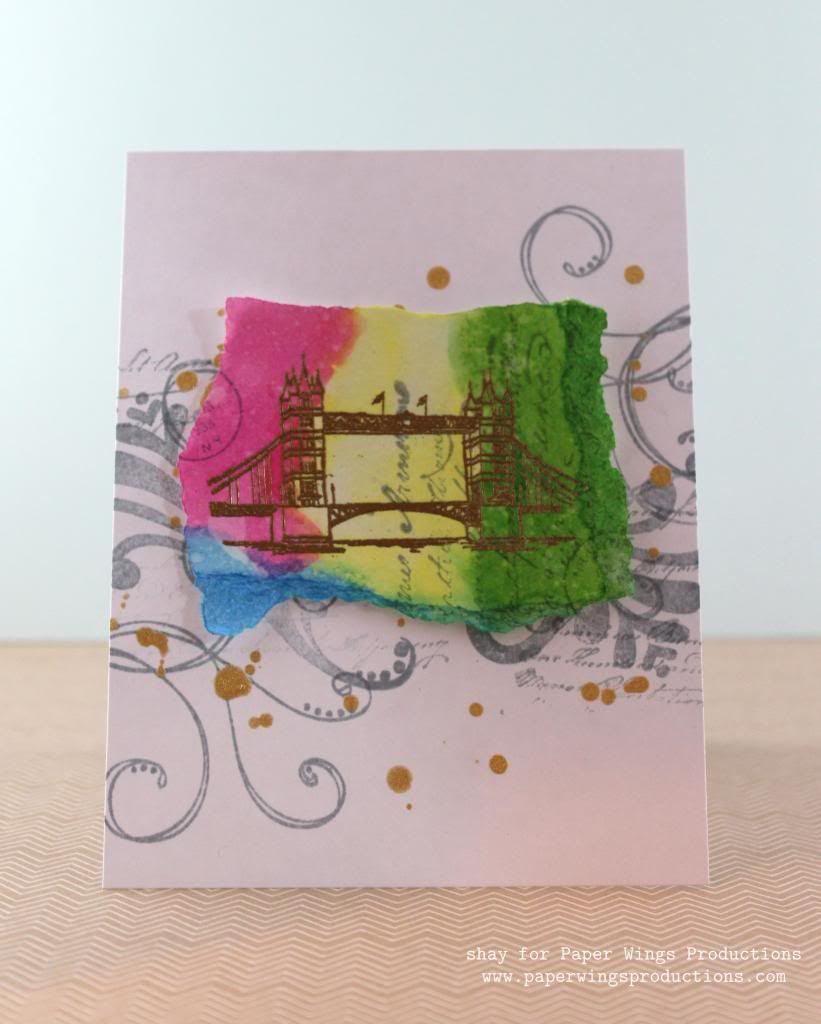
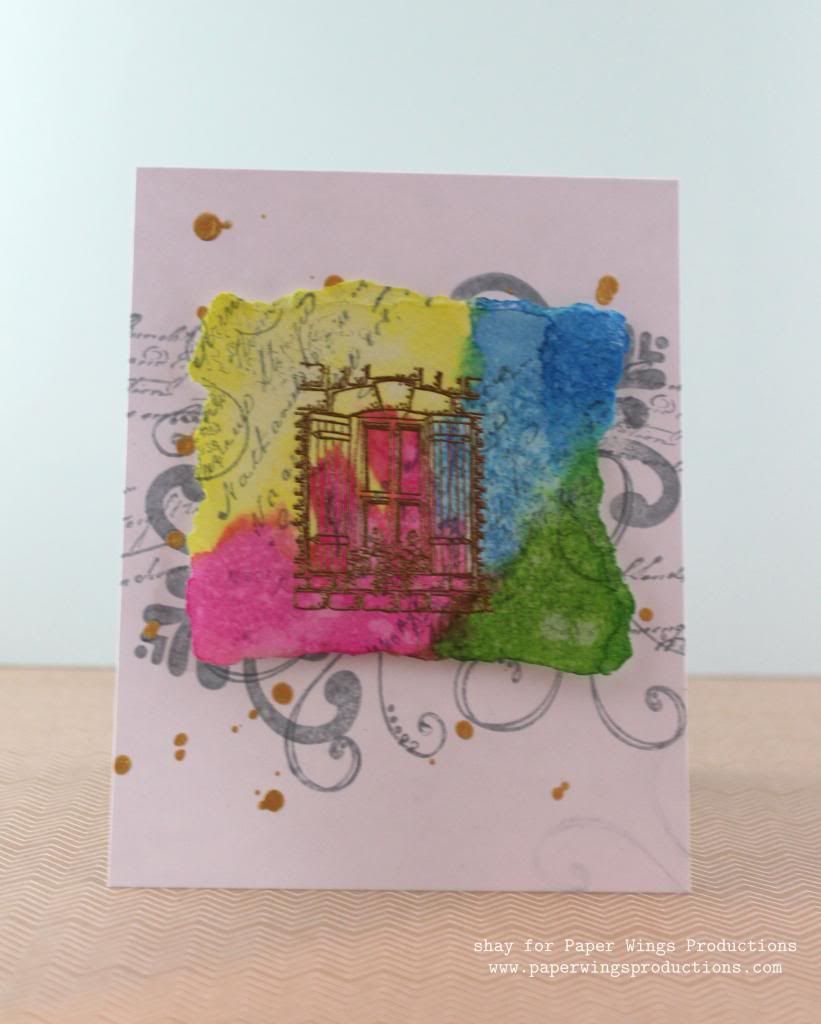
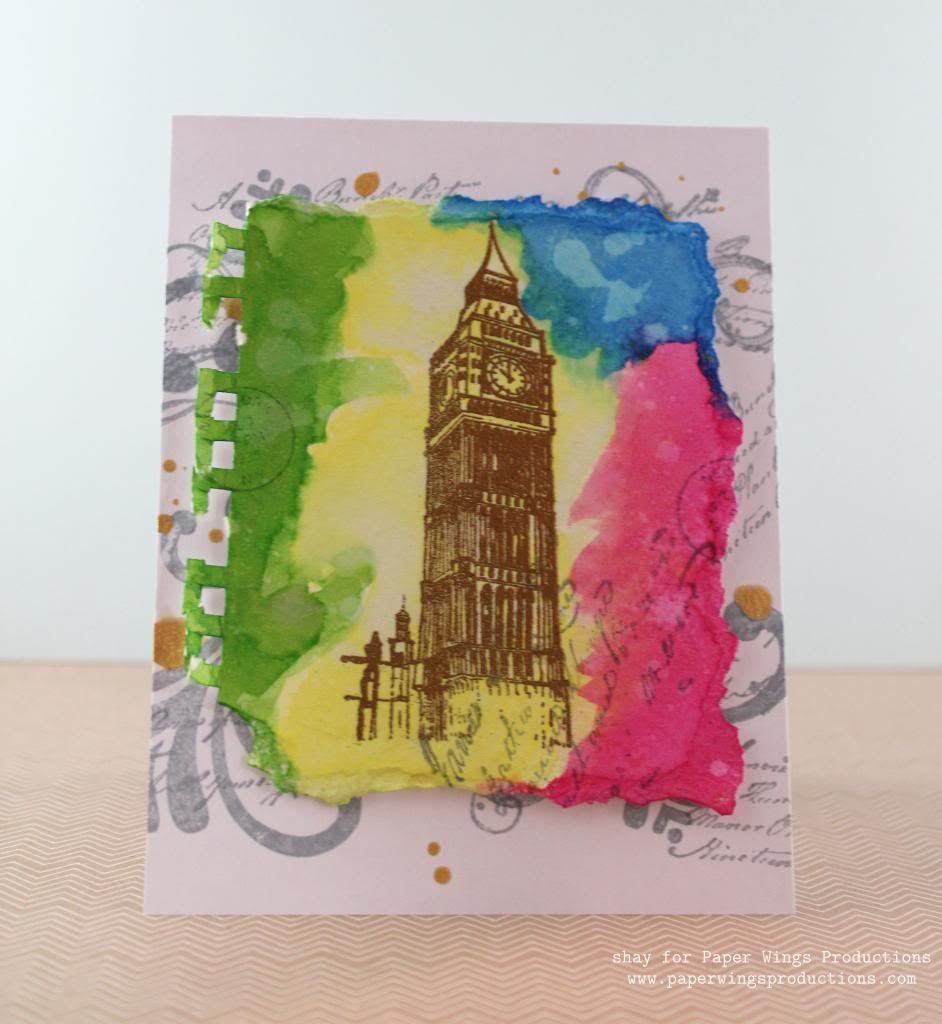
I went for a set of bright and happy cards using the London and Paris stamp sets.  Summer is the time of travel and although I am not travelling anytime in the foreseeable future, I can always dream and use these stamps to travel vicariously.
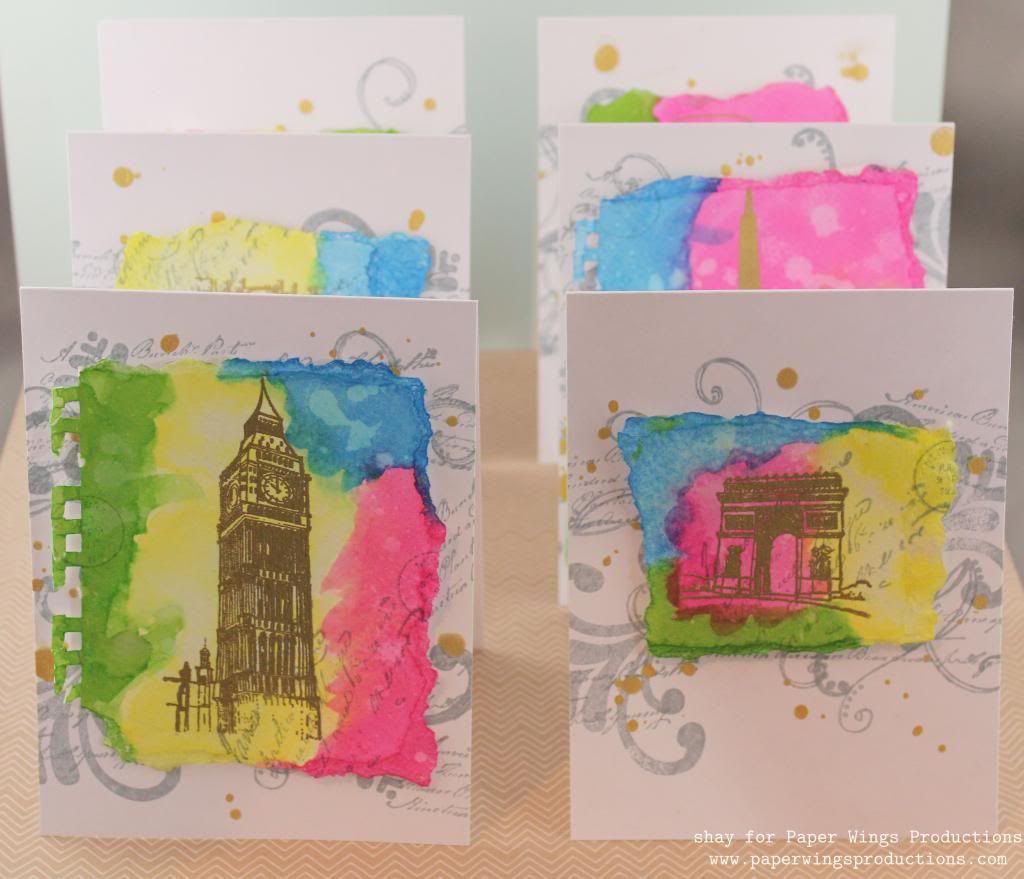

What I did:

1. I stamped an image from the London and Paris sets onto a piece of torn watercolor paper with VersaMark and heat embossed it using gold embossing powder.
2. I painted the piece of watercolor paper with watered down Distress Inks.  Flicked water over the image and let it dry.
3. I stamped the postage seal and some of the handwriting from Text Melange or Text onto the piece of watercolor paper in grey ink. 
4. For the background of each card I stamped in grey ink some images from Flourish Fun 1, Flourish Fun 2 and Text Melange or Text. 
5. The final touch for the background were drops of gold color shine. 
6. I adhered the watercolor panel to the card base with dimensional adhesive.
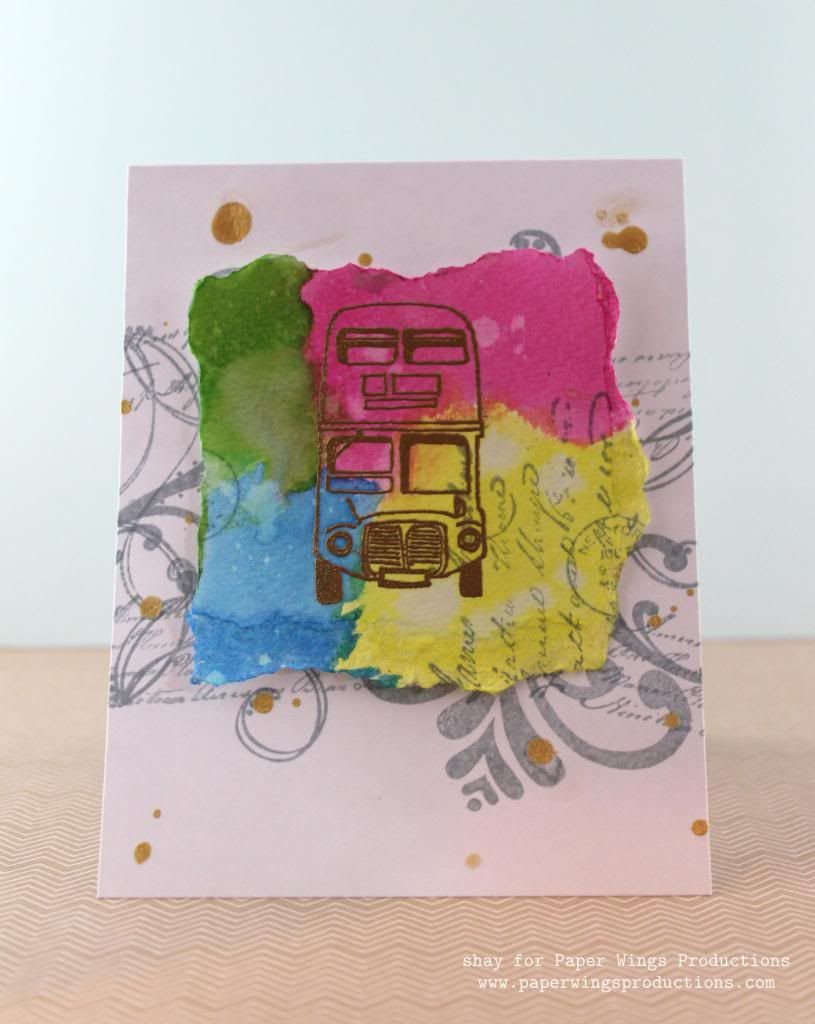


Voila!  A bunch of fun cards.  You can easily add a stamped or handwritten sentiment under the image or do all the writing inside.

We would *love* to see what you make with Paper Wings Productions stamps. Add your projects to Facebook, our flickr group, to Pinterest, comment with a link on this post or even email pictures to us!

Take flight,
Shay.


Supplies:
Stamps:


Ink: mowed lawn, squeezed lemonade, picked raspberry and salty ocean, Tim Holtz Distress Ink by Ranger; weather vane, Jenni Bowlin for Ranger; VersaMark, Tsukineko
Paper: white cardstock, Georgia Pacific; watercolor cold press 400 series 140 lb., Strathmore
Other: detail metallic gold, JudiKins; heat embossing gun; gold color shine, Heidi Swapp; dimensional adhesive


Friday, August 24, 2012

Feature Friday: Framing a Scene

Happy Friday peeps!

Summer may be waning, but the fun here at The Aviary sure is not.  Have you seen Norma G.'s beautiful mixed media notebook tutorial Monday or Julie's pretty card Wednesday with great ideas on how to make multiples of one card?

Today, I thought I would challenge myself by building several scenes using our Framer (Day Framer, Details Framer, Life Framer and Snapshot Framer--I chose to use the Life Framer and Snapshot Framer) and Window sets.

After you stamp out your frame on cardstock there are several ways to build the scene within a frame:


  1. Masking.  You can create a mask of your frame using a masking product or a piece of computer paper with repositionable tape. 
  2. Cut Out Scene.  You would stamp your scene inside your frame not worrying about stamping over the frame and simply cut out the inside of the frame and place it on another (clean) stamped image of your frame.
  3. Cover Frame.  Similar to the previous option, you would stamp your scene inside your frame not worrying about stamping over frame and the cover the outside frame with another (clean) stamped and cut out image of your frame.
Whichever way you prefer, make several scenes using stamps like London, Paris, Royal Melange, Luc, Louise, Marcel and Sophie.

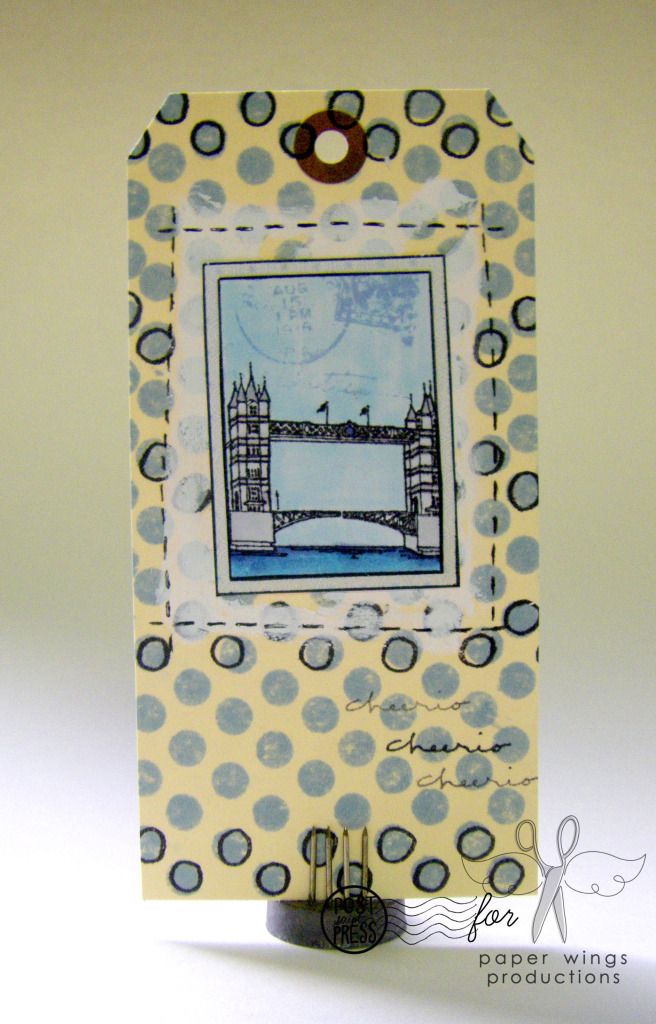
Now you can add your scenes to all sorts of things.  Place them on a stamped tag:


Stamps used: Window; London and Writing Backgrounds on scene; Double Dot Border and London on background.

1. Stamp scene, color in with Copic markers and cut out inner rectangle.  Adhere inner rectangle to another window image stamped upon patterned paper.  Cut out.

2. Stamp solid Double Dot Border in blue to cover a tag.  Stamp outline Double Dot Border over a few of the solid Double Dot Border in black.

3. Paint a block of gesso where framed scene will be placed.  Outline with dash marks made with black pen.  Adhere framed scene to tag.  Stamp sentiment three times.


Create a simple card (or card set):


Stamps used: Life Framer; Paris, Sophie and Text Melange on scene/heart; Lace Border on card base

1. Stamp scene and color in with Copic markers.  Stamp and cut out frame from patterned paper.  Adhere patterned paper frame over scene and cut out.

2. Stamp heart and color in with Copic markers.  In grey ink stamp Text Melange over heart.  Stamp sentiment from Sophie.  Cut out and add to frame.

3.  Stamp solid Lace Border in blue on card base.  Stamp over solid Lace Border with outline Lace Border in black.

4. Adhere frame to card base.


Find a way to use some scraps by adding your framed scene as a focal image:


Stamps used: Snapshot Framer; Royal Melange and Text Melange on scene; Hanging Stars and Marcel on Snapshot Framer; Backgrounds on background

1. Mask outer frame.  Stamp scene and color in with Copic markers (I did a little masking of the king on this one). Remove mask.  Stamp sentiment from Marcel.  Stamp star from Hanging Stars with yellow and orange inks.

2.  I found two pieces of scraps (or leftovers) to create an interesting background that I adhered onto the card base.  The dark blue embossed background comes from my Mermaid project).  The other was a piece of patterned paper that I had punched a lot of stars for my Once Upon a Time project--for this I merely cut a strip from that.

3. Adhere framed scene to card with dimensional adhesive.


We would love to see your take on framed scenes.  Please post them to our flickr group or on Pinterest.

Have a weekend full of fun!

Take flight,
Shay.

Stamps: Backgrounds, Double Dot Border, Hanging Stars, Lace Border, Life Framer, London, Marcel, Paris, Royal Melange, Snapshot Frame, Sophie, Text Melange, Window and Writing Backgrounds
Ink: Memento in tuxedo black, Tsukineko; Jenni Bowlin for Ranger in Chicken Feed, Lemon Drop, Soap Powder and Weather Vane
Cardstock: Georgia-Pacific
Patterned Paper: Crate Paper and Studio Calico
Other: Copic Markers; American Crafts black pen; Claudine Hellmuth Studio by Ranger gesso; Stampin' Up! star punch; Scotch dimensional adhesive
Related Posts Plugin for WordPress, Blogger...