Happy Wednesday peeps!
It's
Shay here and we are in the thick of Halloween crafting. Did you see
Robin Nowak's adorable witch tag? You really have to go see it!
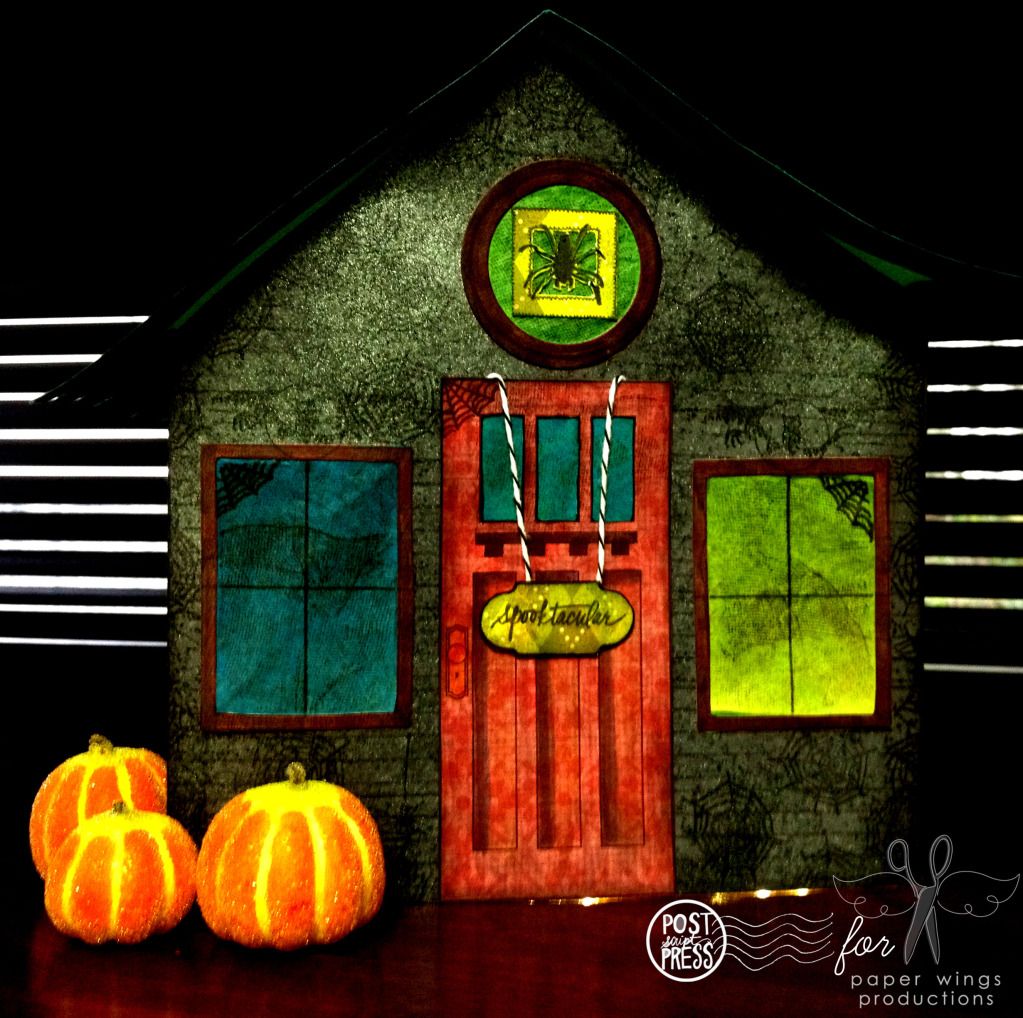
Today I am here to share a little house to decorate your home with for Halloween using just cardstock, patterned paper, tissue paper, inks, markers, water, a little iridescent spray and Paper Wings Productions stamps of course! I was inspired by the new
Door stamp set designed by
Julie that coordinates with her
Window set. Both of these sets have so many options. There is also the
Holiday Add-Ons set which can be used with the
Door and/or
Window sets to add a festive flair to your projects!
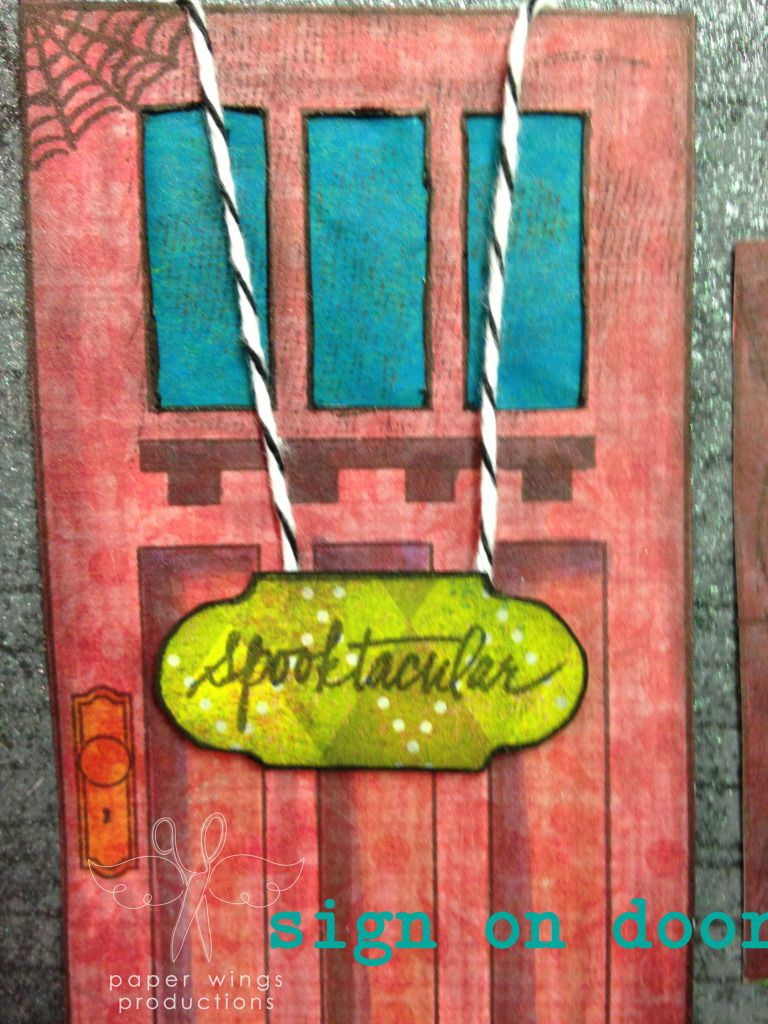
I first created the door by stamping the door image from
Door stamp set in black ink (Memento) on a piece of patterned paper that I then colored in with Copic and Distress markers. I cut out the three upper panels of the door to make windows. Julie created a beautiful door that you can really customize. You could have the whole door be a solid surface (how cool would it be stamped onto wood, wood patterned paper or metal?) or cut out different panels to add windows to the door. I also distressed the edges with black ink and my ink blending tool (black soot Distress Ink).
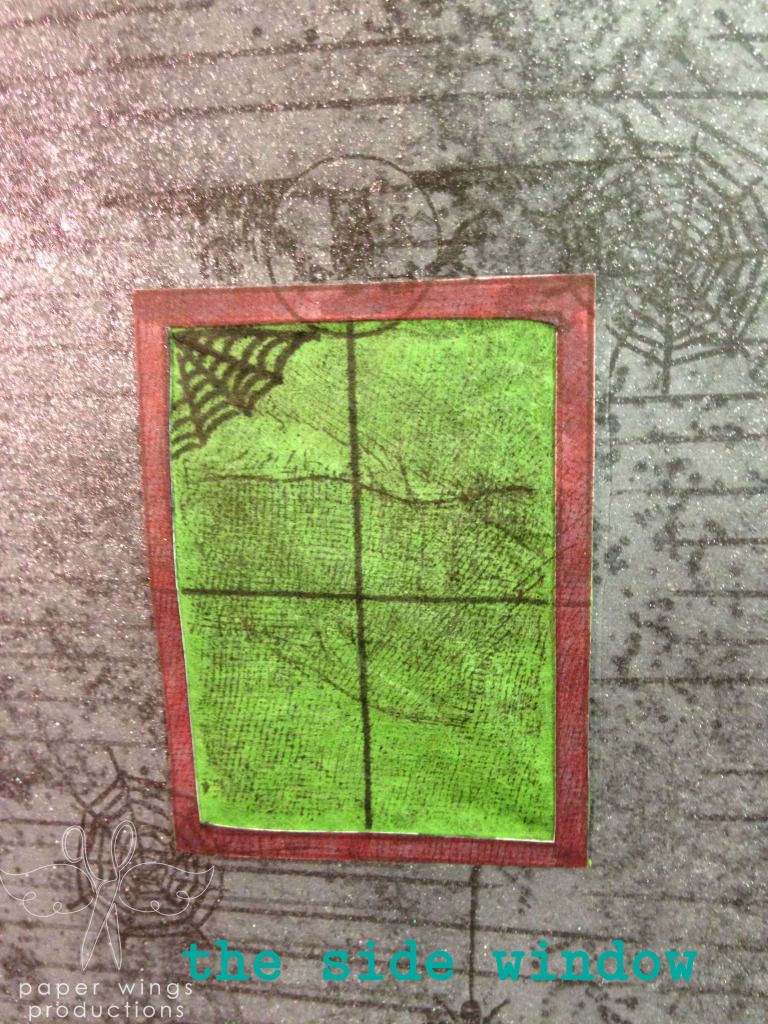
Next I stamped three windows using the window from the
Window stamp set in black ink (Memento) on the same patterned paper as the door. I colored in the frames with a grey Copic marker. I cut each frame out and used a black ink and a black marker to clean up the edges. I also stamped the circle from the
Limited Edition stamp set and used it with some circle dies to create a circle window frame that I colored in just like the other windows. I then backed all of the windows using teal and green tissue papers. After that I stamped the lines from
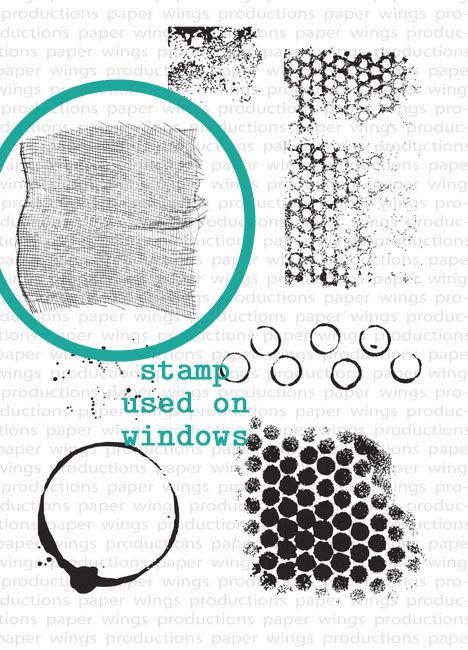
Window to create panes on the larger windows. For more interest I stamped the screen looking stamp from
Art Textures in black over the tissue paper and I also stamped the corner spiderweb from
Halloween Mix It Up on each of the bigger windows.
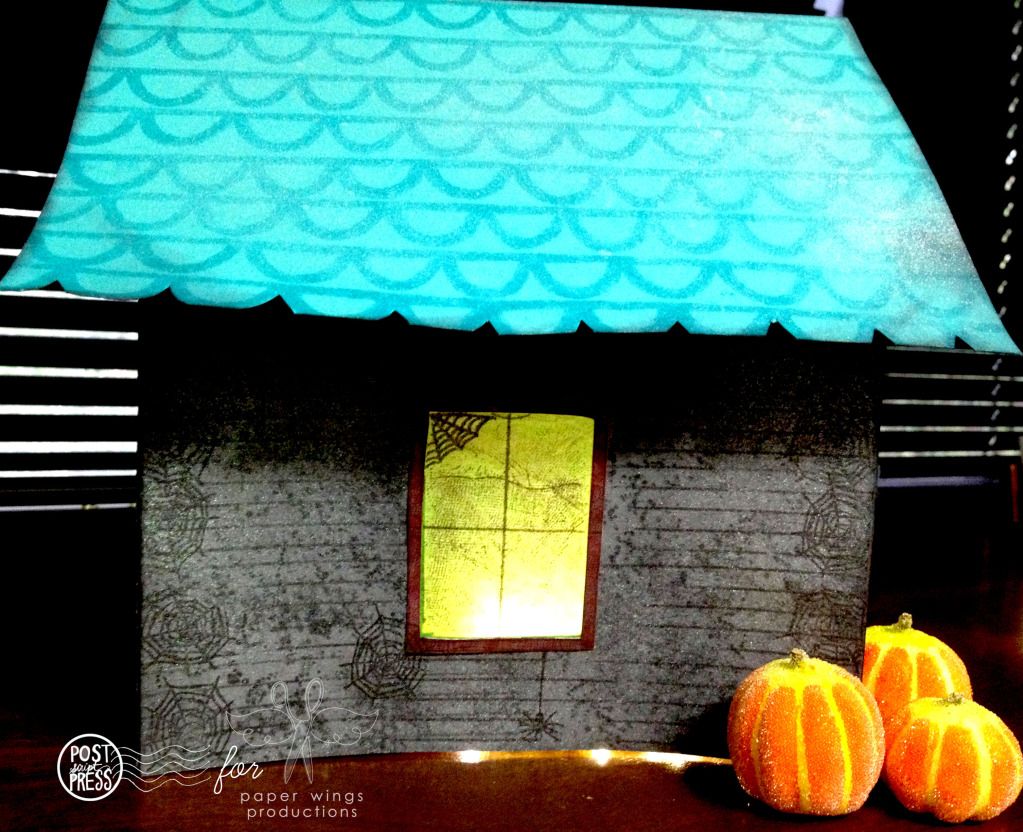
I cut out a house shape out of grey cardstock using the windows and door as reference guides in four sections (for each of the four sides of the house). I also marked where I wanted the door and windows placed and cut out areas where they would be so that light would shine through the tissue paper correctly. I tried to make the holes smaller than the outer edge of the object, but larger than the the portion covered only with tissue paper.
I decorated the base of the house with
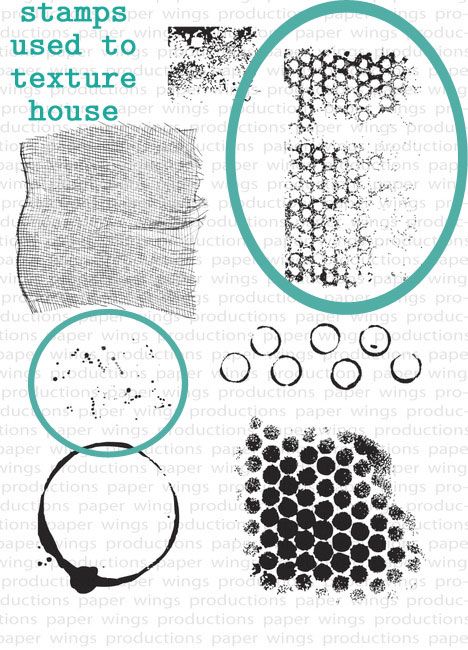
Straight Journaling Lines stamped messily (perfection in this projects is not wanted!) in black ink (Memento) and overstamped it all with the small splatters and punchella from
Art Textures in black ink (Distress Ink). I further distressed it by spraying water over all the sides. I then sprayed all sides with iridescent spray.
I adhered the doors and windows to their proper places and put the house together.
I also added quite a few spiderwebs from
Halloween Mix It Up and the spider from
Witchy Halloween under a couple of the windows. I used the cool owl border stamp from
Halloween is Here above the larger windows.
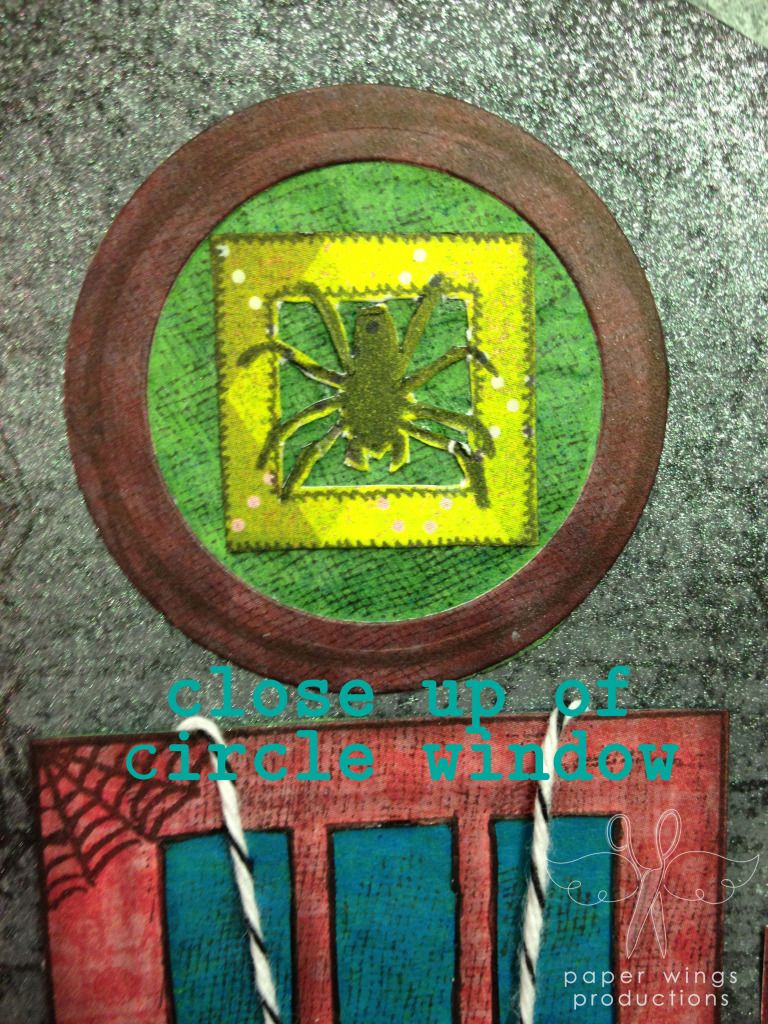
The little spider detail on the circle window was made by using the square wreath from the
Door set and stamping the spider from
Halloween Mix It Up inside on a piece of patterned paper. I cut out portions of the center of the wreath around the spider.
The little sign on the door was made using the sign from the
Door set and spooktacular from the
Halloween Mix It Up set stamped on the same patterned paper as the wreath. I hung it on the door using twine.
For the roof I scored a piece of 8.5 x 11 inch teal cardstock in half and then stamped in teal ink (Distress Ink) the solid image from
Lace Border going down each side starting from the center score. Like all the border stamps, the
Lace Border can easily be lined up to make as long as border as needed. I cut the bottom edge of each side to follow the curve of the scallop. I then edged all of the sides with black ink (Distress Ink).
You can place
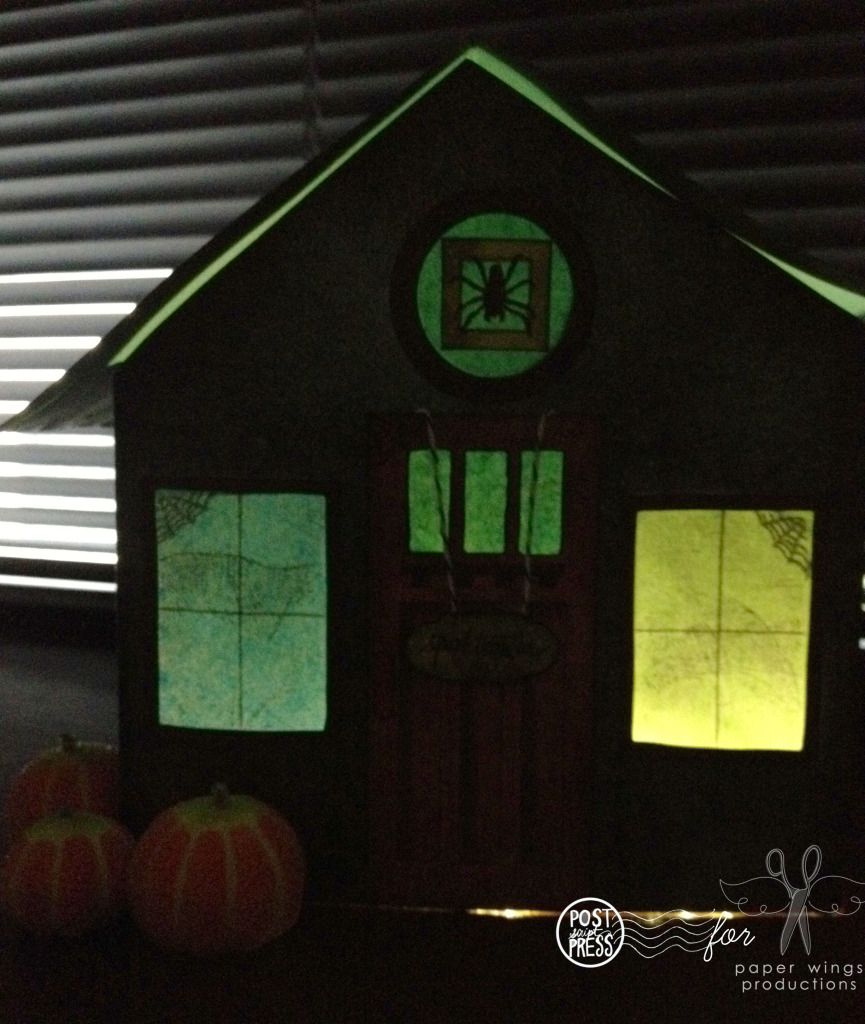
battery operated lights inside the house now and place the roof on top of your house! It would be really cool to add silhouettes of monsters, creatures, insects and/or witches inside the house too.
Here is a picture of the house in the dark:
Pretty fun and spooktacular! What do you think?
We would love to see what you make for Halloween with Paper Wings Productions stamps. Add your projects to our flickr group, to Pinterest, comment with a link on this post or even email pictures to us!
Take flight,
Shay.
Stamps:
Art Textures,
Door,
Halloween is Here,
Halloween Mix It Up,
Lace Border,
Limited Edition,
Straight Journaling Lines,
Window,
Witchy Halloween
Inks: Memento by Tsukineko in tuxedo black; Tim Holtz Distress Ink by Ranger in black soot and peacock feathers
Cardstock: Stampin' Up!
Patterned paper: My Mind's Eye and Basic Grey
Other: tissue paper, Divine Twine by Whiskers Graphics, battery powered lights, water, Memories Mists iridescent, adhesive; Copic markers, Tim Holtz Distress Markers by Ranger, Spellbinders circle Nestabilities dies, Cuttlebug by Provo Craft; hobby knife; scoring tool, ruler