Hello there peeps!
It's
Shay here. Did you enjoy this month's
Summer Fun blog hop? I sure did. I thought the design team did an amazing job. If you haven't had a chance to check out the projects, I strongly recommend hopping along.
Today I have a simple tutorial on using the border stamps to create two cards dedicated to the dads in our lives.
I was looking at two of the borders:
lace border stamp and
triangle border stamp and I saw something interesting. Let's see if you can figure out what I saw too.
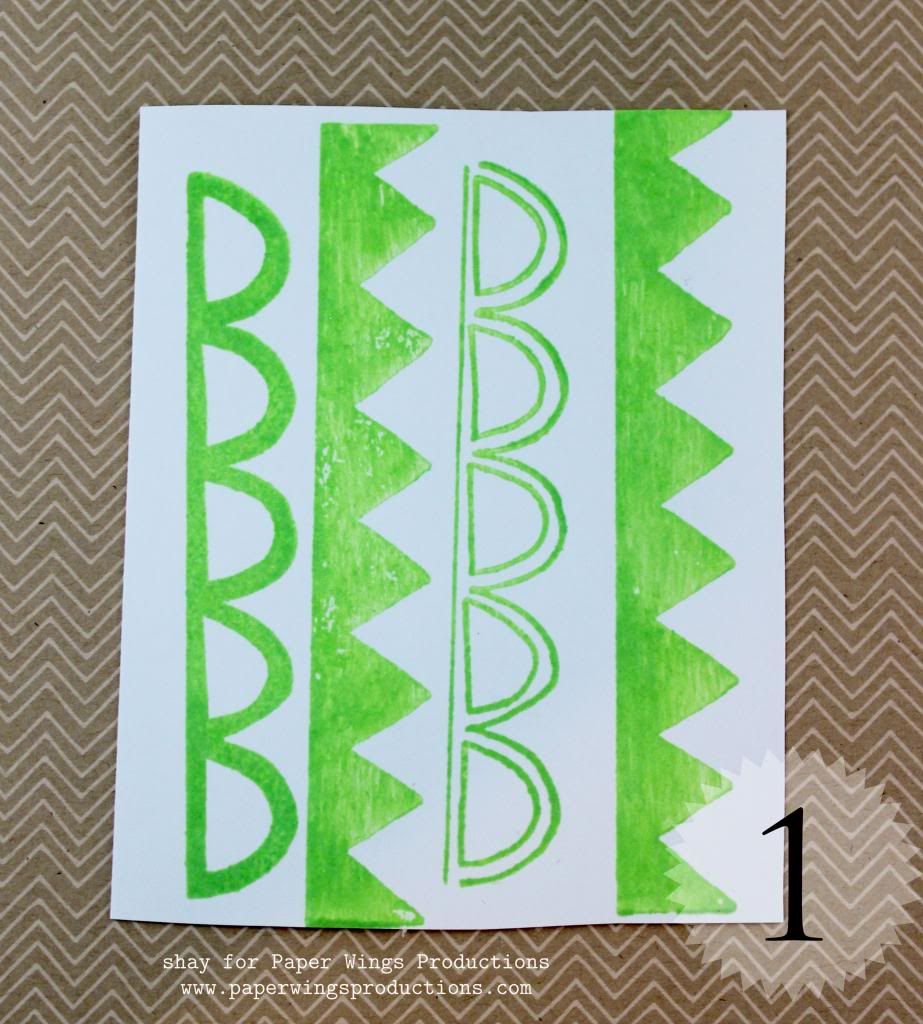
1. Stamp borders.
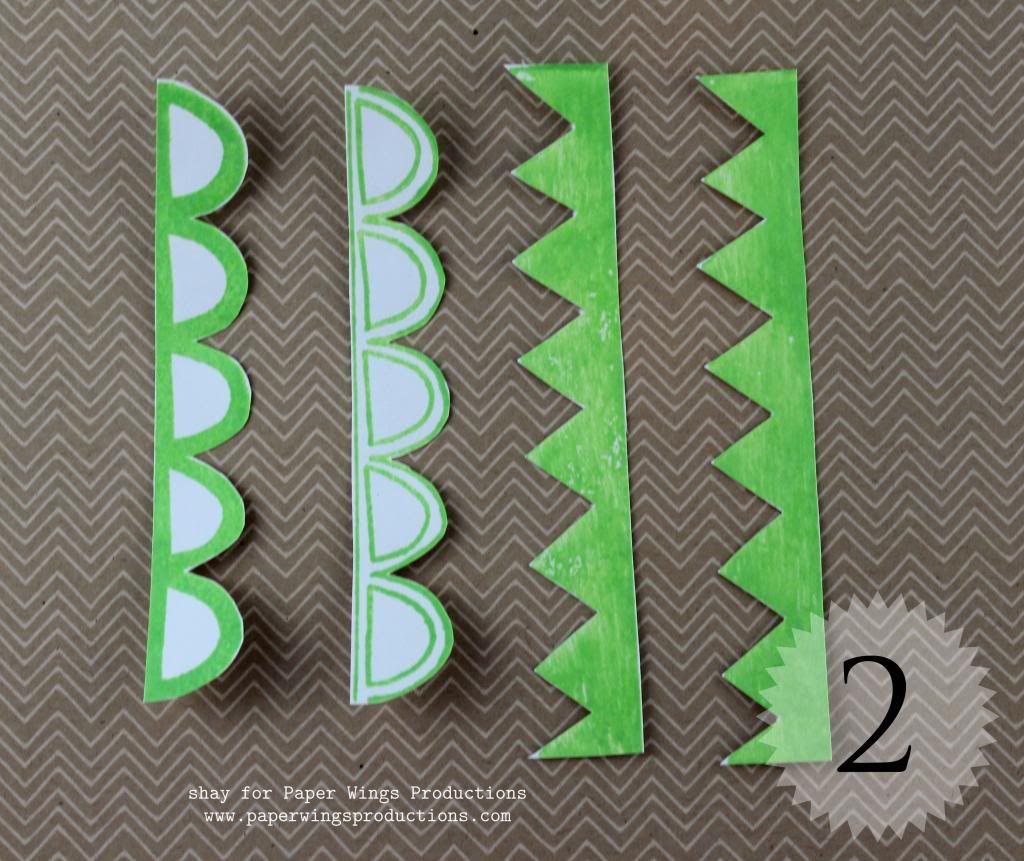
2. Cut out borders.
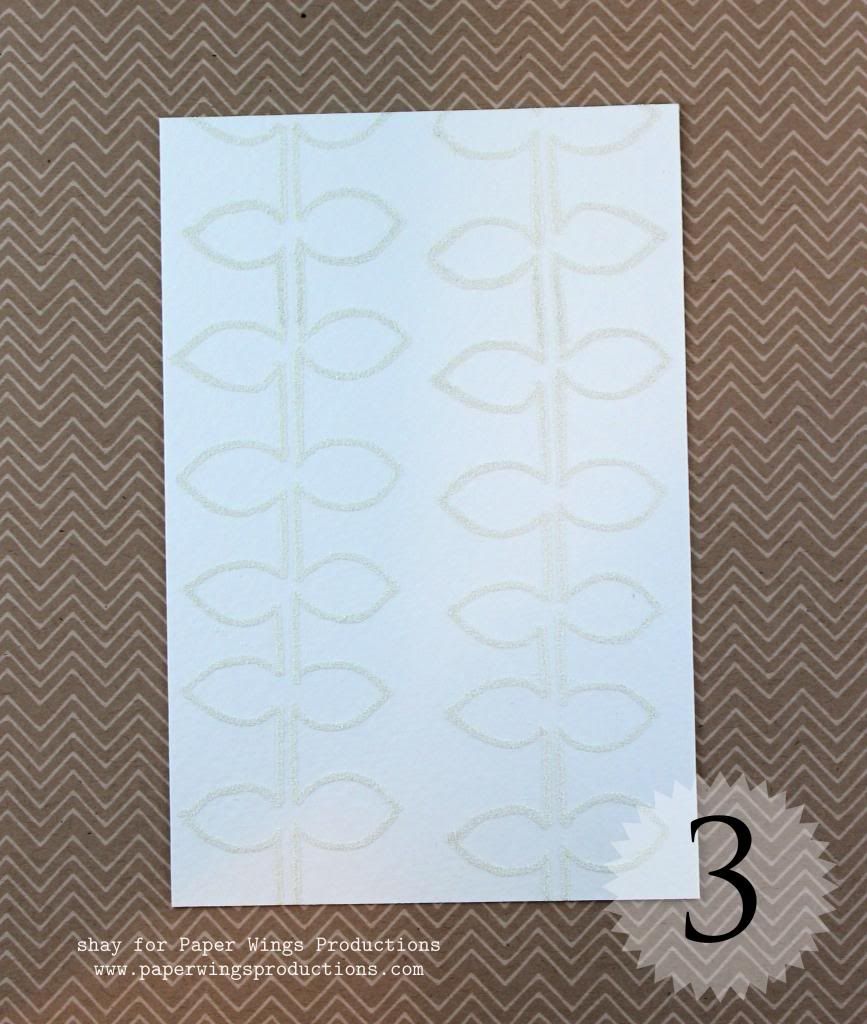
3. On watercolor paper stamp border with Versamark.
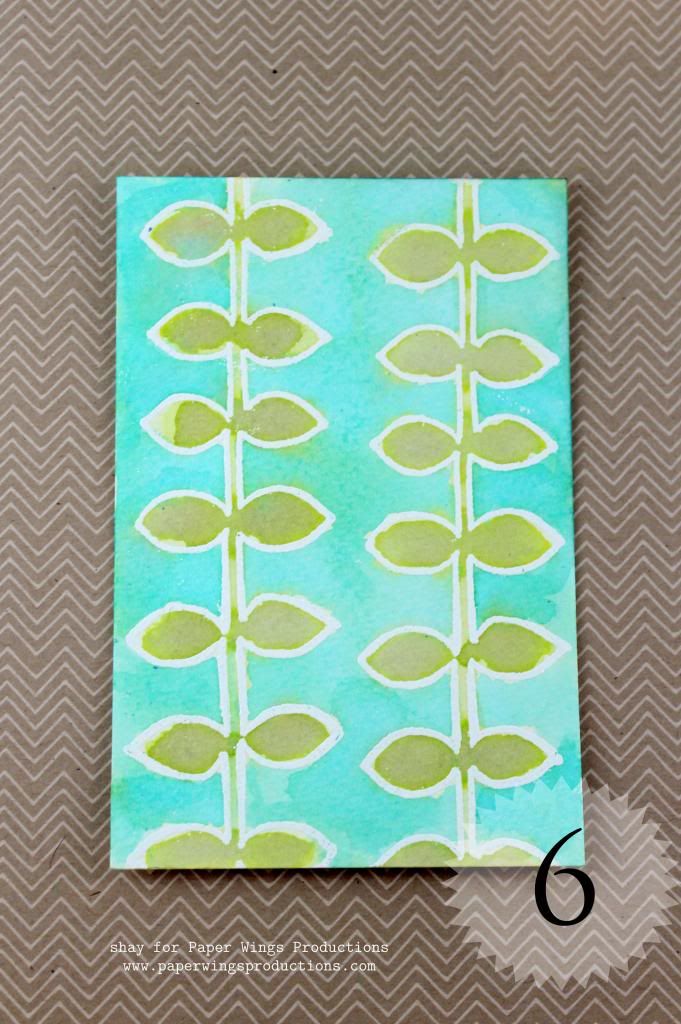
4. Heat emboss border with white embossing powder.
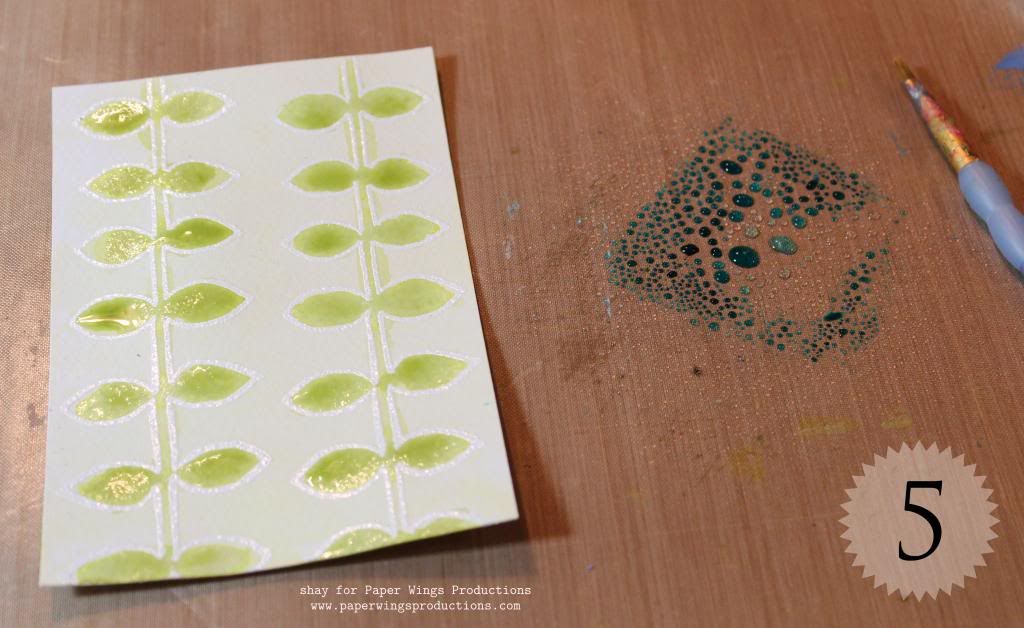
5. Add water to Distress Ink. I smeared the ink pad onto my craft sheet. Paint in the image. You can lighten the image by dabbing it with a paper towel and/or adding water.
6. By using watercolor paper, you can add as much color and water as you desire to get the look you want.
Did you guess how I used the
lace border stamp and
triangle border stamp? Now you can see if you were right.
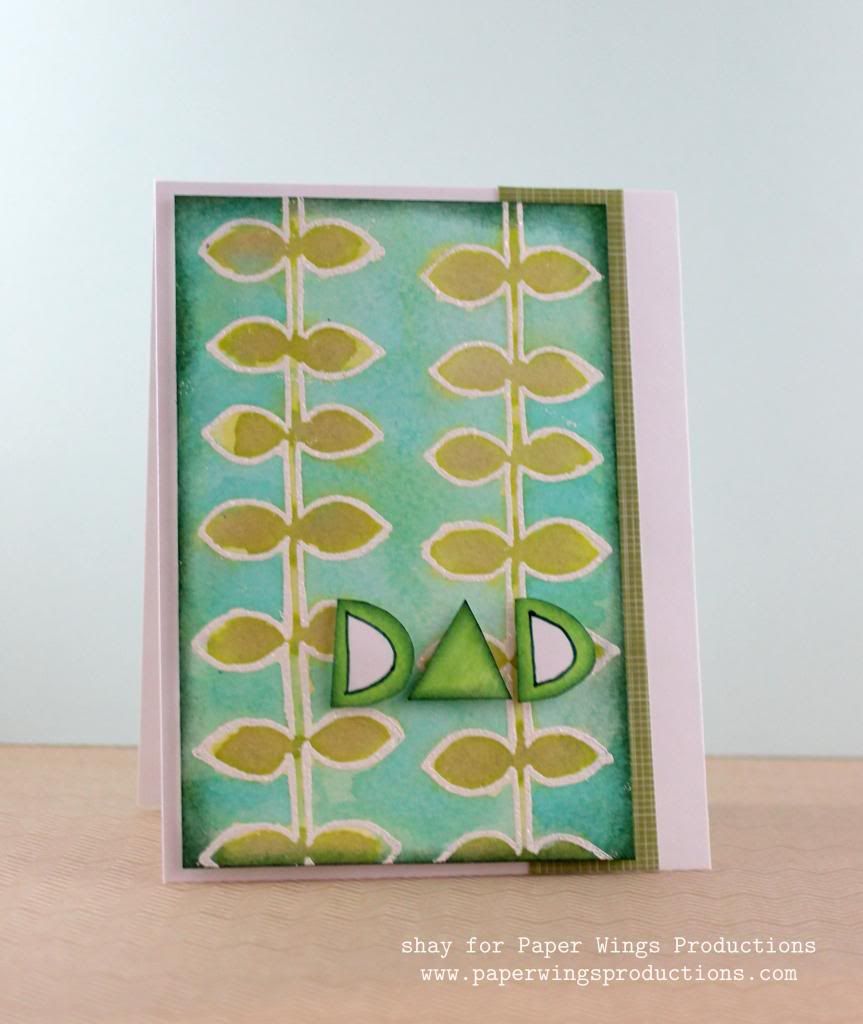
7. The card. The
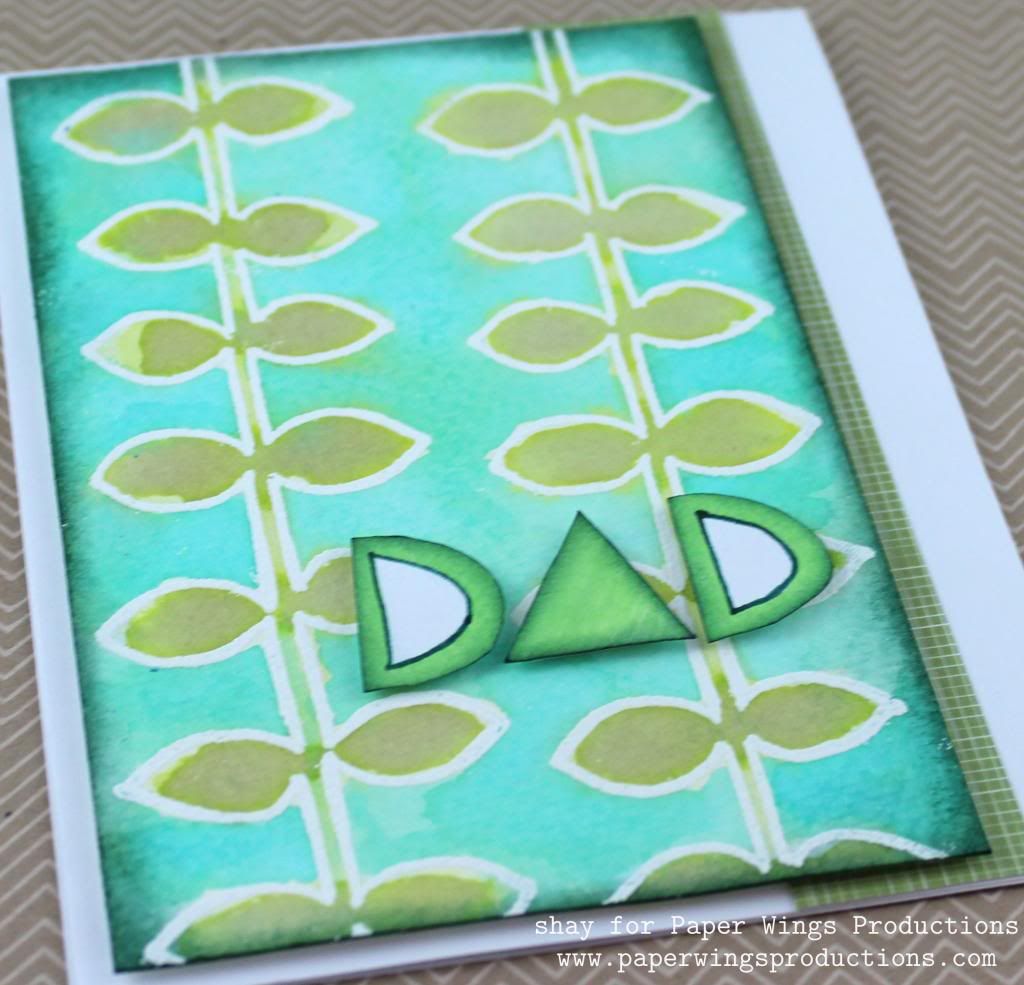
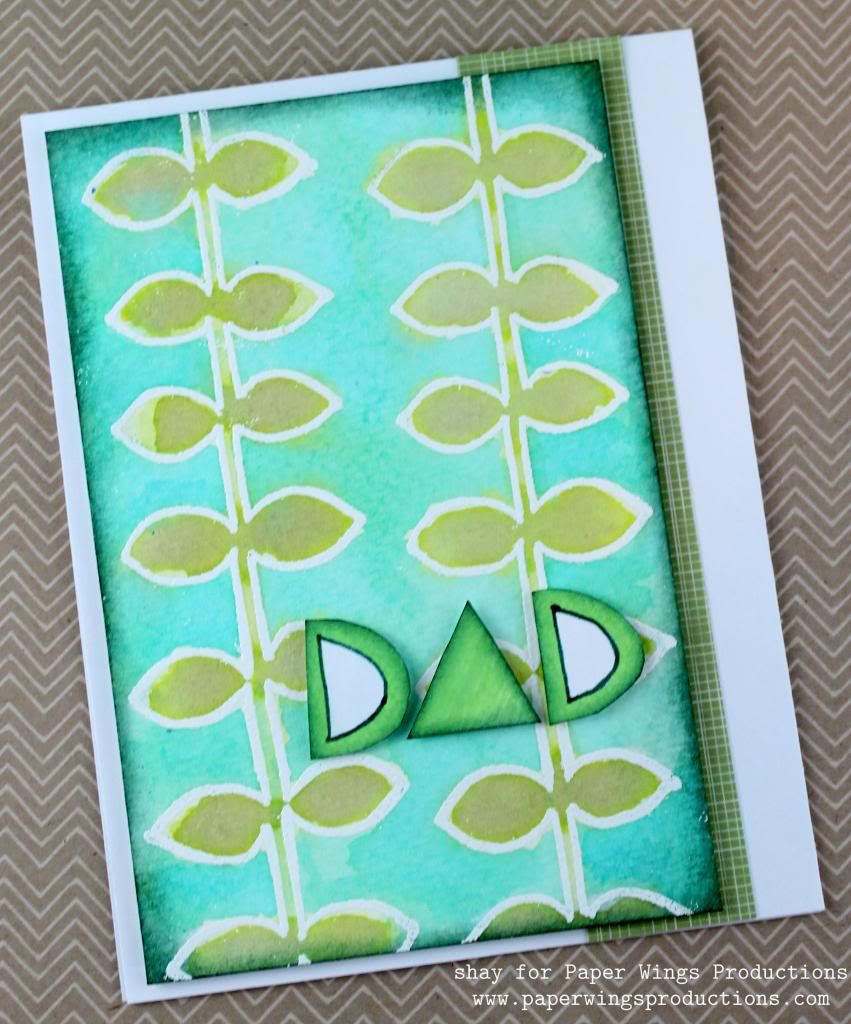
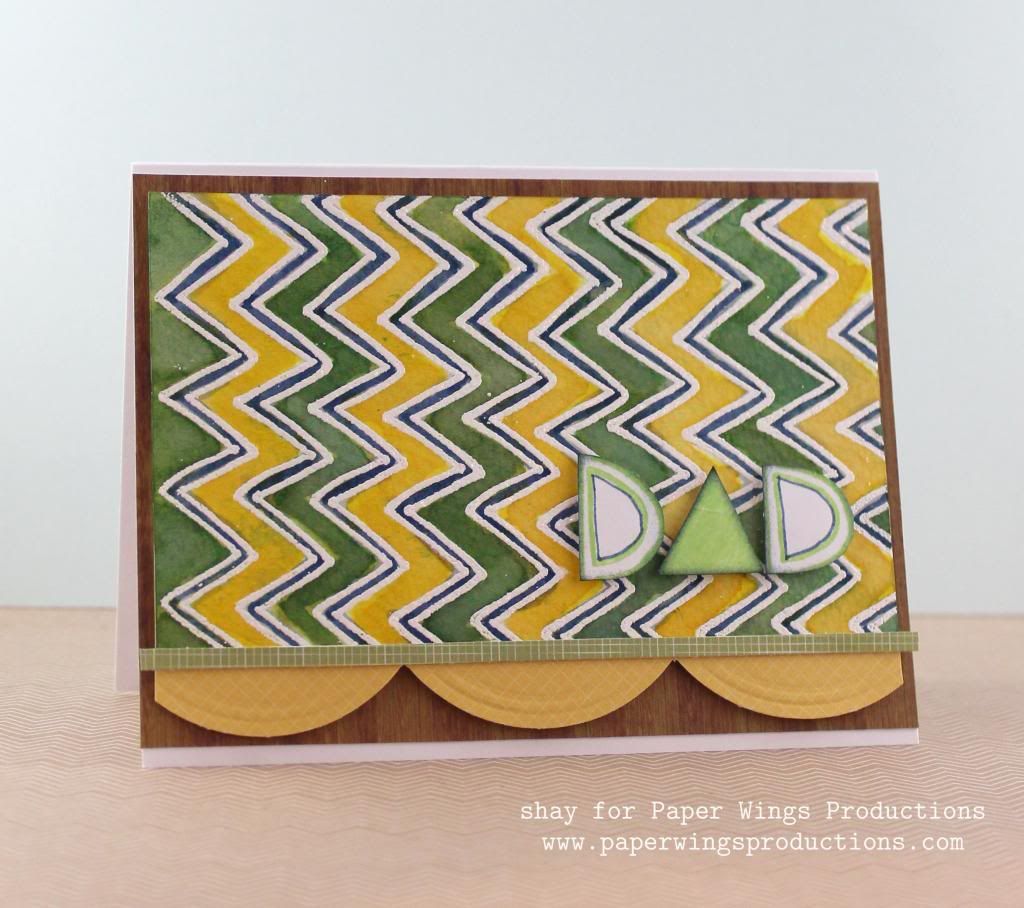
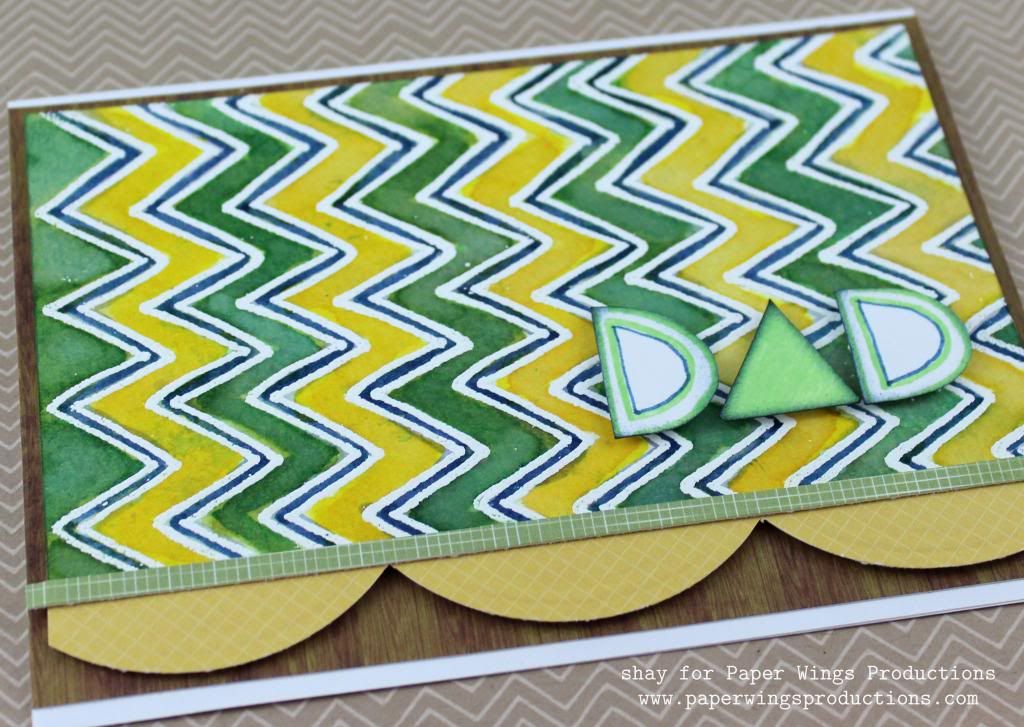
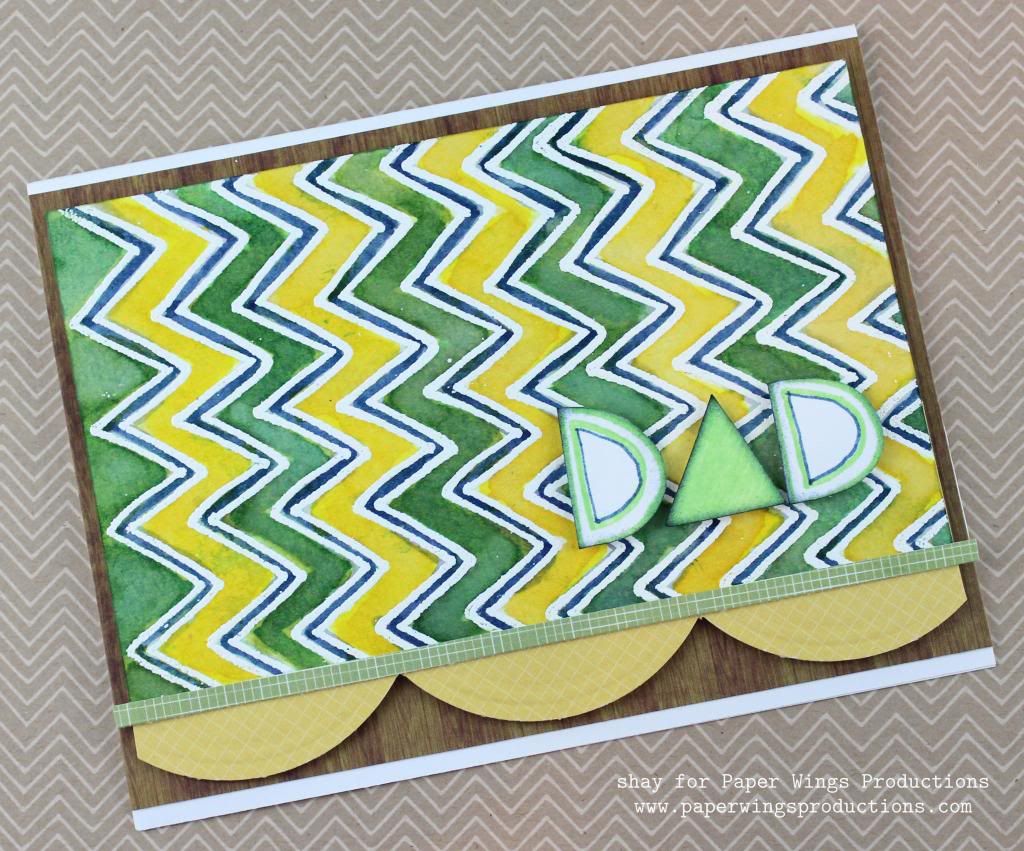
lace border stamp looked like d's to me while the triangle border looked like a's. So I cut out individual scallops and triangles to spell out "dad". I edged the letters with ink and used a marker to add some definition. The leaf panel was edged with dark green ink. I adhered the dad and leaf panel with dimensional adhesive. Under the leaf panel is a strip of patterned paper on a white card base.
And here is another groovy 70's vibe card using the same elements but featuring the
zig zag border stamp:
That's it from me today. I hope you have a brilliant week and have a fantastic father's day weekend celebrating the father figures in your life.
We
would *love* to see what you make with Paper Wings Productions
stamps. Add
your projects to Facebook,
our flickr
group,
to Pinterest,
comment with a link on this post or even email pictures to
us!
Take flight,
Shay.
Supplies:
Stamps:
Ink: Versamark, Tsukineko; green hills, Hero Arts Shadow Ink; squeezed lemonade, mustard seed, dried marigold, shabby shutters, peeled paint, pine needles, peacock feathers and chipped sapphire, Tim Holtz Distress Ink by Ranger
Cardstock: white, Georgia Pacific
Paper: watercolor cold press 400 series 140 lb., Strathmore
Patterned paper: Snippets 6x6 paper pad, Studio Calico; Color Me Happy 6x6 paper pad, Glitz
Other: opaque white embossing powder, JudiKins; embossing heat gun; Inkssentials ink blending tool, Ranger; faded jeans and pine needles, Tim Holtz Distress Markers by Ranger; non-stick craft sheet, Ranger