Showing posts with label leaf border. Show all posts

Tuesday, April 22, 2014

Tutorial Tuesday- Stamping on Vellum

*****Join our April Challenge: GET INKY, HERE***** 

Hi, Katie here! Happy Earth Day! Are you doing anything to celebrate? I have a pretty good sized garden that I planted, so I made this cute garden journal to write down and keep track of my harvest this year.

It's Tutorial Tuesday, so I'm also showing you how I made/colored the stamped vellum embellishments on my cover.

Supplies: Vellum, Ink, Stamps, Prismacolor Markers

1. Stamp your designs onto vellum and let them dry.

2. Cut out your designs. Use your markers to color the back of your stamped images. Why the back? Depending on the ink you used to stamp with, your markers could smear the design and since it's vellum, your color will show through.

After you're done coloring, just flip them back over and use them to embellish! The cool thing about prismamarkers is that you can blend colors together (like Copics) when you're coloring your stamped images.

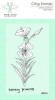
The Build a Scene stamp set and the Leaf Border stamp set are both perfect for Earth Day crafting!

While you're here, be sure to check out some of the other inspiring posts on the blog! Also, if you make any projects using PWP stamps, please share them on our facebook page!


Saturday, November 16, 2013

Scrapbook Saturday - Tea Time - November Nesting Components


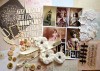
Hi Paper Wings fans! Dana here with you today sharing a layout that I created with the November Nesting Components Mixed Media Kit. One of the photos from the Clip Art Sheet caught my eye and I had a lot of fun putting together this floral tea-themed page.


This kit offered me a much needed escape from my holiday crafting! The pretty Prima patterned papers and flowers took me back to a much warmer and less stressful time, if only for a couple of hours. I also got to play with my neglected floral stamps from the last release!


I started with a white piece of cardstock. I stamped a leaf patterned background with the Leaf Border Clear Stamp Set and brown ink. I added color to the background with Faber-Castell Gelatos. Once the background was dry, I randomly scrapped a light coat of gesso over the page to tone down the color for a more shabby look.


I cut and colored flowers stamped with the Evening Primrose Stamp to add some color around the image.


I colored a white Prima Canvas Flower with Lindy's Stamp Gang Cape Cod Coral Color Shot. I framed a small piece of patterned paper with a Prima Wooden Frame and then covered it with a layer of glaze.

Thanks for stopping by today! We would love to see what you make with Paper Wings Productions Stamps so add your projects to our Flickr Group, our Facebook page or leave a comment here with a link to your project. You can also find Paper Wings Productions on Pinterest, Twitter and YouTube!


Tuesday, June 11, 2013

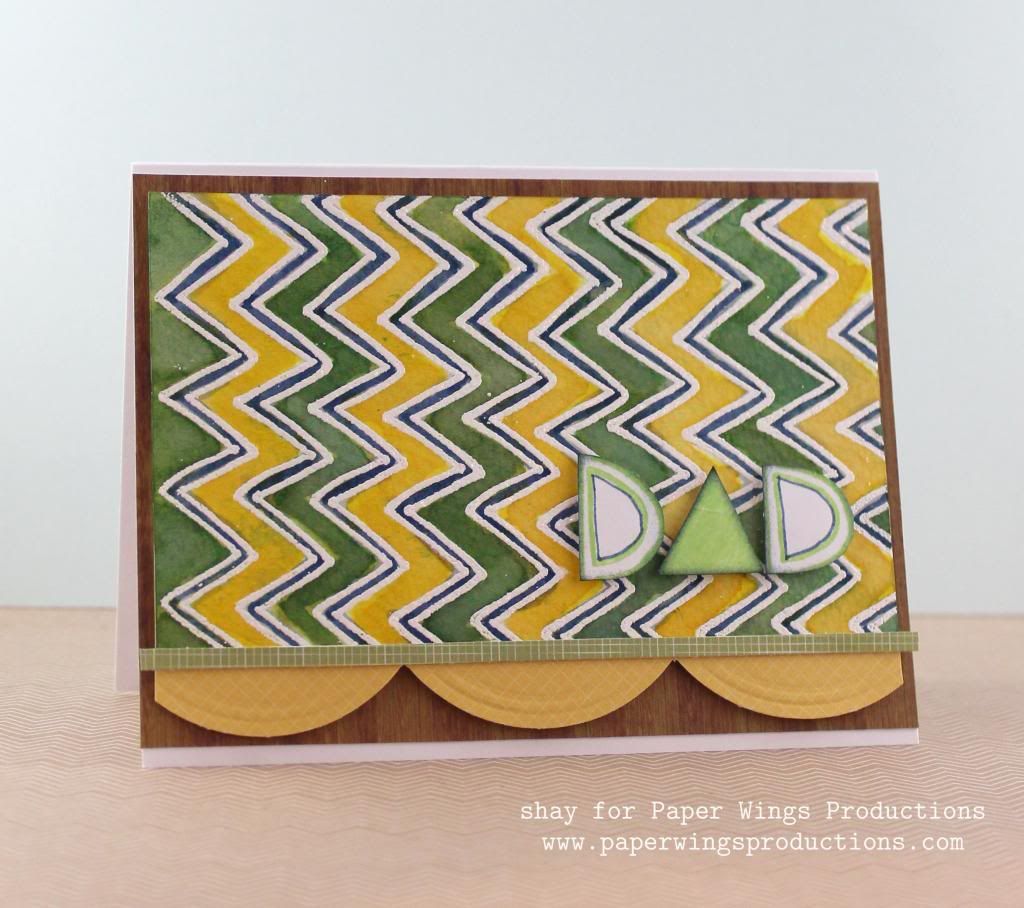
Tutorial Tuesday: Border Stamps for Dad

Hello there peeps!

It's Shay here.  Did you enjoy this month's Summer Fun blog hop?  I sure did.  I thought the design team did an amazing job.  If you haven't had a chance to check out the projects, I strongly recommend hopping along.

Today I have a simple tutorial on using the border stamps to create two cards dedicated to the dads in our lives.

I was looking at two of the borders: lace border stamp and triangle border stamp and I saw something interesting.  Let's see if you can figure out what I saw too.


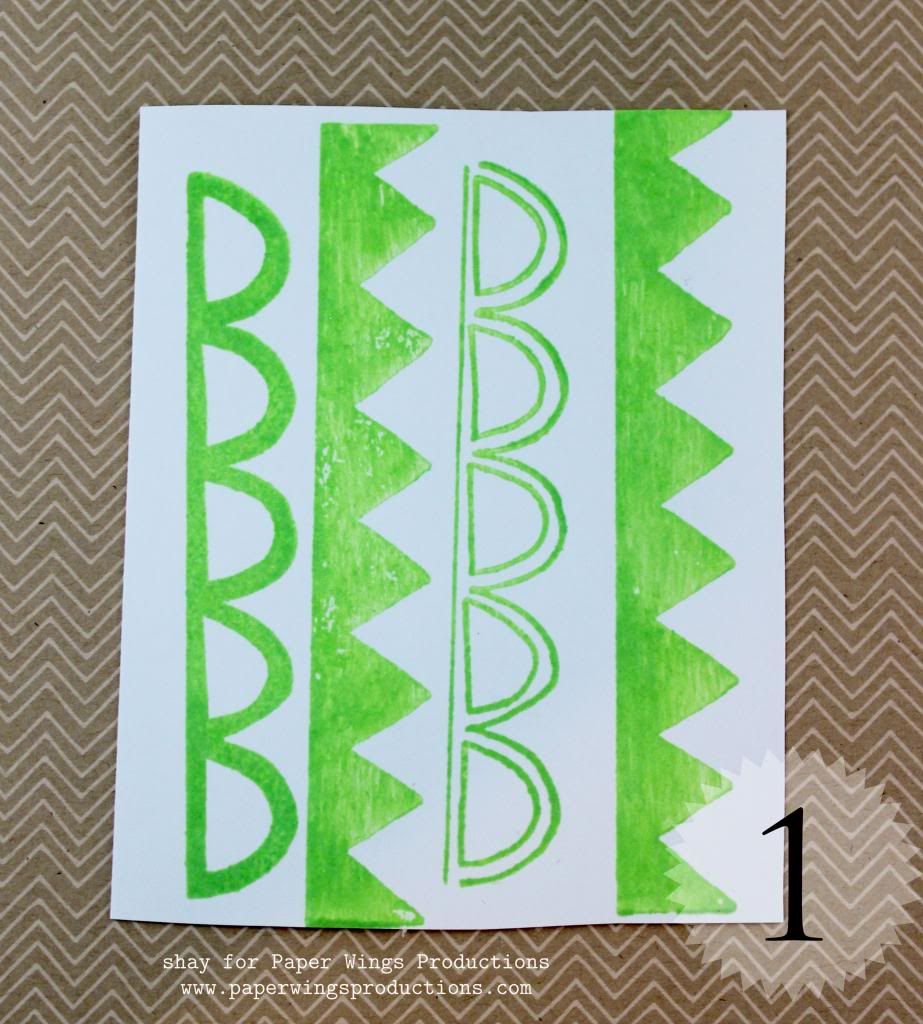
1. Stamp borders.


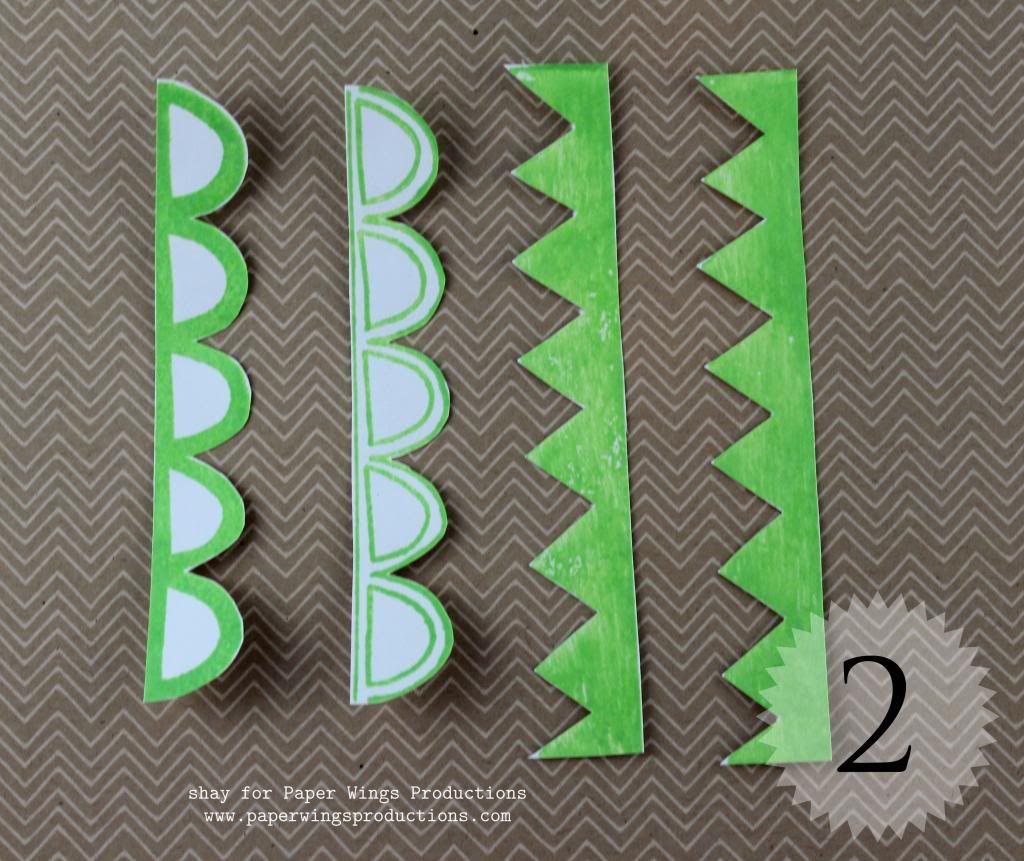
2. Cut out borders.


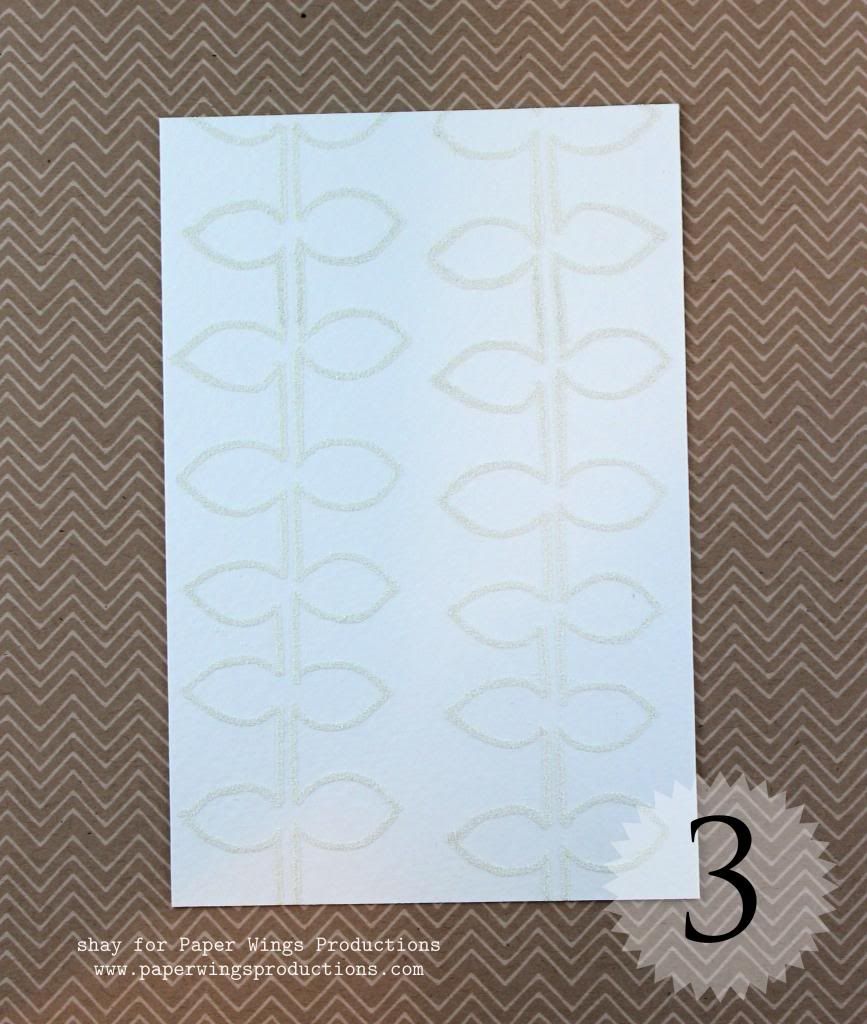
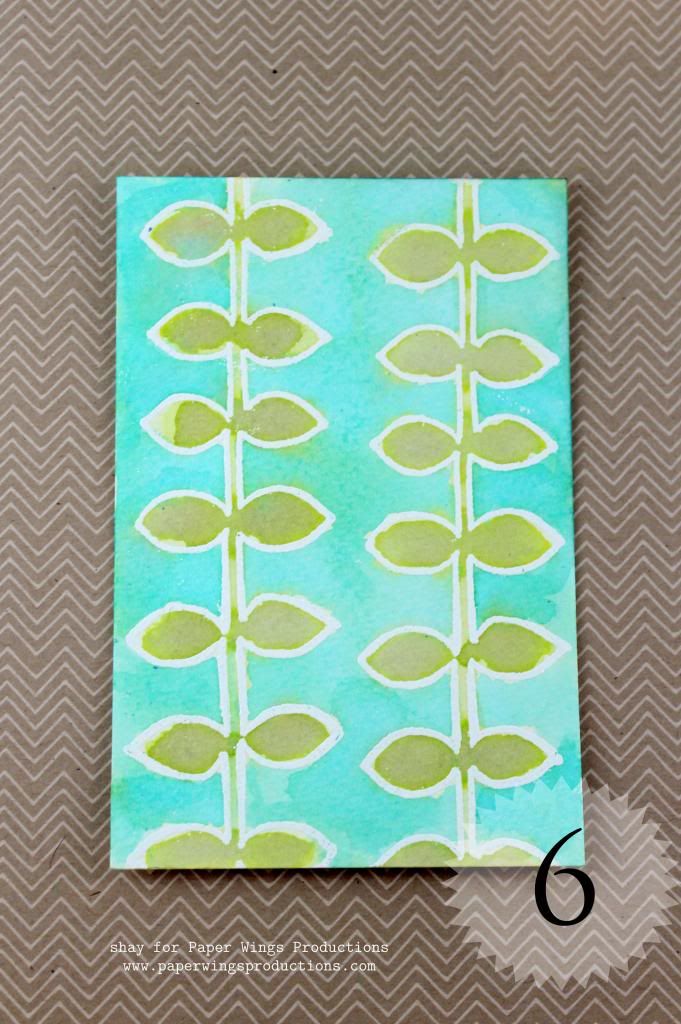
3. On watercolor paper stamp border with Versamark.


4. Heat emboss border with white embossing powder.


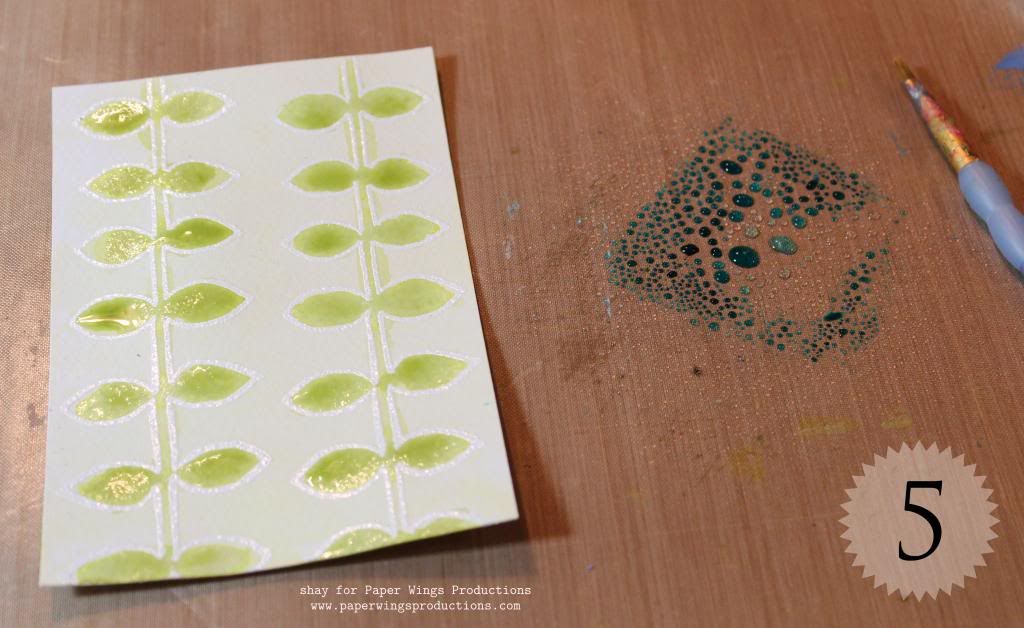
5. Add water to Distress Ink.  I smeared the ink pad onto my craft sheet.  Paint in the image.  You can lighten the image by dabbing it with a paper towel and/or adding water.


6. By using watercolor paper, you can add as much color and water as you desire to get the look you want.

Did you guess how I used the lace border stamp and triangle border stamp?   Now you can see if you were right.

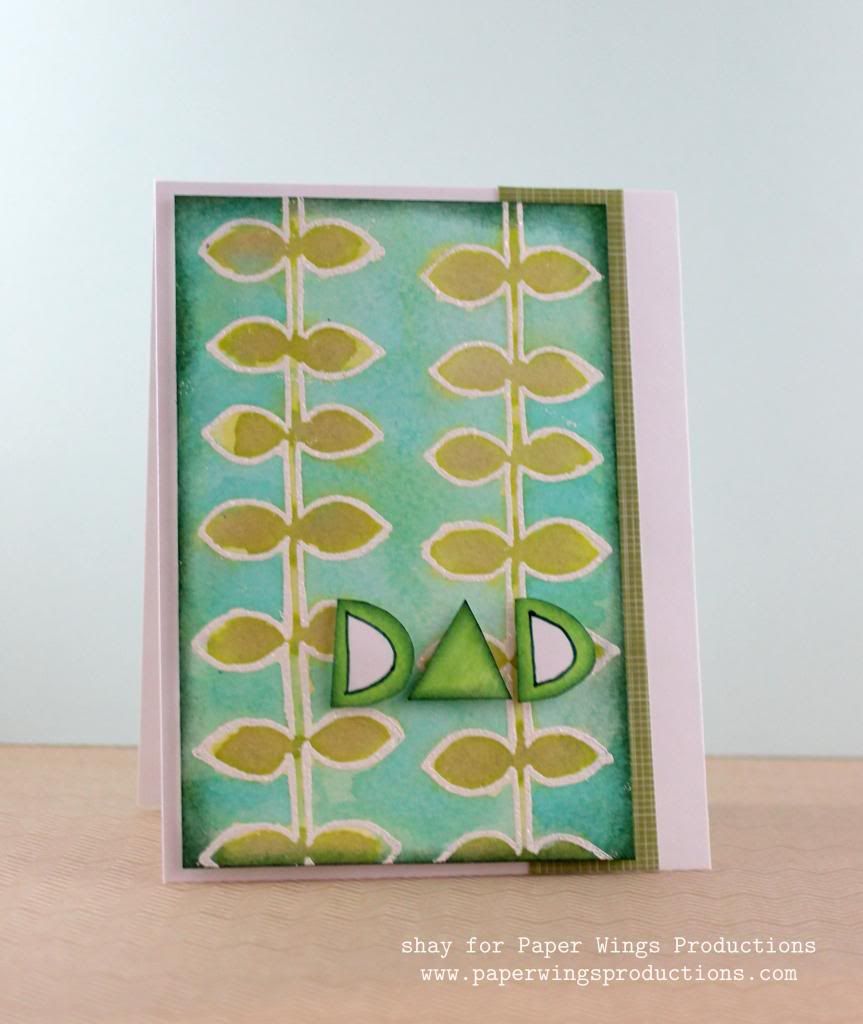
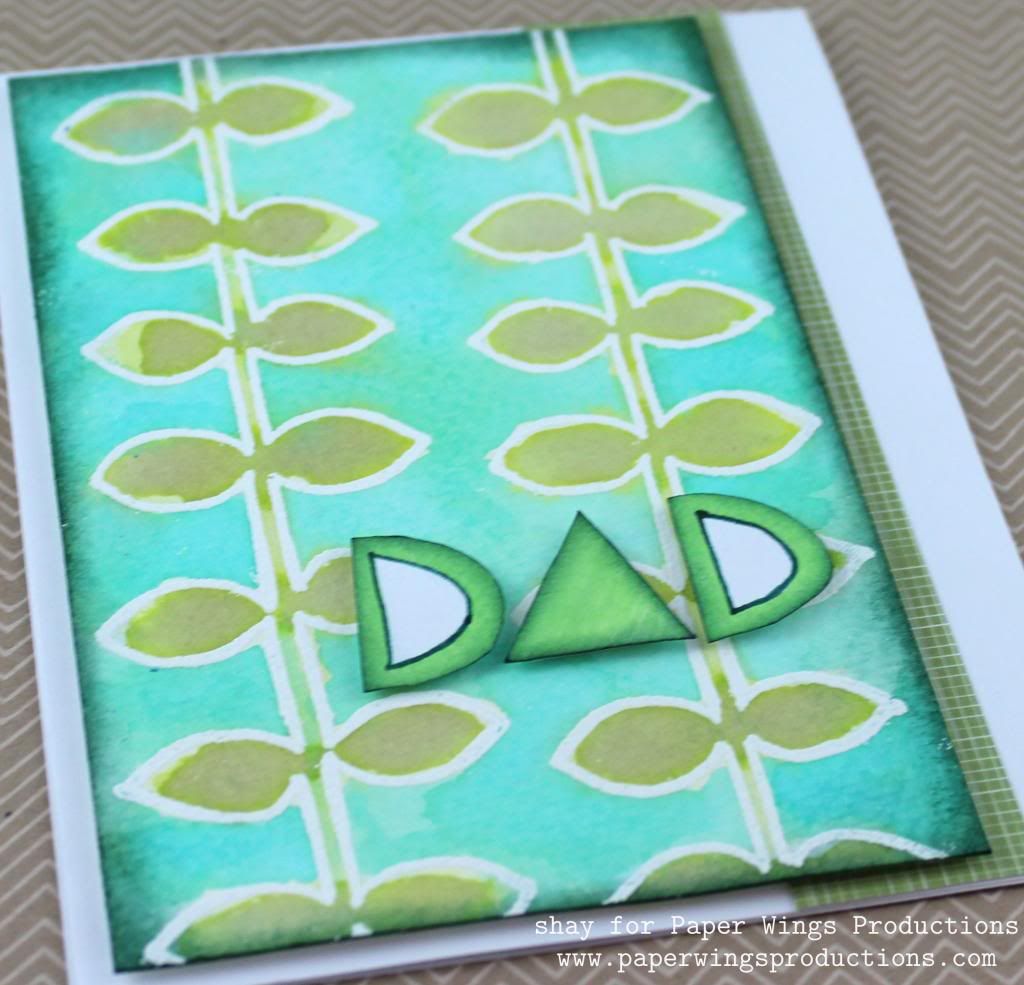
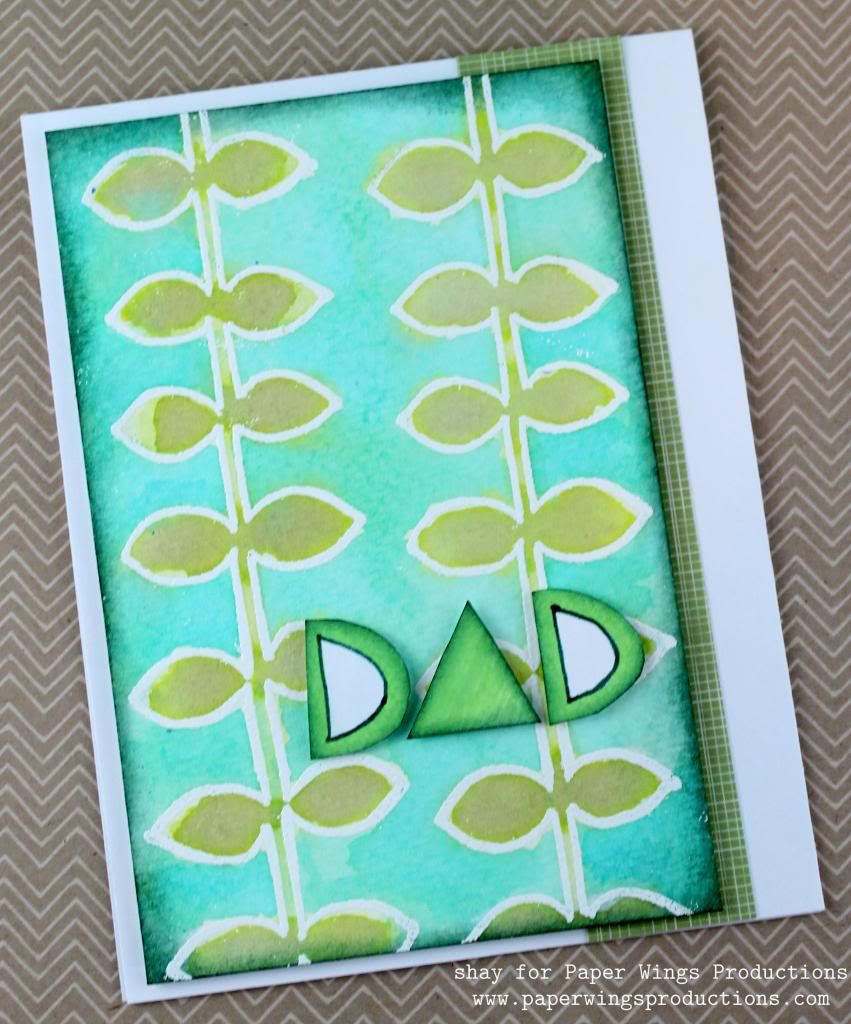
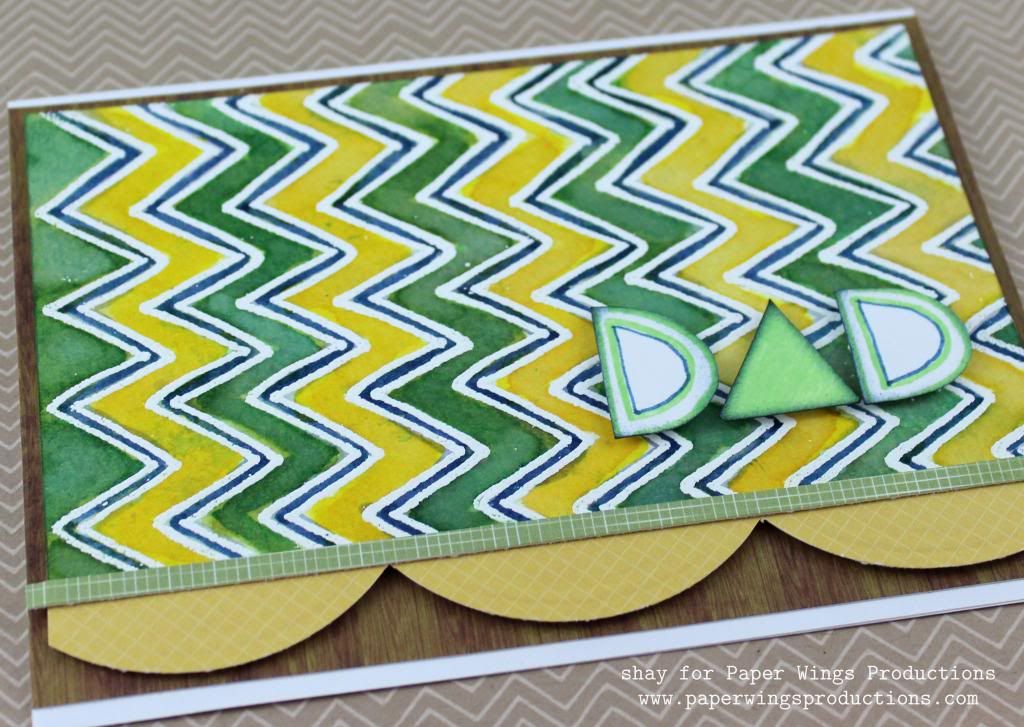
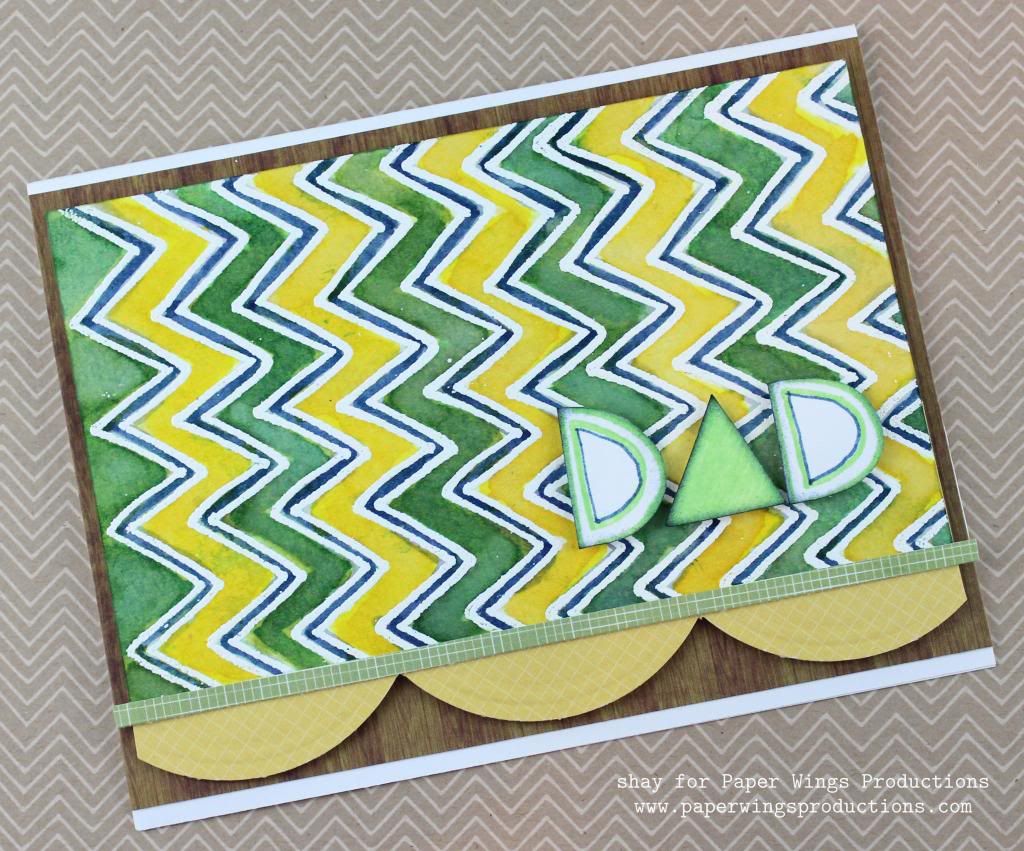
7. The card.   The lace border stamp looked like d's to me while the triangle border looked like a's.  So I cut out individual scallops and triangles to spell out "dad".  I edged the letters with ink and used a marker to add some definition.  The leaf panel was edged with dark green ink.  I adhered the dad and leaf panel with dimensional adhesive.  Under the leaf panel is a strip of patterned paper on a white card base.


And here is another groovy 70's vibe card using the same elements but featuring the zig zag border stamp:


That's it from me today.  I hope you have a brilliant week and have a fantastic father's day weekend celebrating the father figures in your life.

We would *love* to see what you make with Paper Wings Productions stamps. Add your projects to Facebook, our flickr group, to Pinterest, comment with a link on this post or even email pictures to us!

Take flight,
Shay.

Supplies:
Stamps:


Ink: Versamark, Tsukineko; green hills, Hero Arts Shadow Ink; squeezed lemonade, mustard seed, dried marigold, shabby shutters, peeled paint, pine needles, peacock feathers and chipped sapphire, Tim Holtz Distress Ink by Ranger
Cardstock: white, Georgia Pacific
Paper: watercolor cold press 400 series 140 lb., Strathmore
Patterned paper: Snippets 6x6 paper pad, Studio Calico; Color Me Happy 6x6 paper pad, Glitz
Other: opaque white embossing powder, JudiKins; embossing heat gun; Inkssentials ink blending tool, Ranger; faded jeans and pine needles, Tim Holtz Distress Markers by Ranger; non-stick craft sheet, Ranger
Related Posts Plugin for WordPress, Blogger...