Showing posts with label hey cupcake. Show all posts

Wednesday, October 25, 2017

you make life sweet


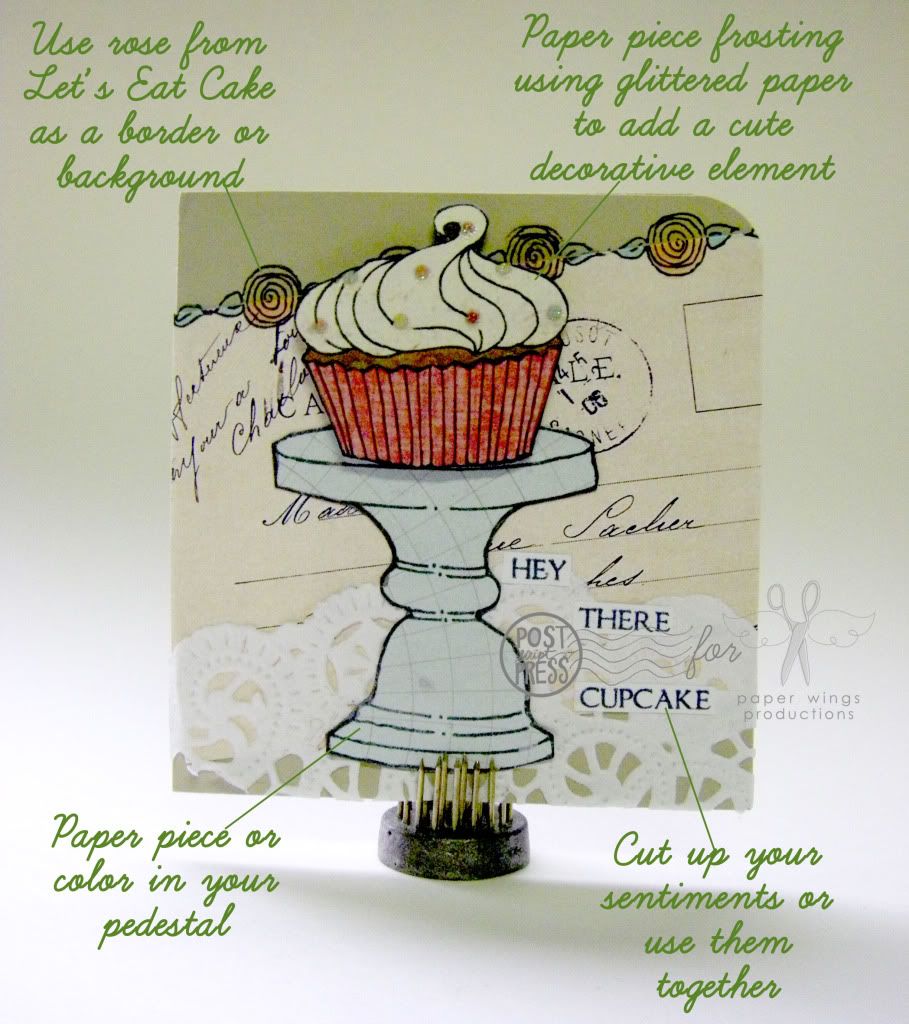
Hi! Ashley here today, sharing a card I made with the Hey Cupcake stamp set. I chose the little cupcake to stamp, heat emboss, and watercolor.


I like to use distress inks + my Tim Holtz watercolor brush to color my images. After I heat embossing the cupcakes with white fine detail embossing powder, I fussy cut them and did the same technique with the cupcake stand. I didn't want the whole cupcake stand - it was too large for my cupcakes! - so I fussy cut just the top part of the cupcake stand for my card. Always be on the look out for ways to make your stamps go further and work for your needs!


My sentiment is also from the Hey Cupcake stamp set, which I heat embossed with a coordinating pink embossing powder. I added a spot of watercoloring to my base using the same distress inks I used on the cupcake frosting. I think it helps to ground my sentiment.


Then I adhered the cupcake stand and my cupcakes with pop dots.


Thanks for looking!

Tuesday, March 19, 2013

Tutorial Tuesday - Quilted Effect!


Hi everyone!  Tara C. here with a tutorial for your Tuesday!  I have made a few cards with a quilted or grid effect and I always get a lot of questions on how I do it.  Today I will be showing you how easy and simple this technique is.

The supplies you will need for this technique:
-card stock -80 to 110 lb. works the best
-score board and tool (mine is a Martha   Stewart)
-additional items such as stamps, ink and embellishments.


Step 1
Place your card stock at an angle on the score board.  I like to keep a right angle at the top (red triangle) and to keep my card stock at about the same measurements on each side (red arrows).


Step 2
Score the card stock at even intervals.

I have scored here at every 1/2 inch.

Make sure you press firmly to achieve a good indentation.


Step 3
Then turn the card stock 90 degrees and line it up as before at an angle keeping the right angle at the top.

Score again at 1/2 intervals.


This is the pattern you will end up with.  

You can also score wider or more narrow lines depending on your design.


Now for the fun part!  You can choose to stamp or use the side with the indentations you just scored.


Here I have turned the card stock over and inked up the pushed out lines to really show the effect.


I then stamped right on top of them.

This is my preferred way of showing the quilted technique.


Or you can let the lines shine all on their own and use them as the background of your design!  Here the lines were scored at 1 inch intervals.


There you have it!  I hope you learned a new technique today and that you will show us what you have made using it!  You can always post your creations to our Flickr Group, to Pinterest or to our Facebook Page. To check out the stamps I used in today's projects, please visit the Paper Wings Productions store.

The Paper Wings Productions supplies used:

Friday, August 17, 2012

Featured Friday - Quick Mini - Tags

Hi Peeps!

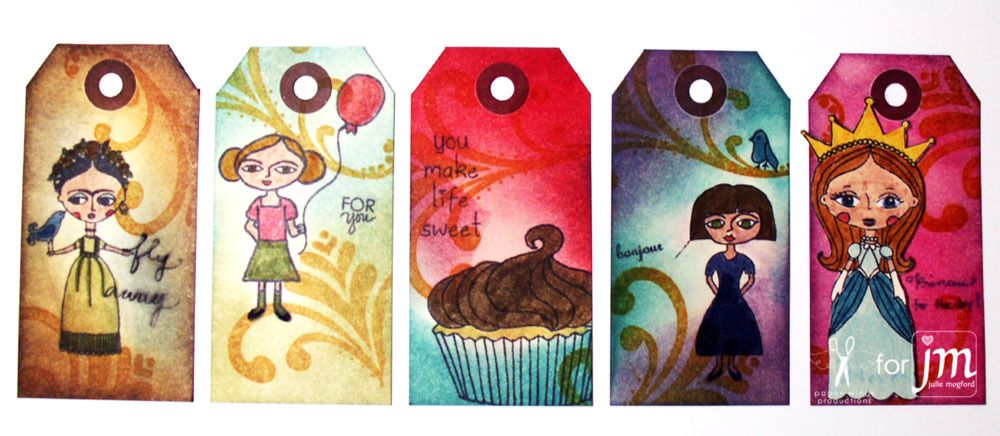
I wanted to share with you today some tags I made recently.  I was actually just playing around with mini mailing tags and the Flourish Fun 1 stamp set to make some quick tags to have on hand. Here is a look at the whole set.


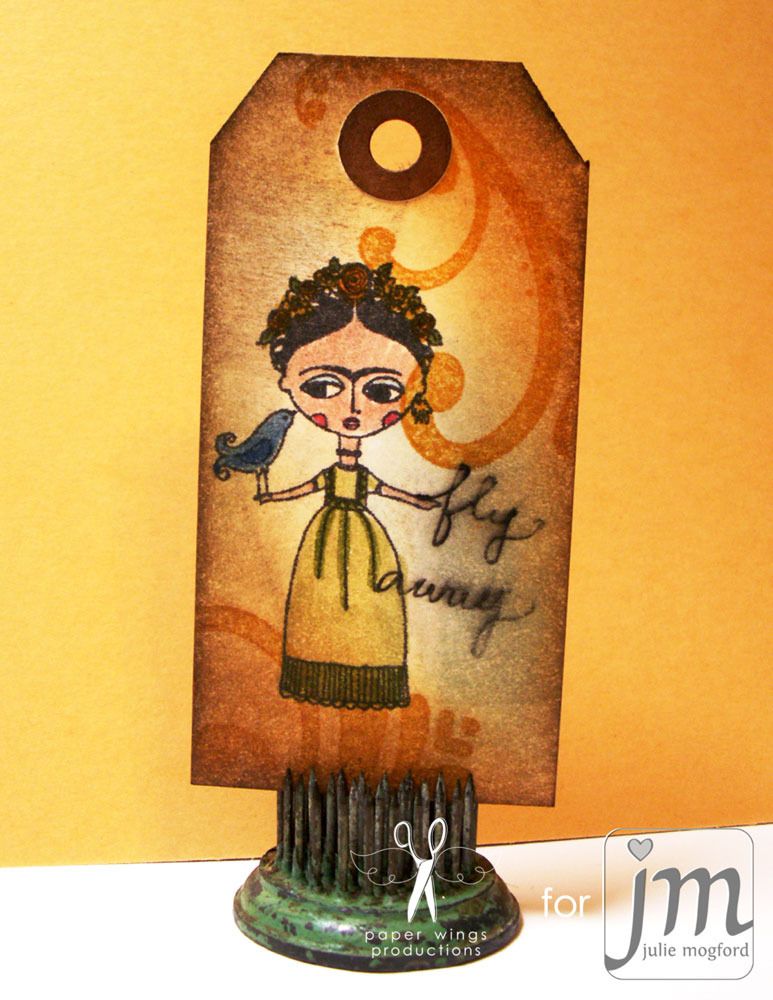
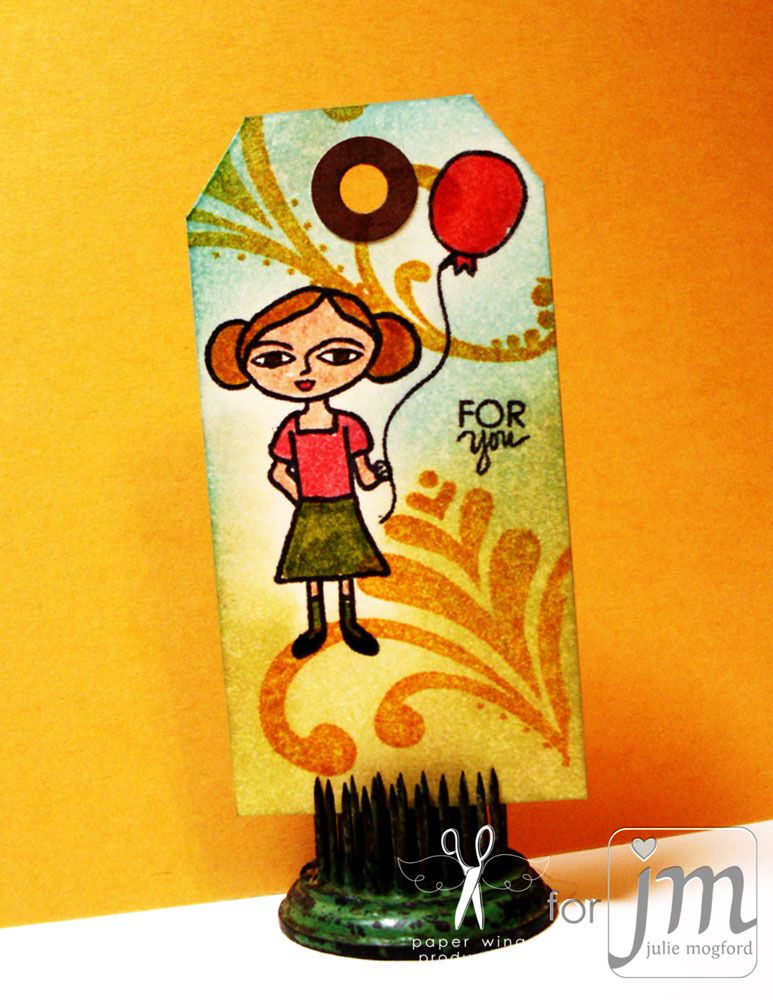
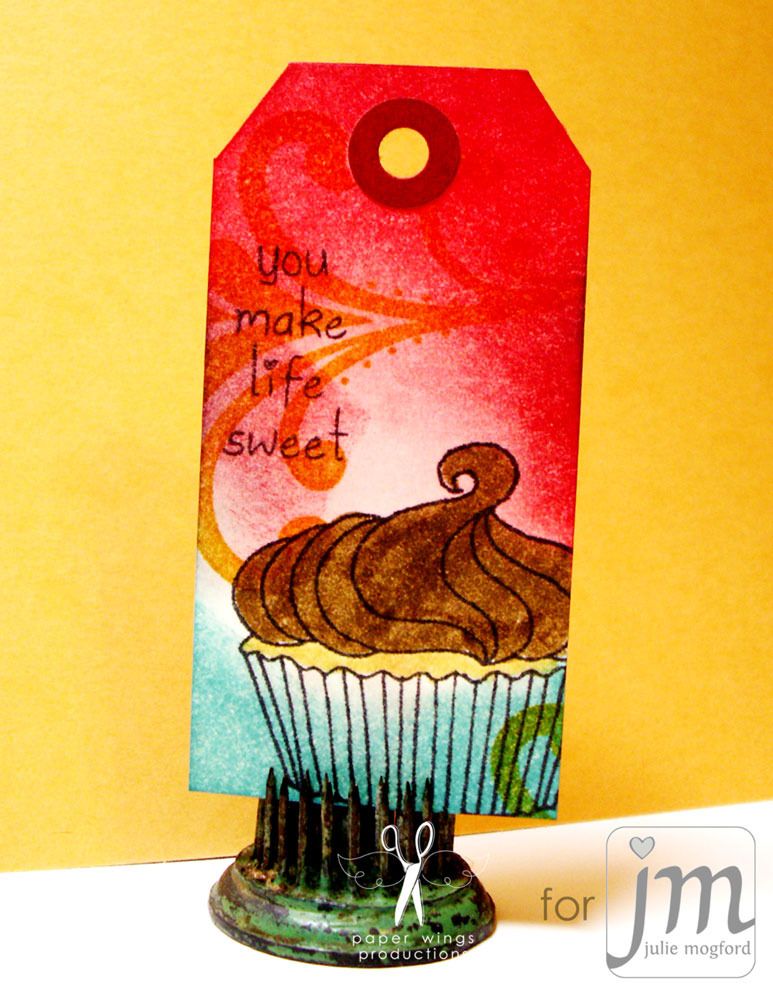
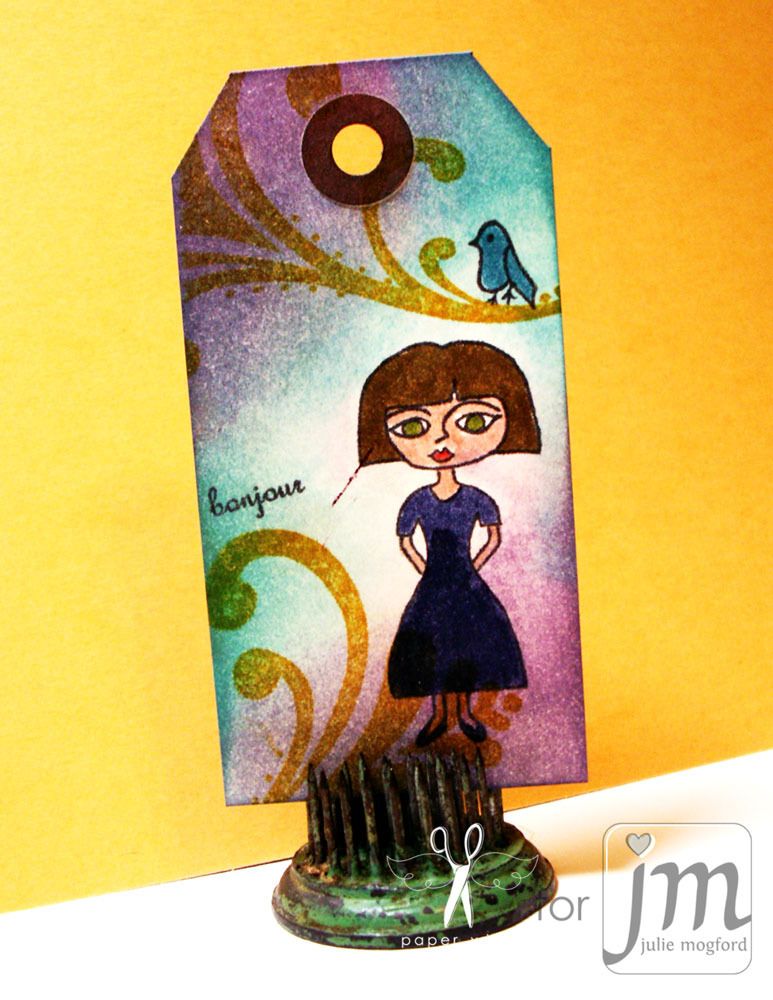
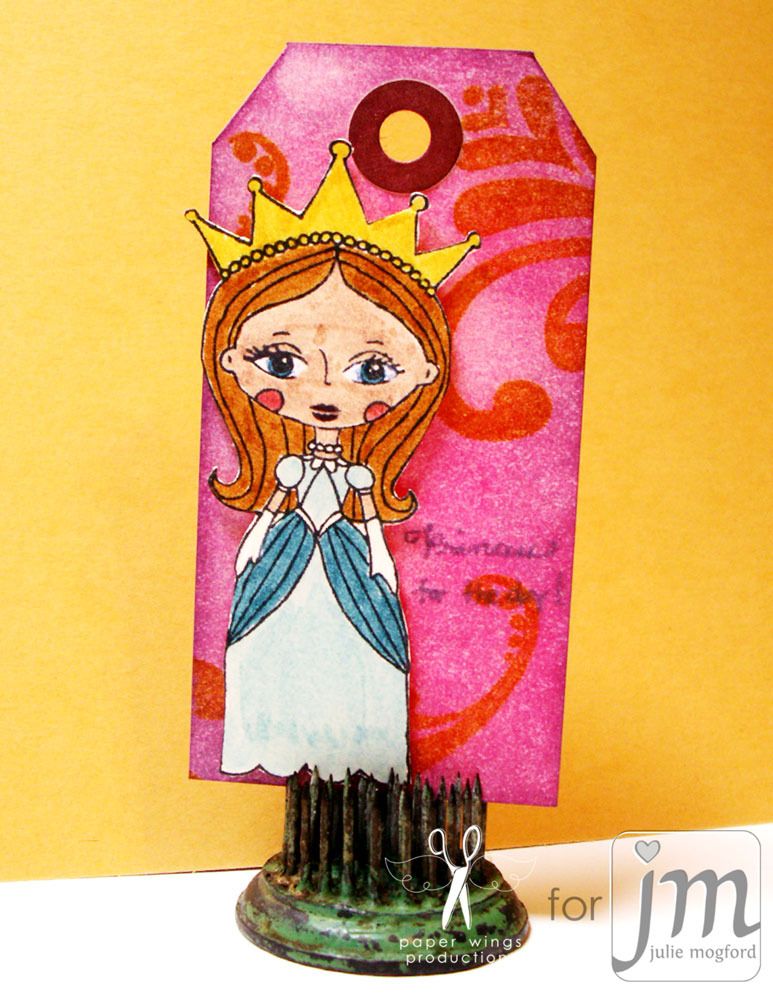
I started with my manila mailing tags and arranged them very close together, but not all facing the same direction.  Some were vertical, some upside down, and some horizontal.  Using the large flourish stamp and one ink color, I stamped the image repeatedly over all of the tags. For each tag, I then picked a focal image (and I had a great time playing with all of these cute girls!) to stamp directly to each tag.  The exception is the princess - she is stamped directly and also onto a blank tag for easier coloring and then adhered with foam tape.  All of the images were colored with Distress Markers, and then I chose Distress ink colors to compliment the coloring using an ink blending tool.  Each tag was finished off with a small sentiment.   Here is a closer look at each of the tags.

Fly Away - featuring Frida por Vida


For You - featuring Sophie


You Make Life Sweet - featuring Hey Cupcake.


Bonjour - featuring Louise


Princess for the Day featuring the Princess set.


It was amazing to me that although these tags all have the same background, the added blend of distress ink gave each one a very different look. This is a VERY easy technique to try and could yield so many different styles from whimsical to elegant.  I hope you will try it and share a link to your creation in the comments section.  We'd love to see it!

Have a great weekend!

Julie


Friday, May 11, 2012

Mother's Day

Happy Friday peeps,

Sometimes our best intentions are tread upon by everyday happenings and trying to get what must be done right now done or perhaps by circumstances beyond our control.  Perhaps you are now wondering what to give this Mother's Day.  Today I have an easy and customizable handmade gift and card you can give your mother or another important maternal figure in your life (including yourself!) for Mother's Day that can be done in an hour or less (or more depending on how elaborate you make it).


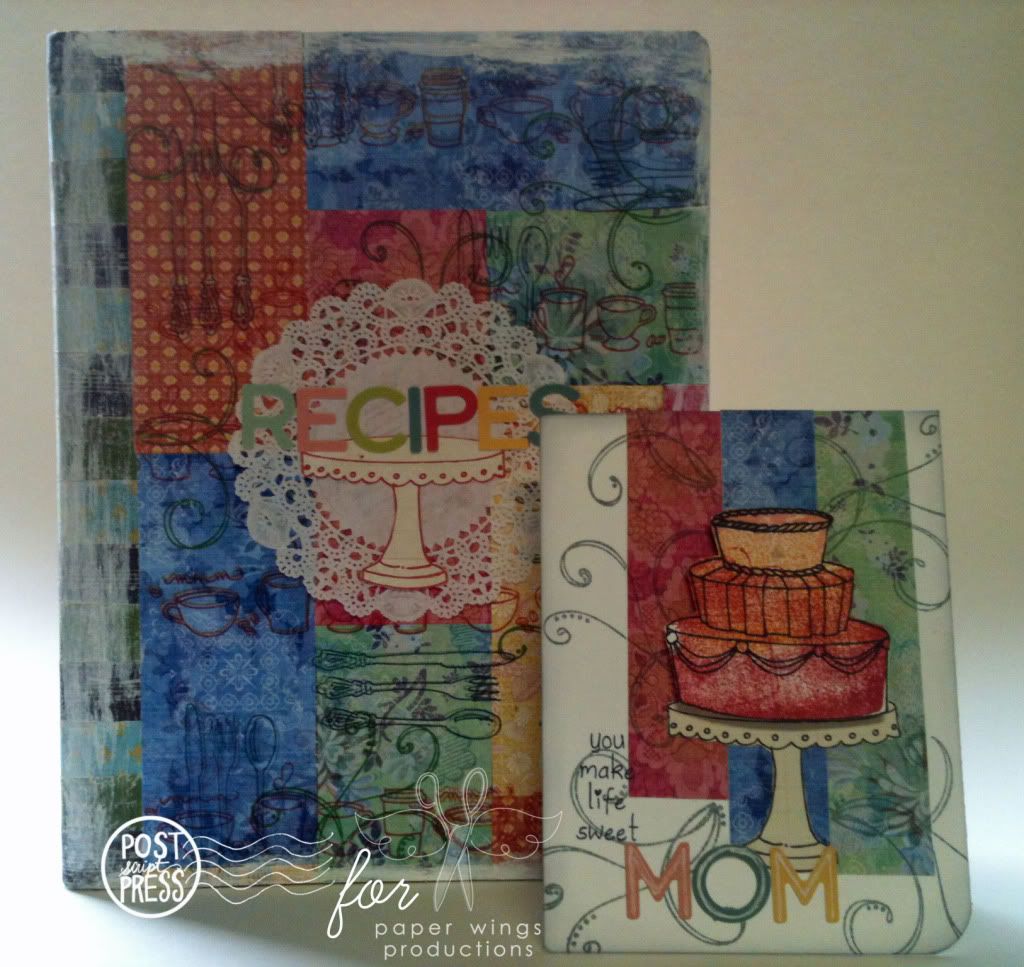
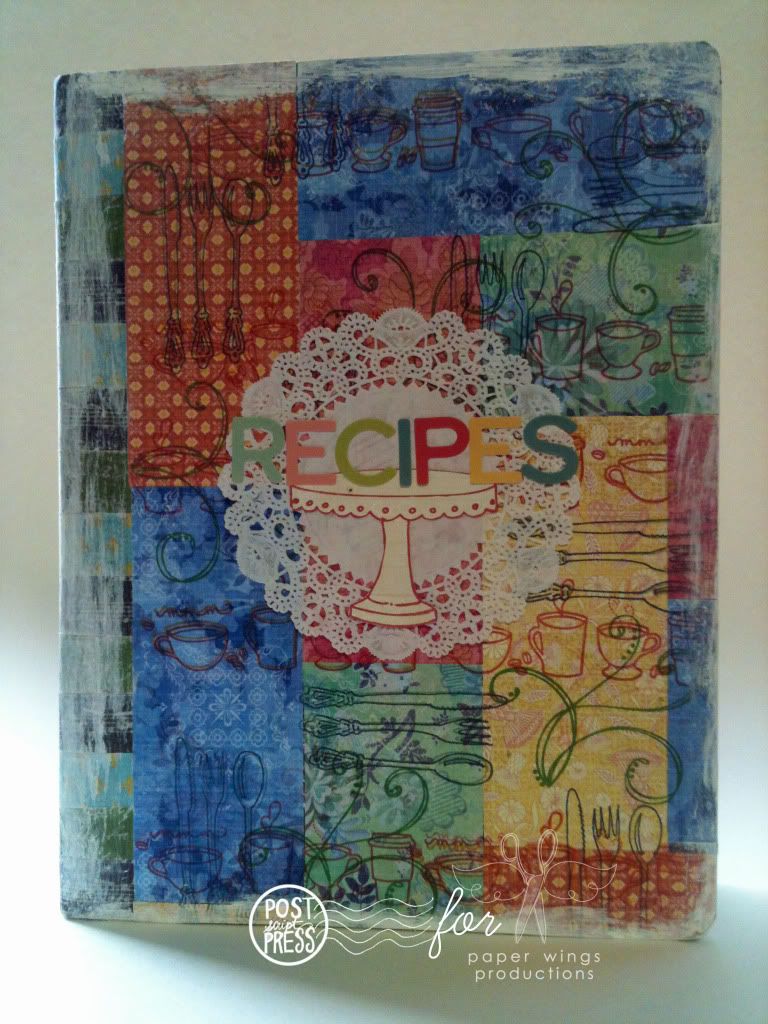
Using a simple, inexpensive and readily available composition book I customized the cover using 7Gypsies patterned tape, patterned paper, Paper Wings Productions stamps, a doily, letter stamps and gesso around the edges to mute some of the crazy color and patterns I used.  For my book I wanted to do a recipe book, but you could change it to be a goals book, travel journal, gardening book, weight loss journal, reading log, place for notes or ideas, etc. depending on what your mother, grandmother, sister, aunt, mother-in-law, friend or any other important woman in your life (likewise you could do the same thing for the men in your life too).


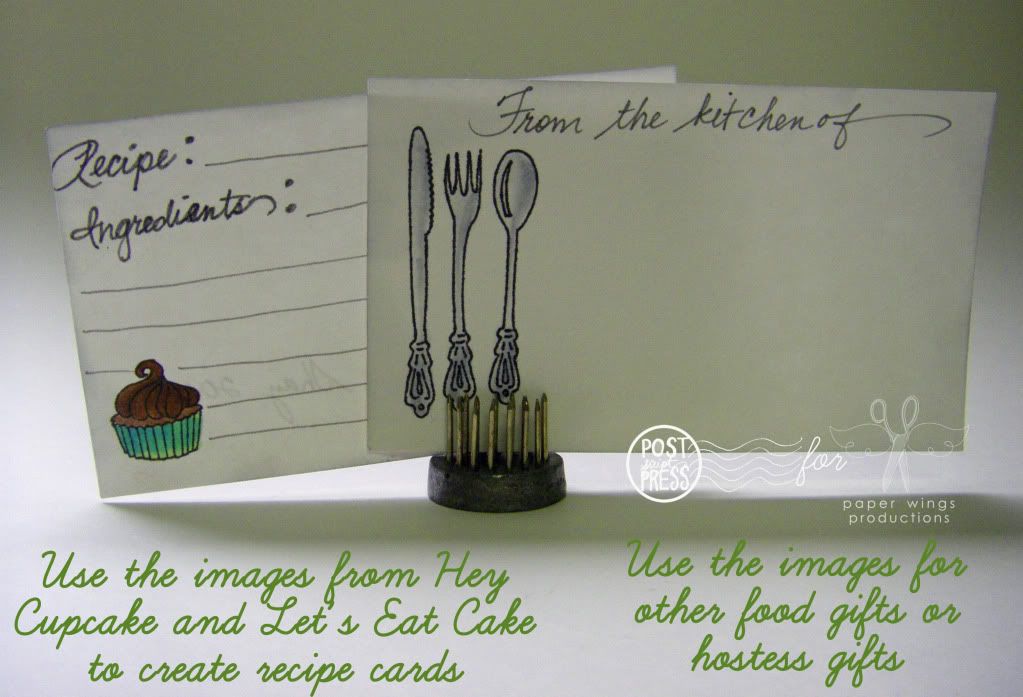
Because I chose to do a recipe book I chose to go with food/drink themed stamps like the coffee border in Play With Your Coffee by Julie Mogford and the silverware from Hey Cupcake by handmade by Lissie Girl.  I also added a flourish from Flourish Fun 2 for an added interest.  The cake stand is from Let's Eat Cake also by handmade by Lissie Girl.

Did you notice that the accompanying card uses Flight Plan Mission 002? 


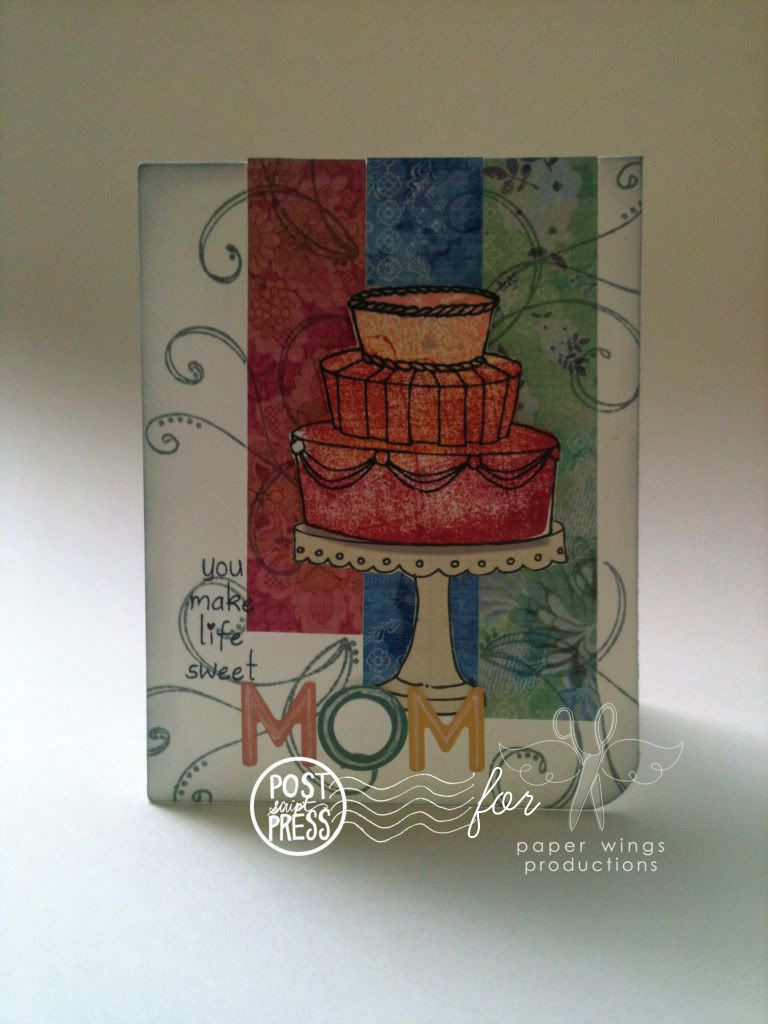
By using the Flight Plan I could take the guesswork out of coming up a layout and spend my time on the rest of the card.  For the cake I actually stamped the backside of the image using 3 colors of ink and then over-stamped it with the right side of the cake image in black.  I think it creates a cool effect.  The stamps used on this card are very similar to those used on the book to create a cohesive look: Flourish Fun 2, Let's Eat Cake and Hey Cupcake.

I hope you have a joyous Mother's Day celebrating the mothers in your life and all those mothers out there I hope you are showered with love.

Take flight,
Shay.

Tuesday, March 27, 2012

Show and Tell: Hey Cupcake and Let's Eat Cake

Good day peeps,

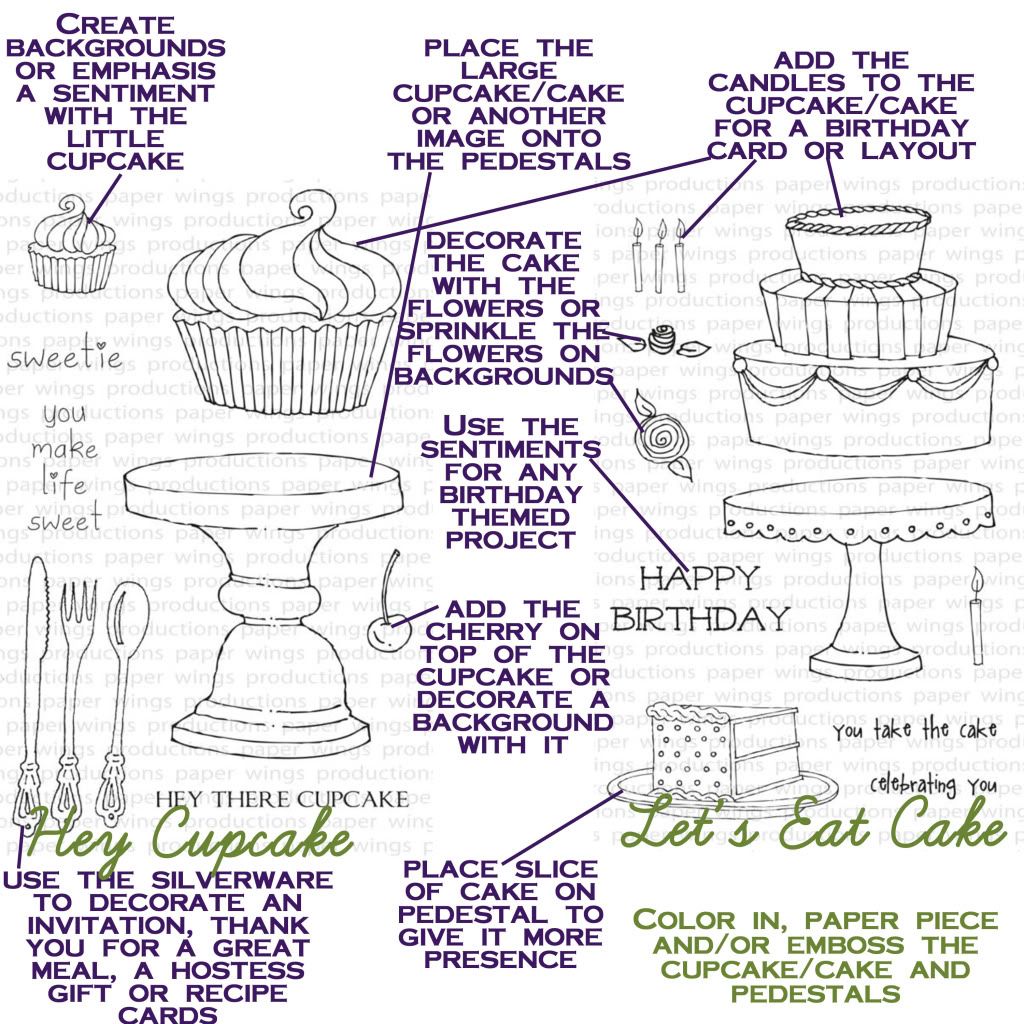
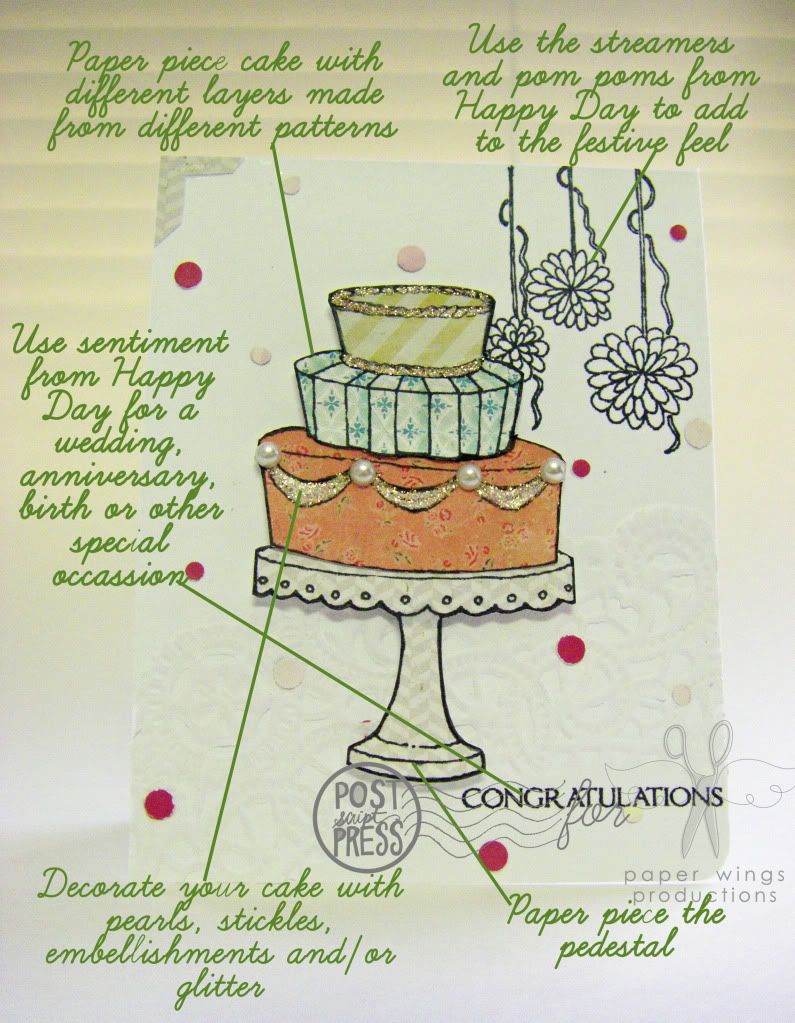
I have some scrumptious stamp sets for show and tell today from handmade by Lissie girl: Hey Cupcake and Let's Eat Cake.  These are some go-to stamp sets for all your celebrations: birthdays; weddings; anniversaries; births; adoptions; congratulations; retirement; gratitude; holidays; and encouragement.  Cakes and cupcakes are also gender neutral which is always such a necessary thing for the cardmakers out there.

Now on to the icing:


Aren't these stamps delicious?  How can you resist these tempting treats?  I sure can't. 

Take flight,
Shay.
Related Posts Plugin for WordPress, Blogger...