Showing posts with label Holiday Greetings. Show all posts

Friday, December 28, 2012

Feature Friday is Tagalicious!

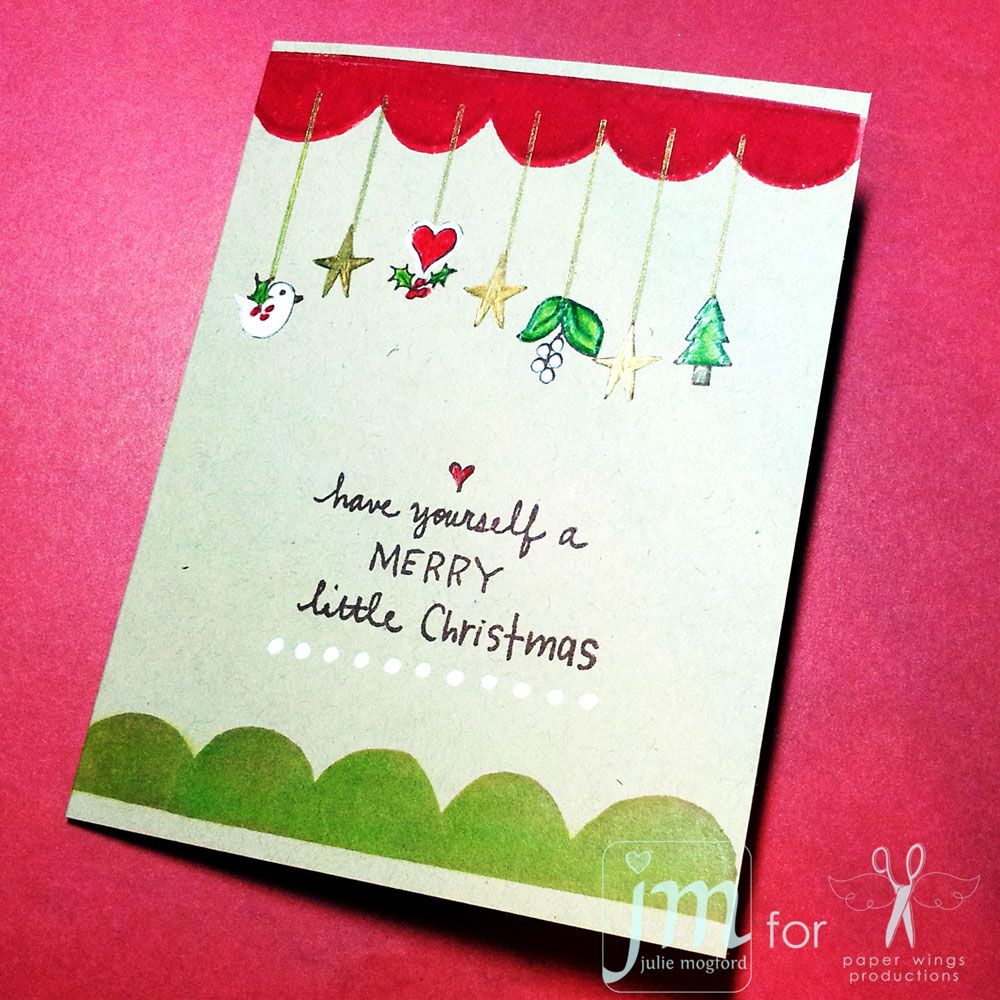
Happy Friday Everyone, Norma G. here with a little inspiration to kick off the weekend!!  That's right its.. 
Are you ready for the weekend?!  I know I am!!  Today I have a gorgeous tag to share with you worthy of ANY New Year's celebration.


This bird would look great draped over any bottle you're taking to your New Year's celebrations.

To make this tag, I started out with a #8 size manila tag and stamped it with the beautiful Starburst background stamp from the PWP Backgrounds Cling Stamp Set.  I stamped this multiple times with Gesso and Timber Brown Stazon.  Next I spritz on some Lemon Zest Dylusions ink and inked it with Tim Holtz Old Paper Distress Ink.

I used the PWP Bird Lyrics Cling Stamp for my focal image.  When I saw this beautiful bird with his awesome top hat, he screamed New Year's Celebration to me, lol.   I decided to cover his original sentiment of "I'll be your bird" with "Happy New Year's" from the Holiday Greetings Cling Stamp Set.

For visual interest,  I used the Cricut Accent Essentials Cartridge to cut out a snowflake.  The snowflake was cut at 4" and was dry embossed using the Tim Holtz Patchwork embossing folder.  Next I rubbed on some TH Distressed ink in Peeled Paint.

  The banner I used was cut with the Cricut Stand & Salute cartridge.  It's cut at 1" and inked with TH Peeled Paint.  The rose was cut with Spellbinders Blossom One.

I tucked in some glittered miniature snowflakes, Prima bling and used a beautiful sheer gold ribbon.  To finish off the composition, I stamped some of the birds from the Bird Melange Cling Stamp Set, and there you have it......Birds ready to ring in the new year!!

Whatever plans you have, I hope you have an incredible time with ALL of your loved ones!!  Thank you so much for sharing a little piece of your day with us today and I hope you'll continue to join us in the new year!  We have so many wonderful things in store for you in 2013!!

  Oh Hey, did you see the DT announcement last week introducing our new DT sisters?  I'm so excited to have them joining us and can't wait to see ALL of the beautiful projects they have coming up!  Trust me when I tell you, you are not gonna wanna miss their posts.  We are gonna be kicking things off with a "Friendship" themed blog hop on January 4th 2013, so MARK YOU CALENDERS & tell your friends!!!!  Thanks again for joining us today, HAVE A BEAUTIFUL DAY!!!

Monday, December 17, 2012

Mixed Media Monday - Joy to the World

Happy Monday, Norma G. here!! I hope you all had a fabulous weekend with your family and friends.  I got to catch up with some friends and even did a little shopping here and there.  It's hard to believe that Christmas is only one week away, YIKES!!  I still have a bit more shopping to do and a whole lot of wrapping ahead of me.

Alright, it's time for one of my very favorite things, a little Mixed Media fun!

This week I have a cute little altered box to share with you:


This is a small wooden box that I found at Michaels.  It was on clearance for .84 because the lid is broken off.  I've been wanting to create a shadow box project for awhile and knew that this little box would be perfect.  I used a TON of different materials to create multiple layers of beautiful details on this piece.

I started with the Sleigh Cling Stamp.  You can also find this image in the Winter Cling Stamp Set.  I stamped the sleigh on some plastic packaging with Stazon.  (I really like when I can upcycle something that would normally just go in the trash.)  I left a lip on both the top and bottom so I could adhere it the box.  Next I started working on the box, I used Golden Gel Medium to attach vintage sheet music to the inside of three sides.  I attached a scrap piece of blue scrapbook paper for the top.  Then I randomly stamped snowflakes in various shades of blue on the sheet music.  For a little sparkle, I applied a thin layer of glue and sprinkled Blue Diamond Fairy Dust.

For the bottom I used a scrap of beautiful gold sequence fabric.  I like the way the sequence reflects off of the plastic and adds a beautiful effect to the background.

A winter scene wouldn't be complete without some trees right?!  I used the trees from the Pines Cling Stamp Set.  I stamped the larger tree with Close To My Heart ink in Ponderosa Pine and embossed with Green Tinsel.  For the smaller tree, I used Tim Holtz Iced Spruce Distress Ink and embossed with Antique Gold.  I fussy cut both trees leaving a lip on the bottom for attaching to the box.

Here's another look into the box.  So with the inside complete, I began working on all of the little details that finish off the project.

I created a cute little snowflake banner to hang on the top with my sewing machine.  I really wish I had a circle punch for this part but since I don't, I had to improvise ;D  I used my Cricut George cartridge to cut four 3/4" circles and four 1/2" circles.  Next I stamped various snowflakes with varying shades of blue and embossed with Blue Tinsel.  Then I carefully ran the circles through my sewing machine to create the banner.

For the angel, I used the Build A Shrine Stamp Set, she's stamped in CTM Black ink and embossed with Antique Gold.  I used a white gel pen to highlight the wings and TH Distress markers to color in her face.  For the star, I used a gold gel pen.  I also flanked the angel with a stamp from the Flourish Elements Cling Stamp Set.  I cut the banner with the Cricut Stand & Salute cartridge and it's cut at 1".  The sentiment is from the Wise Men Cling Stamp Set and is embossed in black.  The edges of the banner are distressed with TH Old Paper Distress Ink.

I added silver tinsel around all of the edges, some sheer ribbon, miniature snowflake ornaments, bling and beaded trim to complete the project.

The tag is from my stash, I like the pop of red plus it kinda pulls out the red thread on the snowflake banner.

Here's one last look at my little altered Christmas box :D  If you'd like to recreate this box, you could use any box you have lying around like, you could even add a little battery operated tea light in the inside.

Okay here's a recap of the supplies I used on this project:
5x5x2.5 box
Vintage Sheet Music & Blue Scrapbook Paper 
Blue Diamond Fairy Dust
Gold Sequence Fabric
Plastic
Inks: Close to My Heart Black & Ponderosa Pine, Tim Holtz Old Paper & Iced Spruce Distress Ink, Color Box Aqua & Glacier Ice
Embossing Powders: Green & Blue Tinsel, Black and Antique Gold
Gel Pens: White & Gold
Tim Holtz Distress Marker: Scattered Straw
Cricut Cartridges: George & Stand & Salute
Beaded trim, sheer ribbon, silver tinsel trim, bling & miniature snowflake ornaments
3-D embellishment tag
Golden Gel Medium, Glossy Accents, Elmers glue and Beacon 3-1 Craft Glue

Don't forget to enter the Pin your wish list contest, you have til the 20th to enter.  Just click on the link for all the details!!

Thank you so much for joining us today!  We love reading your comments so keep them coming!!  You can also share your beautiful creations with us on Flickr, so don't be shy!!

Have a Beautiful Day!!!


Wednesday, December 12, 2012

What's Up Wednesday - One Layer Cards


Hey peeps! 

I've been on Pinterest a lot lately and I'm SO addicted to looking at pins and searching for ideas. Are you?  [have you pinned your favorite PaperWings stamps yet?] I have been seeing so many great ideas for Christmas cards, and I thought I would try a few ideas using our new and previously released stamps, but I gave myself a challenge.....ONE LAYER CARDS!  I have to say, it was definitely a challenge at first, but when I started thinking about a few card layouts I had seen, plus some techniques I know (but sometimes forget to use), then putting these cards together was easy!


Krafty Christmas - This idea came from to me when I remembered how much I like colored pencil on kraft paper.  I used to do these types of cards with Ms. Liz Allen all the time.  This card reminds me of her!  First I started with the Scallop Border to set my color scheme.  When I started this I made some ink choices that let me down.  I was able to restamp these clear stamp images using chalk inks and line them up perfectly! The green one was not as bright as I wanted, so I went in with a green prisma pencil to bring it up to the perfect shade I wanted to use. Next I stamped the hanger from the Hanging Stars set using gold pigment ink. Then I added the cute elements stamped in Memories Artprint Brown, from the Christmas Mix it Up and Holiday Tags sets. I colored all of the images with prisma pencils and the stars were using a gold prisma pencil - it is a really nice metallic!  Finally, I added the sentiment from the Little Christmas set and added the white dot border from the Louise set, inking only the dots I needed. I could have drawn the dots, but I like using the border so they are lined up and evenly spaced. It takes the guess work out of the equation. Cute, right???  I thought so!


Christmas Collage -  I came across a collage card that had a red Christmas sentiment in the middle of a collage card with green music in the background.  I started thinking, how could I recreate this look with our stamps?  Here is my rendition!  Images from Music Cling, Flourish Fun 2Holiday Greetings  Holiday Greenery Jolly Old St. Nick  /  St. Nick Cling and the Merry clear sentiment. I accented some of the images with prisma pencil, and the sentiment is stamped in Versamark with Festive Berries ink before embossing in red embossing powder.  The Christmas is added with Chestnut Roan chalk ink.  This came out better than I thought.  I am intimidated by collages like this sometimes, but I think it turned out well.  What do you think???


Winter Peace - This one is inspired by a few things.  The new cold weather that we are finally getting down here in Texas, and all of the cute cards I've been seeing that are masked off, stamped and embossed in white and then inked with rich colors.  First, I used some low tack masking paper to mark off the sky scene.  Using Stampin' Up! Whisper White craft ink and embossing powder, my trees from the Pines set and snowflakes from the Winter Mix It Up set come to life in the blue twilight sky.  I used Tumbled Glass, Broken China, Stormy Sky and a little bit of Faded Jeans.  After all of the inking, I wiped the embossed images off to remove any remaining ink and then removed the masking paper.  The handwritten "peace on earth" sentiment from the Little Christmas set is stamped in Faded Jeans and I think it is the perfect way to finish off this card.  I'm pleased at the effect and will be trying this again with other Christmas stamps  - it's really fun when you see the images pop off the card!

So that's my take on One Layer Cards.  I hope you give these techniques a try.  Even though Christmas is going to be here in a blink of an eye, these cards could be put together really quick for a last minute gift, or mass produced in a jiffy!

Hope you have a wonderful holiday season!

Peace

Julie

Wednesday, December 5, 2012

What's Up Wednesday: Easy Mass Production Christmas Cards


Hello there peeps!

It's Shay here today.  First, did you see our cool new contest: pin it to win it?  You could be one of three to win!  And if you need some inspiration on which stamps to pin, did you see Norma's ornament HERE or Julie's canvas HERE?  Keep on checking back all month for more amazing holiday projects from Norma and Julie!

I know that the holidays are almost upon us.  Perhaps you need a little help with getting some pretty cards out pronto?  With a single stamp, ink, patterned paper, a punch and a little bling you can mass produce several cards and have them ready to mail or give out in no time.


I chose solid block type images: the snowflake block from Holiday Greetings cling stamp set or Snowy cling stamp set; the holly block from Holiday Greetings cling stamp set or Holiday Greenery cling stamp set; and wise men block from Wise Men cling stamp set to stamp in three colors which coordinated with the patterned paper I picked out.

For these cards I wanted to play with non-holiday patterned paper in non-traditional colors.  We all have beautiful patterned paper that with a holiday stamp can be transformed for the holidays.  I went with a white cardbase to make these cards even more streamlined and inexpensive.

I found with the snowflake and holly stamps I could cut a strip of 2" height from the patterned paper and still have plenty of the patterned showing.  I adhered three blocks onto my strip of patterned paper and then adhered a strip of coordinating punched paper to the bottom.  Next, I adhered the whole strip to the cardbase and cut off any overhang.  Last I added some jewels to the blocks for that holiday sparkle (a slightly larger jewel was placed on the center block).

The Wise Men card is a bit different in that the stamp is taller than the snowflake and holly block stamps and has more negative space.  Because of the differences, I cut a strip of  3" from patterned paper and also added a banner style sentiment strip cut from white cardstock to place over some of that negative space.  The sentiment comes from Holiday Greetings or Holiday Script--excellent stamp sets for this time of year!

Snowflake card (bonus: could be used for any winter holiday):


Holly card:


Wise Men card:


Without a doubt you could stamp the cardbase for more color and interest, but this design is so easy and quick that you could crank out a ton of cards without much trouble and then add your own touches and embellishments as you desire.  Buttons, sequins, sprays/mists, pearls and brads are just a few things you could use.  If you love to sew, sew your layers with matching thread or be even more bold by using metallic thread!  You can also add a sentiment of your choice or put the sentiment inside.  Merely change up the colors and patterned paper each time for a unique card each and every time!

I hope you ink up some Paper Wings Productions stamps and create your holiday cards!  We would love to see what you make with Paper Wings Productions stamps.  Add your projects to our flickr group, to Pinterest, comment with a link on this post or even email pictures to us!


Take flight,
Shay.


Supplies:

Snowflake card

Stamps: Holiday Greetings or Snowy
Ink: Jenni Bowlin for Ranger in lemon drops, stick candy and chewing gum 
Cardstock: Georgia-Pacific in white
Patterned Paper: Neapolitan 6x6 paper pad from Dear Lizzy by American Crafts
Other: border punch by EK Success; clear jewels

Holly card

Stamps: Holiday Greetings or Holiday Greenery
Ink: Jenni Bowlin for Ranger in lemon drops, seed packet and chicken feed
Cardstock: Georgia-Pacific in white
Patterned Paper: Sketchpad 6x6 paper pad from Amy Tangerine by American Crafts
Other: border punch by EK Success; clear jewels

Wise Men card

Ink: Jenni Bowlin for Ranger in seed packet, chicken feed and cough syrup; Tim Holtz Distress Ink by Ranger in broken china
Cardstock: Georgia-Pacific in white
Patterned Paper: Memoir 6x6 paper pad by Studio Calico
Other: border punch by EK Success; clear jewels
Related Posts Plugin for WordPress, Blogger...