Hey there
Paper Wings Productions fans! I am glad you stopped in today. It's
Kristie here again to share with you a little something'-somthin'! I hope you find it fun and are eager to try it for yourself!
Today for Featured Friday I am doing a bit of a twist...
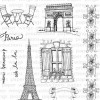
ONE stamp set, TWO ways BUT with water-colour as the medium.
So it's kind of technique-y but also shows you what you can do with just one stamp set! Sometimes we feel like we have to have a TON of stamps, but you just need stamps you LOVE and you can have loads of fun!
For my first card, I pulled out this old large stamp block that has some grid lines etched into it.
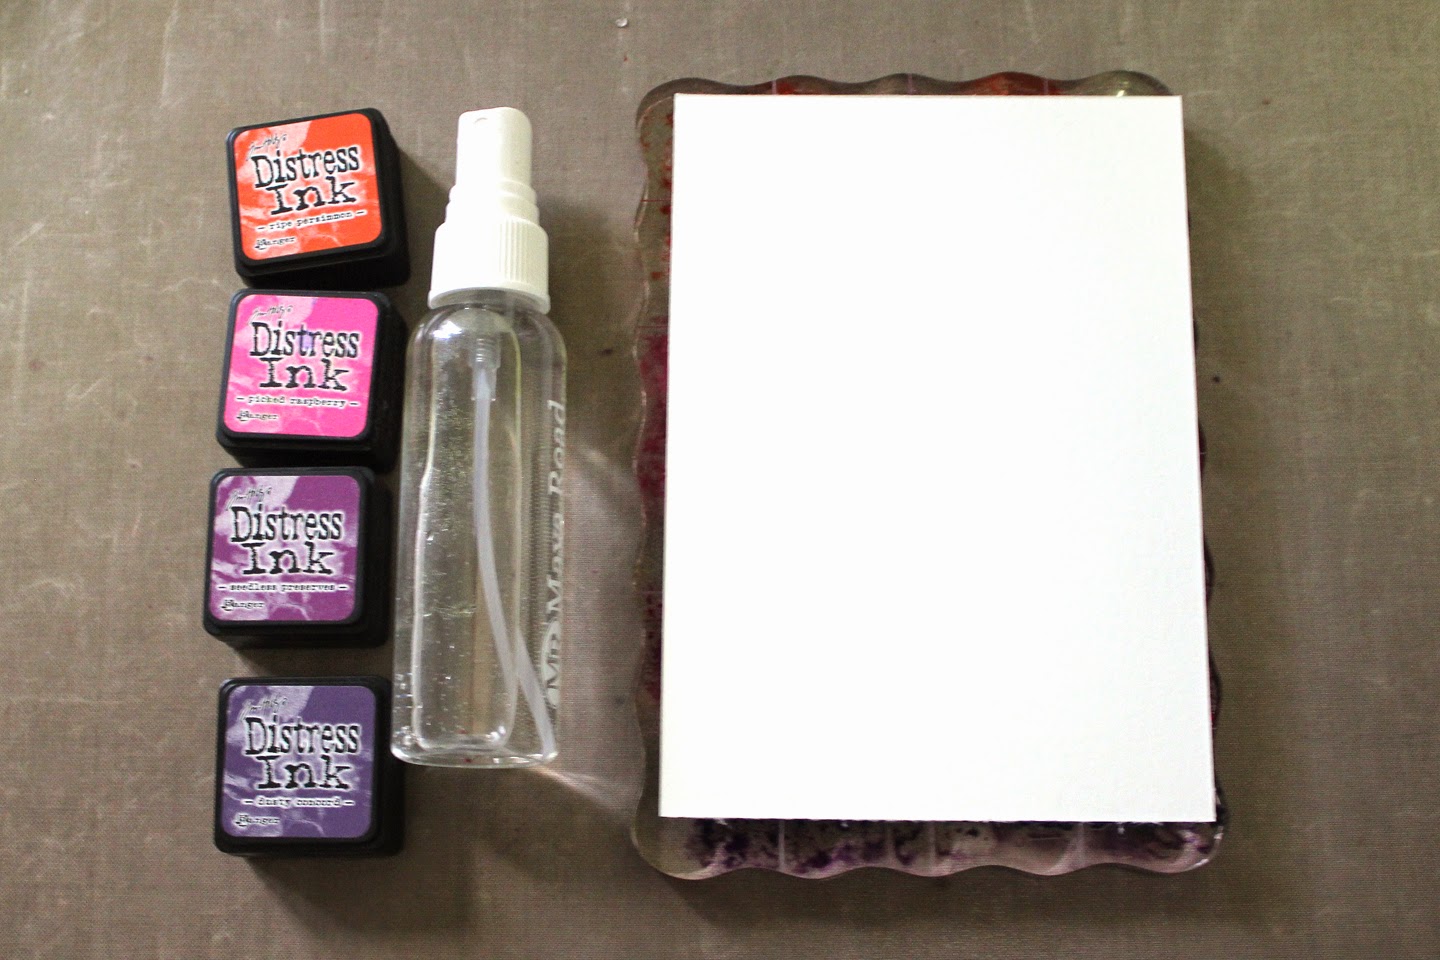
Using Distress Inks, I rubbed my colours on my block and then spritzed it like crazy-crazy with some water:
I laid down a piece of water-colour paper over the top of the ink and let it soak in. It's really helpful to put a towel or a scrap piece of paper over the top of it to help you press the paper into the ink without making a terrible mess, but then again, that's kind of the fun part isn't it ; )
When I pulled up my paper...Voila!! It left this great colour but also a grid patter from my stamp block! It's like two textures in one go, which I love!
I embossed the Eiffel Tower image with black embossing powder
And now you get to see the crazy part of me... I usually line up my sentiment on my block and then stamp it a few times. First I want to be sure there isn't anything on my image (lint..dirt.. chocolate ;).
I want it to be a crisp image, but also straight! I have this big grid paper pad I use to stamp on. I line up the lines on my block to the lines on the pad and then see if the sentiment comes out and then adjust accordingly.
Ever since I started doing this I have saved myself
a lot of crooked stamping! I love the paper pad also because it gives a little cushion, so I get a good impression every time. I just picked one up at my local stationary/book store for $2. I HIGHLY recommend it!
And that's it! You could really crank these babies out if you needed a lot and have SO much fun blending the inks. In fact, I made quite a few panels cause I love it so much! I rounded the corners of my panel and popped it up on a white card base and my card was born!
So with my first card finished I wanted to show you another way to use
this stamp set with watercolors. It's definitely the most traditional way... by actually painting! (Gasp!)
I used a little masking technique to create a scene for this card.
First I stamped my chairs:
Then after creating a "chair mask" with a post-it note and placing it over the stamped chair image, I then stamped the window image overlapping the mask.
And this is my favourite part....when you remove the mask, you can see my little Paris scene! (Can you hear the music? It's like a Woody Allen movie! ; )
Now, I'm not a water-colour-er by any stretch, but I wanted to show you a little step by step of how I watercolored my scene. I started with the neutrals and moved on to the brighter colours and detail. I added some shimmer to my little window flowers to give it some oomph... Also notice the shadow under the table and chairs. This adds some weight to the scene to help ground it. Now my chairs aren't floating on my card!
I finished off with some embellishments. I spritzed a doily with some grey spray mist. Added some crinkled silk ribbon and a hat pin. I found this fun striped vellum at my craft store and used it to mat my watercolored image.
And that's it! Two cards made with just
one AMAZING stamp set! It's such a fun set to use. I keep grabbing for it again and again! So what do you think (did you make it this far? It's a long one!) Do you love to water-colour? Does it intimidate you (as it did me, for a while?) Sometimes you just have to jump in and enjoy it! I would love to hear from you so drop me a line in the comments! I would love to come pay you a visit.
Thanks so much for stopping in today!
xoxo
k


