Showing posts with label window. Show all posts

Monday, December 3, 2012

Mixed Media Monday - Snowman Canvas

Hello Peeps!
Can you believe it is December already?  Wow - this year has just flown by!  Now that Thanksgiving has passed, we hare getting into the Christmas spirit at my house.  My husband has been getting out our decorations, and we decided to get a small table top tree which is really great.  Down here in San Antonio, however, it isn't really very cold outside.  To try to enhance the idea of Christmas and cold weather, I have made a little Snowman canvas to put out as a new decoration.


First I started with a 5x7 canvas and used Collage Pauge Matte to glue some papers from my stash to create a winter scene.


Next I stamped the trees from the Build a Scene stamp set on various green paper for some quick paper piecing.  These are really not too tough to cut and the different green papers add a nice touch.


I chose to use the "oh so cute" snowman from the Snowman Love set. Here I have glued text to some cardstock and covered it with a light coat of gesso.  Then I stamped the images in Archival ink.  I colored them with prisma pencils.  I also added some gesso around the edges to give it a bit of a  frosty look.

Once all of the images were cut out, I glued them onto the canvas and added a few more details.  I decided that this sweet snowman needed a cardinal on his hat so I used the bird from the Window set.  After much deliberation, I finally chose the sentiment "holiday wishes".  I was nervous I wouldn't stamp it straight so I stamped it on a separate piece of paper and then cut around the words.  I added a few snowflakes from the Winter Mix It Up set to the blue sky using Stampin' Up! Whisper White craft ink.  My two big finish items were adding Martha Stewart glitter to anything white and after shaking off any excess glitter, I put some shine on the hat and sentiment using Glossy Accents.


He's so cute!!!  Let me tell you something - this thing really sparkles! I'm really going to enjoy having this in my Christmas decor collection!  And, this project came together pretty quick!  This would be a fun project to make for yourself, or as a gift to a friend! Now, if only we could have a little colder weather - dare I ask for a few snowflakes closer to Christmas?  Well, I can dream, can't I??


Happy Stamping!!!


Julie


Wednesday, November 7, 2012

What's Up Wednesday - Advent Calendar: Part 1

Hi Peeps!
It's good to be back here on the blog today.  I hope you have been keeping up with all of the recent posts for fall, Halloween, and Day of the Dead from our talented ladies here at the Aviary - Carrie, Norma and Shay!
I'm going to change gears here from fall, to the upcoming winter holidays, and share with you a project I'm working on.  For years I've been intrigued with Advent calendars creadted by other crafters using various papercrafting supplies, and I decided that this would be my year to make my first Advent Calendar and showcase the wide variety of stamps that Paper Wings carries.  Today, I'm highlighting days 1-8.


Aren't these fun?  Let's get a close up look to see more of the details. Just a note:  All of the numbers are stamped in Versa Fine Black Onyx and are from the Perfect Number Clear Set.


Details: Flourish Fun 1 large stamp embossed in Lindy's Gang embossing powder. Winter Mix it Up sentiment stamped in Versa Fine Black Onyx.


Details: The window, bird house and cardinal set up the scene along with one tree trunk from the Howlin' For You set. Distress inks and Distress markers and a Stampin' Up! Chocolate Chip marker add pretty colors and all is finished off with Picket Fence stickles for snow and ice cicles. And, I found a little Liquid Applique and heated it up to make snow on the birdhouse. 


Details: Does this wish list look like yours??  This was too fun to pass up.  The background is inked with Festive Berries distress ink and the ledger is stamped in Pine Needles distress ink. I then added the Top 10 number list and Dear Santa from the Christmas Mix It Up set.


Details: MMM..Marshmallows!  The tag is inked with Tumbled Glass and stamped with flourishes from Flourish Fun 2 and embossed with Irridescent Ice EP from Stampin" Up! The cup from Play with your Coffee is paper pieced on Basic Grey "Figgy" paper.  The cocoa is Chocolate Chip marker again, and the marshmallows are so white from a Souffle pen.


Details: More distress ink on background (love how quick that is) and stamps from the Door set to create the wreath, colored with prisma pencils, and the little gold embossed dots are from Flourish Fun 2 set.  The sentiment is actually from two sets: Christmas Mix It Up and Holiday Mix It Up.


Details: Of course I had to get some sprays out and this one looked a little like a sky to me.  The scene unfolded before my eyes.  A crescent moon from the Build a Scene set, colored in with a VersaMark marker and embossed with Egyptian Gold EP (and the Believe sentiment too from the Dear Santa Cling set).  And the little santa from the Jolly Old St. Nick cling set looks so cute flying in the sky.


Details: I used a little more paper piecing with "vintage" Memory Box Christmas papers, but I accented the papers with the music background and letters from the Perfect Alphabet set to spell out JOY!


Details: This was another tag that I used sprays to create a background.  I thought it was just begging for Whisper White (Stampin' UP!) embossed snowflakes from the Winter Mix It Up set.  I used just a portion of the "peace on earth" from the Typed Wishes to add a simple sentiment.


So, what do you think???  This is only the beginning!  There will be two more installments of the remaining tags.  I've really enjoyed pouring over my Paper Wings stamps and looking for great images to create these fun tags.  I hope you are inspired in some way for your own upcoming holiday projects and we would love to see what you make with these and other Paper Wings Productions stamps.  Add your projects to our flickr group, to Pinterest, comment with a link on this post or even email pictures to us!


"It's beginning to look a lot like Christmas......"
Happy Stamping!

Julie


Wednesday, October 17, 2012

What's Up Wednesday: Spooktacular House


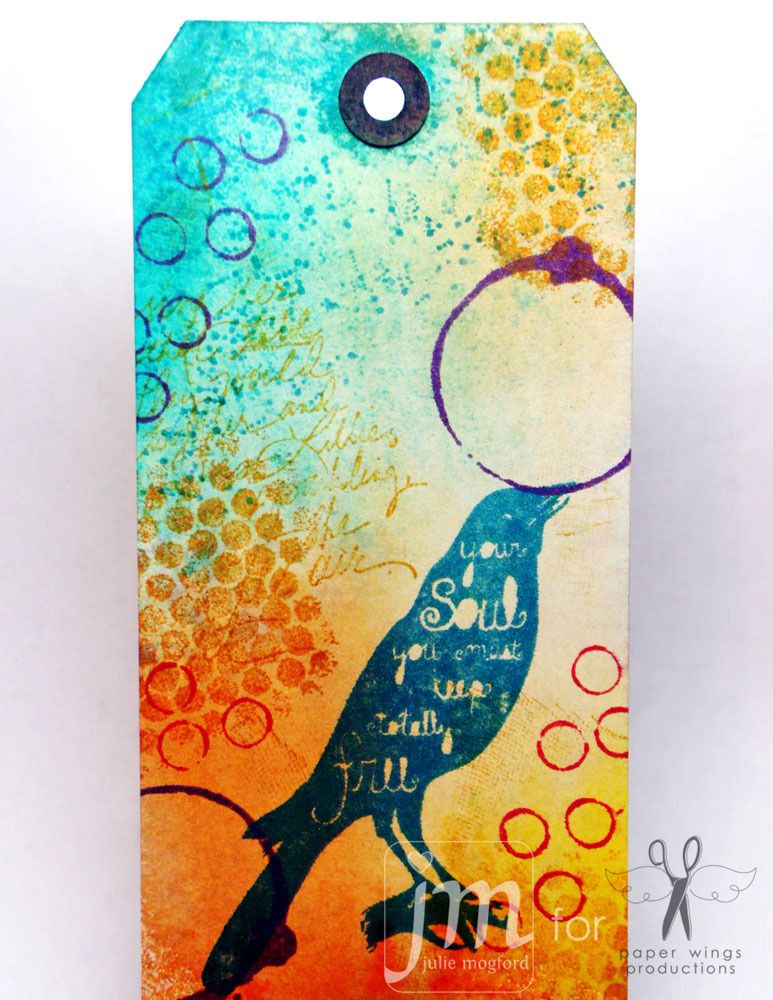
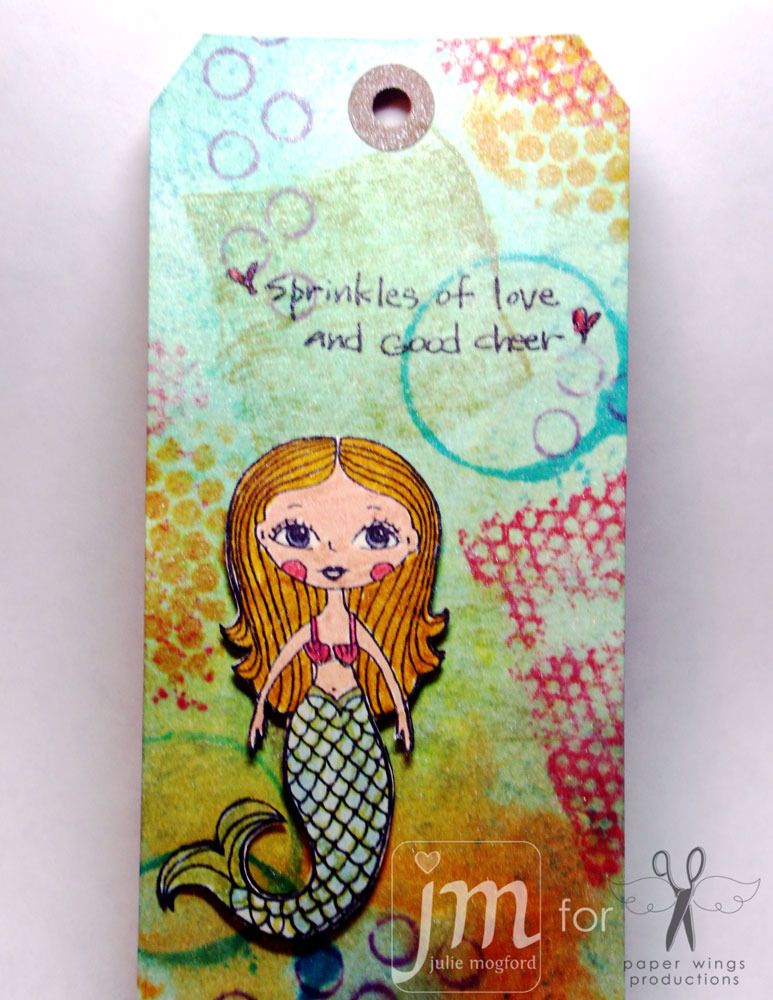
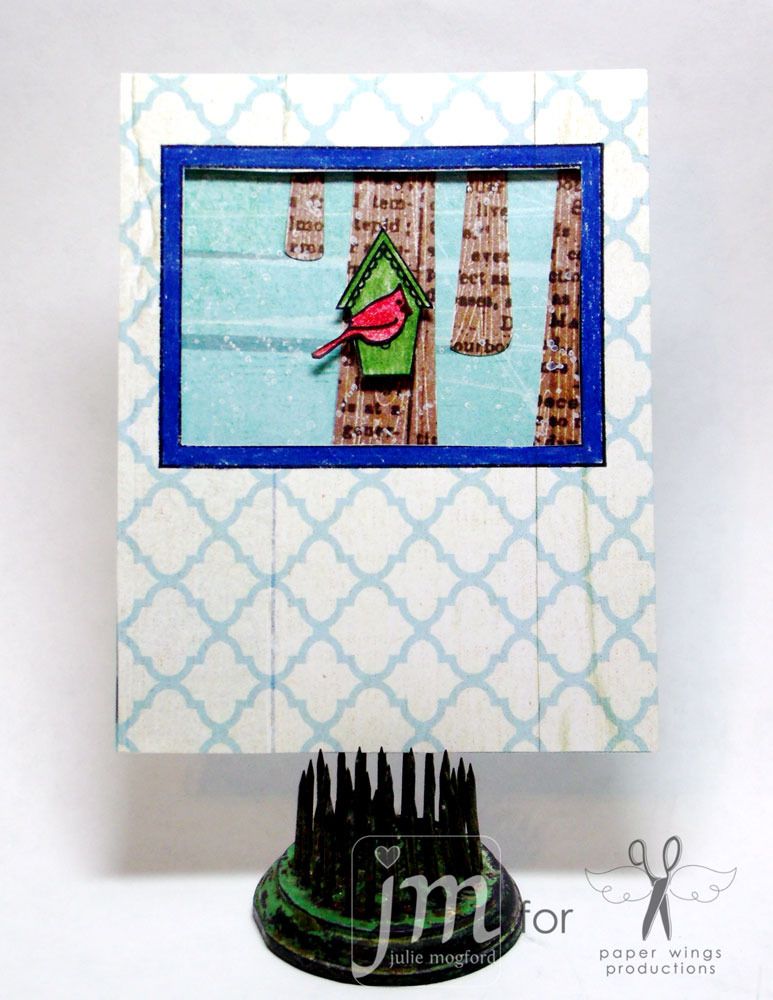
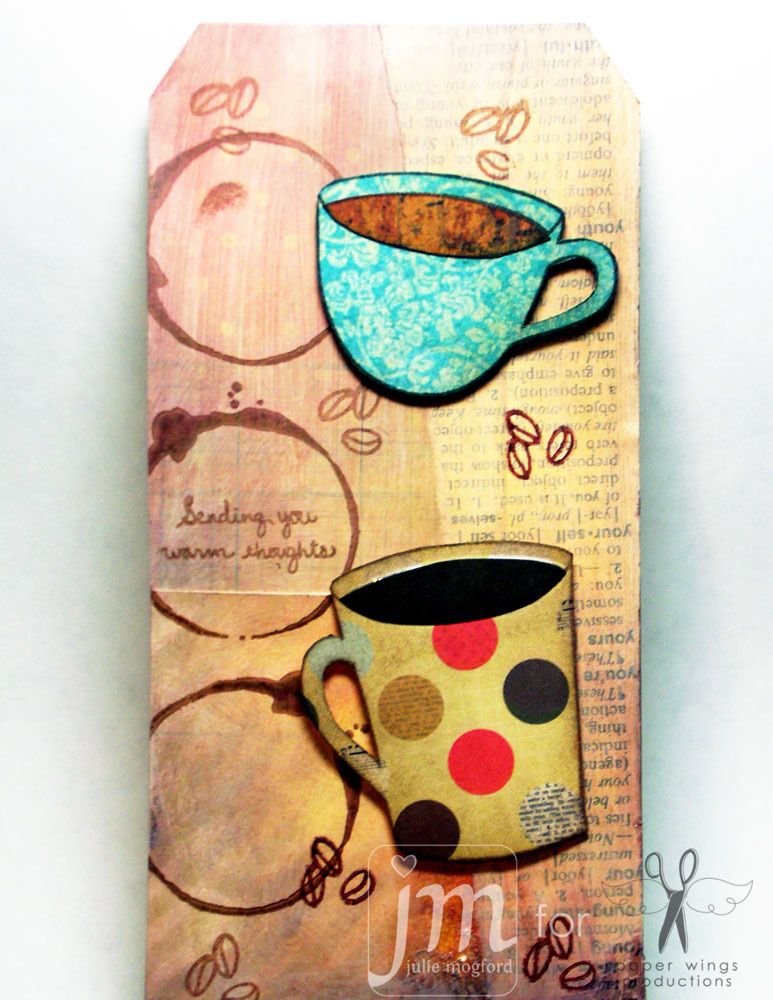
Happy Wednesday peeps!

It's Shay here and we are in the thick of Halloween crafting.  Did you see Robin Nowak's adorable witch tag?  You really have to go see it!

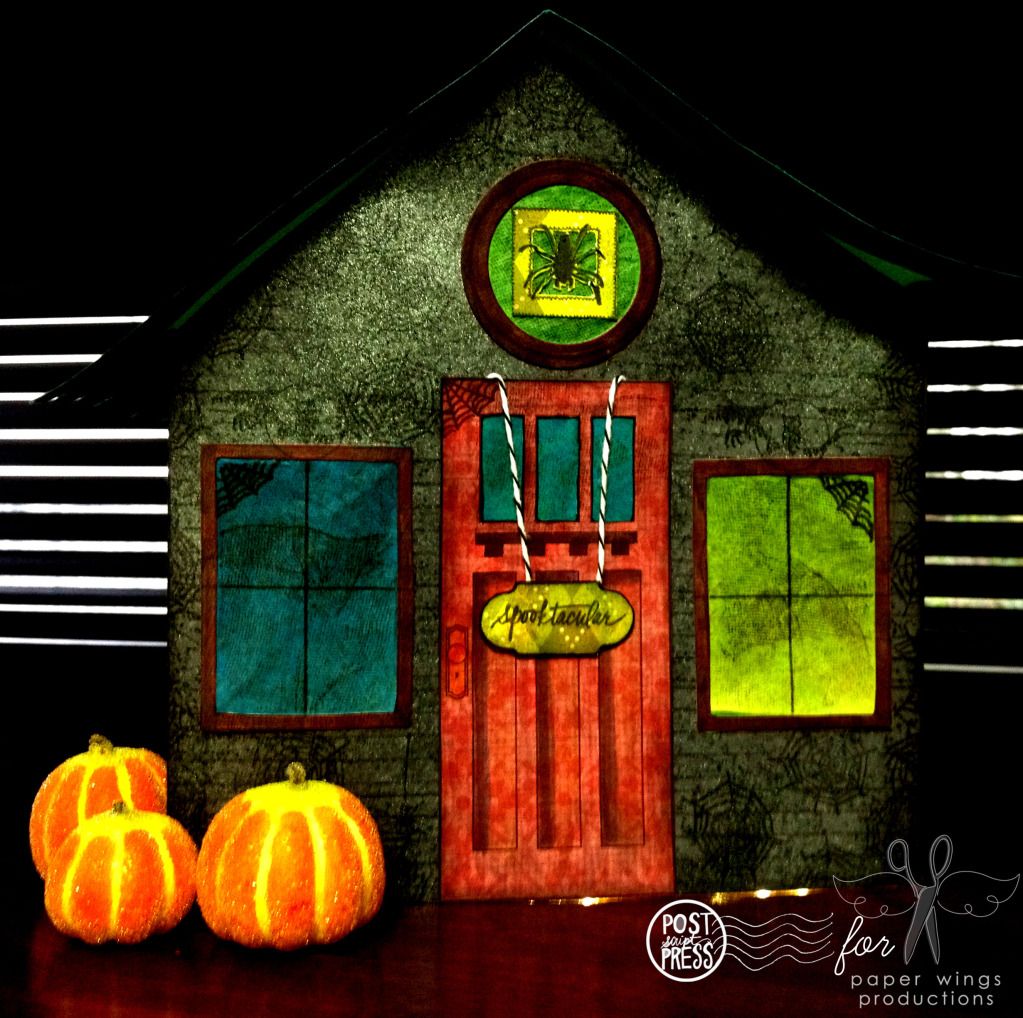
Today I am here to share a little house to decorate your home with for Halloween using just cardstock, patterned paper, tissue paper, inks, markers, water, a little iridescent spray and Paper Wings Productions stamps of course!   I was inspired by the new Door stamp set designed by Julie that coordinates with her Window set.  Both of these sets have so many options.  There is also the Holiday Add-Ons set which can be used with the Door and/or Window sets to add a festive flair to your projects!


I first created the door by stamping the door image from  Door stamp set in black ink (Memento) on a piece of patterned paper that I then colored in with Copic and Distress markers.  I cut out the three upper panels of the door to make windows.  Julie created a beautiful door that you can really customize.  You could have the whole door be a solid surface (how cool would it be stamped onto wood, wood patterned paper or metal?) or cut out different panels to add windows to the door.  I also distressed the edges with black ink and my ink blending tool (black soot Distress Ink).

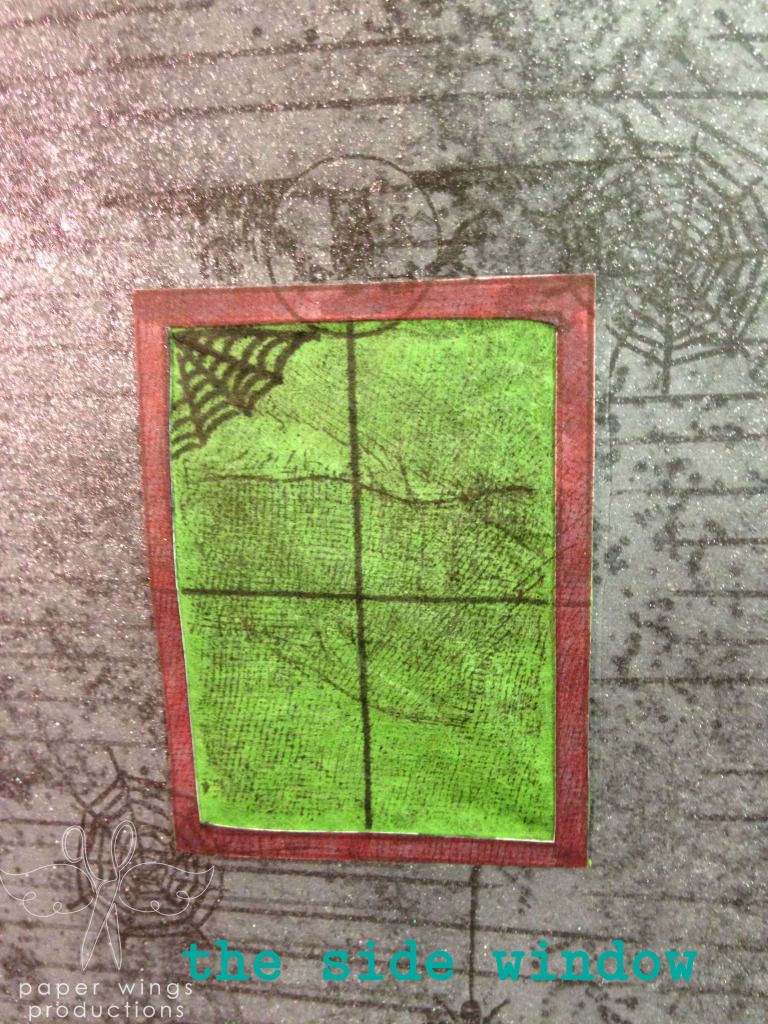
Next I stamped three windows using the window from the Window stamp set in black ink (Memento) on the same patterned paper as the door.  I colored in the frames with a grey Copic marker.  I cut each frame out and used a black ink and a black marker to clean up the edges.  I also stamped the circle from the Limited Edition stamp set and used it with some circle dies to create a circle window frame that I colored in just like the other windows.  I then backed all of the windows using teal and green tissue papers.  After that I stamped the lines from 
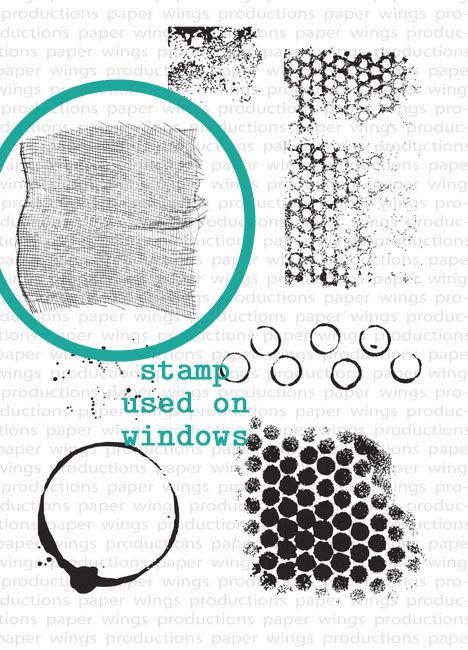
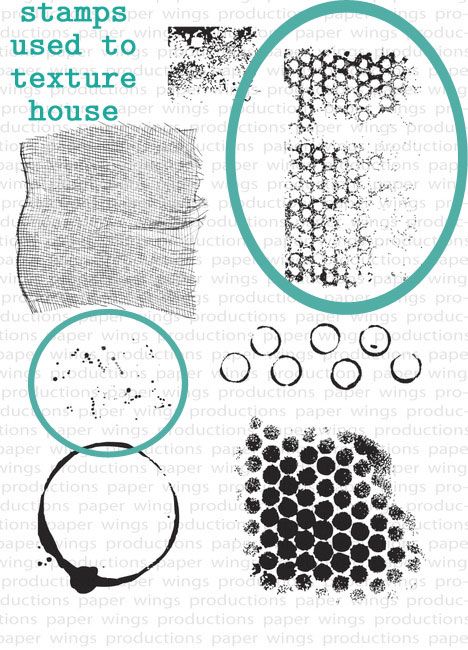
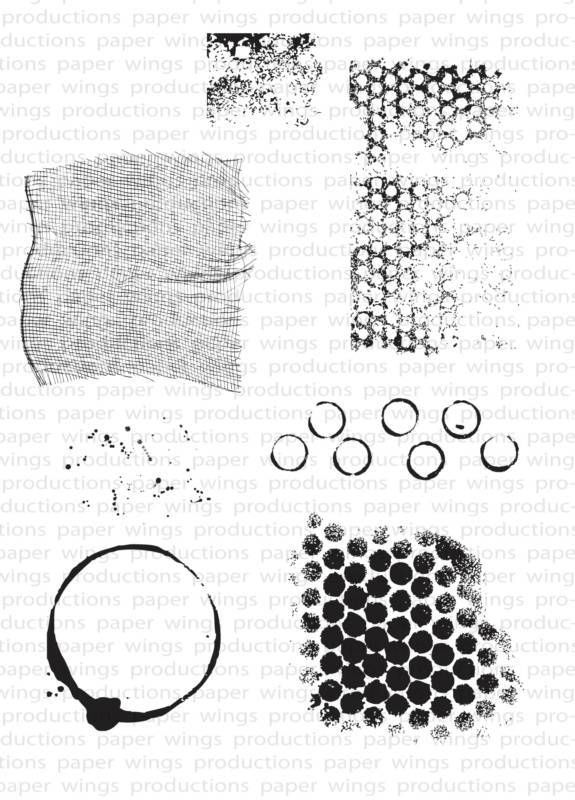
Window to create panes on the larger windows.  For more interest I stamped the screen looking stamp from Art Textures in black over the tissue paper and I also stamped the corner spiderweb from 
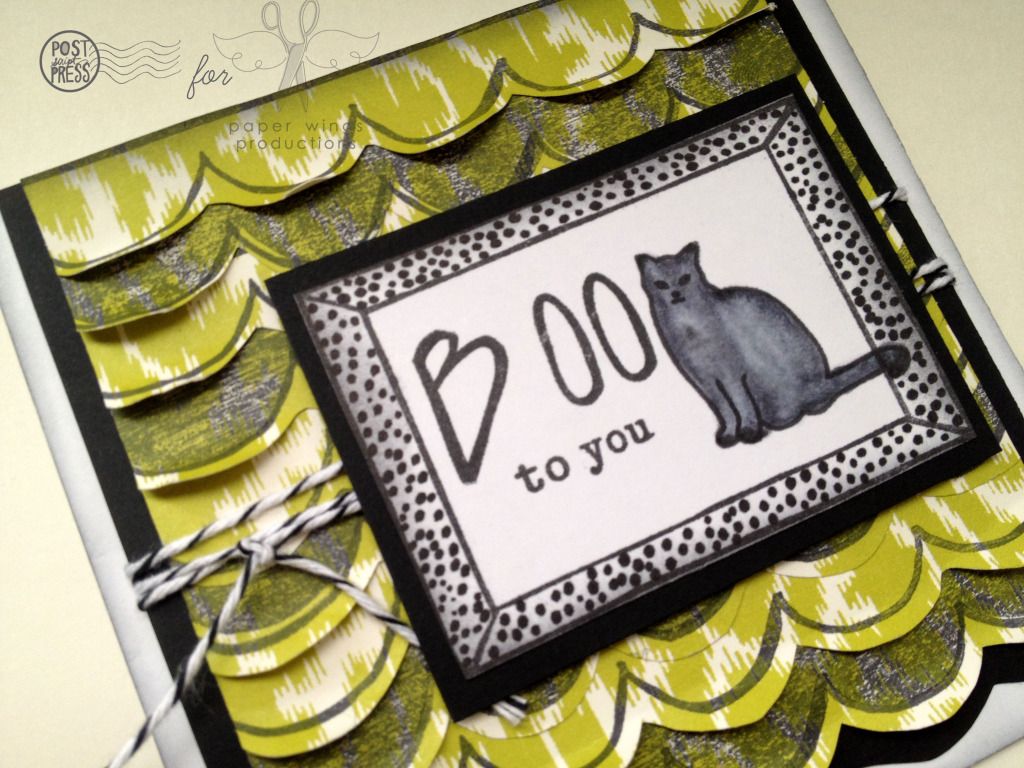
Halloween Mix It Up on each of the bigger windows.


I cut out a house shape out of grey cardstock using the windows and door as reference guides in four sections (for each of the four sides of the house).  I also marked where I wanted the door and windows placed and cut out areas where they would be so that light would shine through the tissue paper correctly.  I tried to make the holes smaller than the outer edge of the object, but larger than the the portion covered only with tissue paper.

I decorated the base of the house with Straight Journaling Lines stamped messily (perfection in this projects is not wanted!) in black ink (Memento) and overstamped it all with the small splatters and punchella from Art Textures in black ink (Distress Ink).  I further distressed it by spraying water over all the sides.  I then sprayed all sides with iridescent spray.


I adhered the doors and windows to their proper places and put the house together.

I also added quite a few spiderwebs from Halloween Mix It Up and the spider from Witchy Halloween under a couple of the windows.  I used the cool owl border stamp from Halloween is Here above the larger windows.

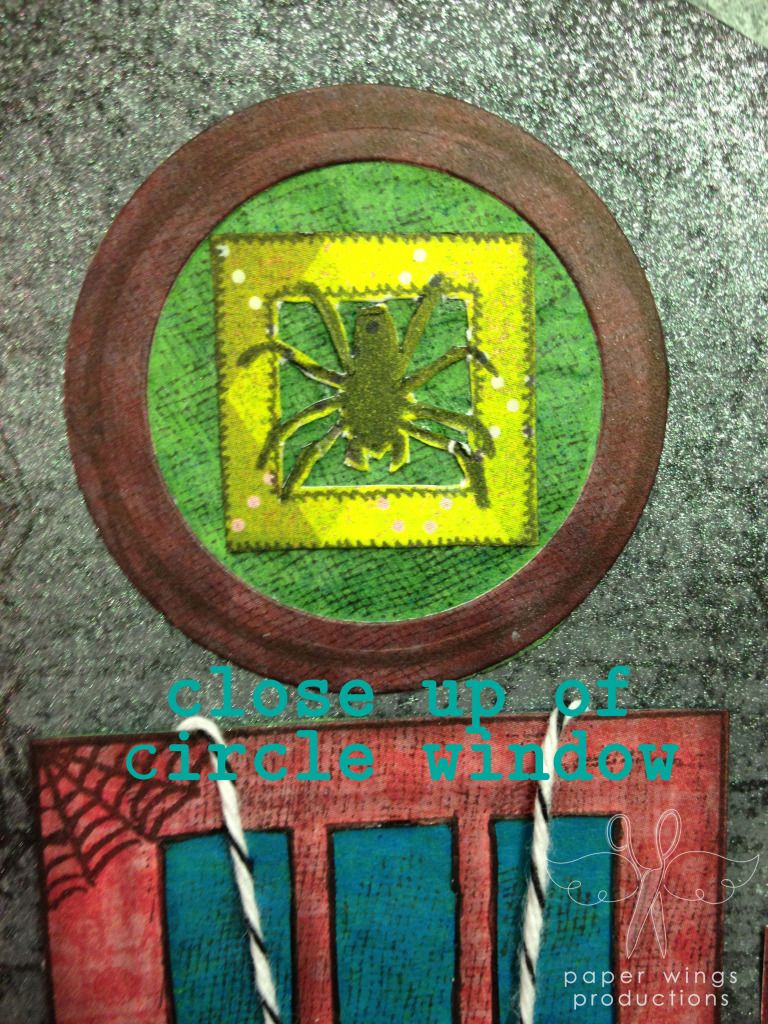
The little spider detail on the circle window was made by using the square wreath from the Door set and stamping the spider from Halloween Mix It Up inside on a piece of patterned paper. I cut out portions of the center of the wreath around the spider.


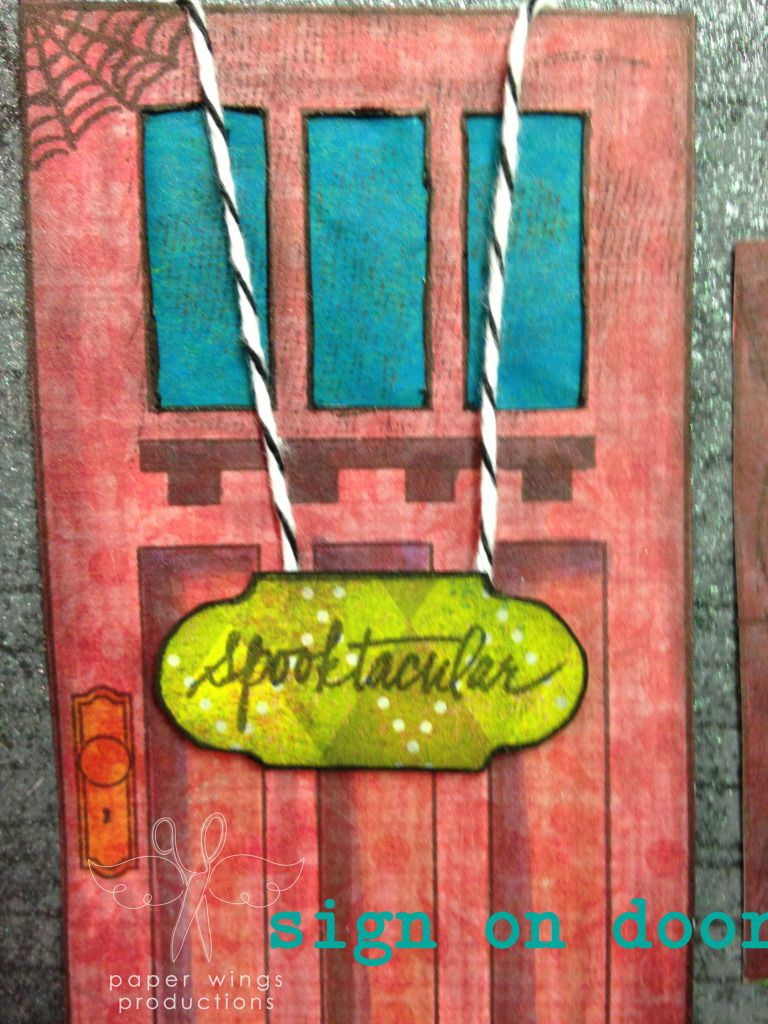
The little sign on the door was made using the sign from the Door set and spooktacular from the Halloween Mix It Up set stamped on the same patterned paper as the wreath.  I hung it on the door using twine.


For the roof I scored a piece of 8.5 x 11 inch teal cardstock in half and then stamped in teal ink (Distress Ink) the solid image from Lace Border going down each side starting from the center score.  Like all the border stamps, the Lace Border can easily be lined up to make as long as border as needed.  I cut the bottom edge of each side to follow the curve of the scallop.  I then edged all of the sides with black ink (Distress Ink).
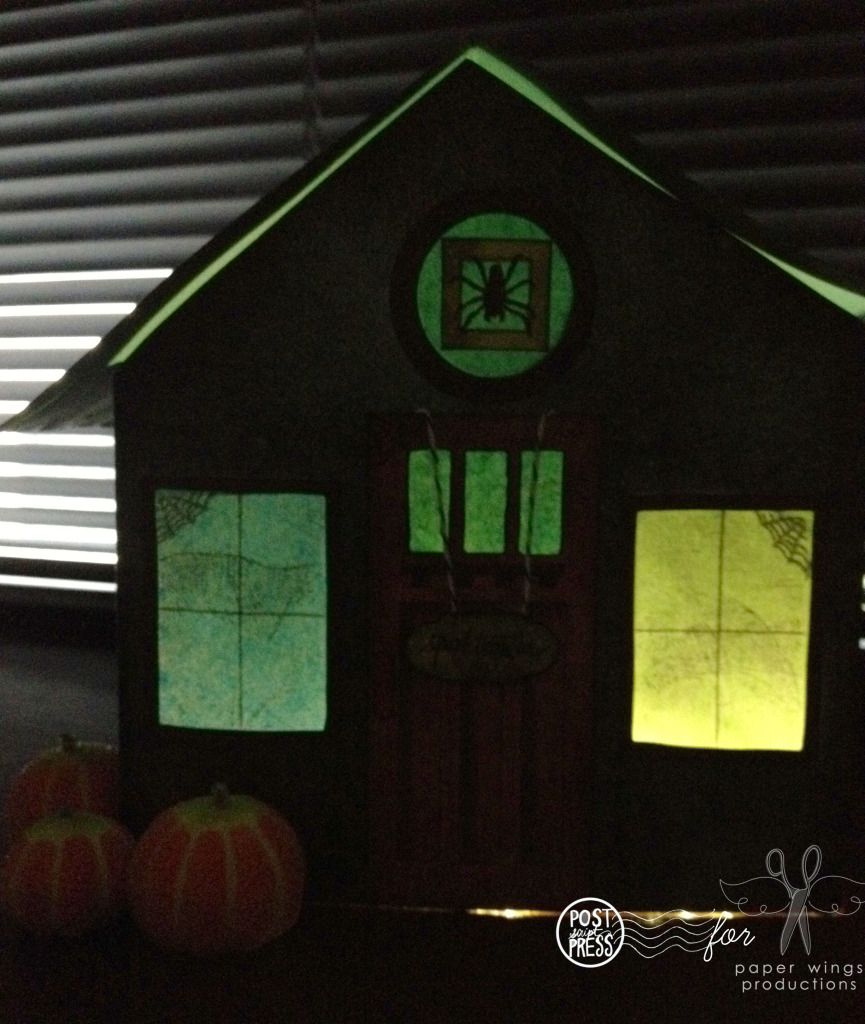

You can place battery operated lights inside the house now and place the roof on top of your house!  It would be really cool to add silhouettes of monsters, creatures, insects and/or witches inside the house too.

Here is a picture of the house in the dark:


Pretty fun and spooktacular!  What do you think?

We would love to see what you make for Halloween with Paper Wings Productions stamps.  Add your projects to our flickr group, to Pinterest, comment with a link on this post or even email pictures to us!

Take flight,
Shay.

Stamps: Art Textures, Door, Halloween is HereHalloween Mix It Up, Lace Border, Limited EditionStraight Journaling LinesWindowWitchy Halloween
Inks: Memento by Tsukineko in tuxedo black; Tim Holtz Distress Ink by Ranger in black soot and peacock feathers
Cardstock: Stampin' Up!
Patterned paper: My Mind's Eye and Basic Grey
Other: tissue paper, Divine Twine by Whiskers Graphics, battery powered lights, water, Memories Mists iridescent, adhesive; Copic markers, Tim Holtz Distress Markers by Ranger, Spellbinders circle Nestabilities dies, Cuttlebug by Provo Craft; hobby knife; scoring tool, ruler

Friday, September 28, 2012

Feature Friday: Falling for Fall


Happy, happy Friday peeps!

It's Shay here and I am delighted to bring you some cards for the autumn season.  I am so happy that the weather is downright pleasant after the heat of summer and I am anticipating all this season brings including autumn crafting.

I made two cards that are very similar, but by changing up the colors, sentiments and some of the images they have their own character.


Using the same stamp set, Scallop Border, I made the background for two cards with a different look by using different patterned paper.  All of the border stamps (Double DotLaceLeafLinesScallopSingle DotTriangle and Zig Zag) come with two stamps: an outline and solid that work together or can be used separately.  Another fun feature of the border stamps are that they can be lined up so you are able to stamp the entire length of a 6" x 6", 8" x 8" 8.5" x 11", 12" x 12" page or even larger surfaces.

For these cards I simply stamped the scallop outline many times on patterned paper and cut them out and adhered them together (one under the other for a tiered effect) into a panel.  I cut the left and right sides for straight edges. I then adhered all the scallops to a piece of cardstock with the bottom cut into a scallop design.  For the Halloween card I also stamped an equal amount of scallops with the solid scallop in black ink and adhered them alternately.

For interest and dimension I curled up the edges of the scallops.

The sentiments are framed by the frame image in Day Framer for the fall card and the frame image in Life Framer for the Halloween card.  I added dots or circles to both frames using Copic markers.  You can also use patterned paper, paint them in, doodle in designs to decorate your frames...really the possibilities are as varied as the colors in the sky.


Funky Alphabet is perfect for sentiments during autumn (especially Halloween) and I spelled out "boo" and "fall" using them.  The "Happy" is from the fall card is from Details Framer and "to" from the Halloween card is from Snapshot Framer and "you" from the Halloween card is from Day Framer.  The cute cat is from the Window stamp set.


You could use the idea of this tiered scallop background for scrapbook layouts, tags, gift bags, mixed media projects among a few things.  Try one of the other borders for a completely different look.  Embellish with punched images, jewels, leaves, feathers, flowers, ribbons, fabric, lace, pearls, sequins, die cuts and the like to really make it your own.

We would love to see what you are crafting as the weather cools this fall.  Add your projects to our flickr group, to Pinterest, comment with a link on this post or even email pictures to us!

And be sure to stay tuned for our upcoming release for some great autumn and winter stamps to add to your Paper Wings Productions stamp collection!

Take flight,
Shay.

Stamps: Day Framer, Details Framer, Life Framer, Snapshot Framer, Scallop Border, Funky Alphabet, Window
Inks: Memento by Tsukineko in tuxedo black; Jenni Bowlin for Ranger in brown sugar and chili powder; Tim Holtz Distress Ink in black soot
Cardstock: white, Georgia-Pacific; black and kraft, Neenah; chocolate chip, Stampin' Up!
Patterned Paper: Anna Griffin and Basic Grey
Other: twine by Divine Twine; Copic Markers; dimensional adhesive, Stampin' Up!


Wednesday, September 19, 2012

What's Up Wednesday: Hanging Stars Two Ways


Hello there peeps,

It's Shay here.  Are you like me and blown away with what Julie and Norma have done last week?  They are a hard act to follow.

Today I have a scrapbook layout for you and a card both using the Hanging Stars stamp set in entirely different ways.

I decided to use the Hanging Stars lines to make journaling lines in this scrapbook page:


Do you also see the shutter from the Window set acting as a building block?  I first stamped the back side of the stamp (the side which usually clings to the acrylic block) in a mixture of inks and then stamped the right side over it in black ink.  It could also look like a drawer.  This is a similar technique that all the border stamps allow you as each set comes with an outline and solid of the same image.  I used the Lace Border on this layout under the pictures.

In this card I chose to hang some hats from Marcel as well as stars from Hanging Stars which works perfectly with the sentiment also from Marcel:


Think of all the fun things you hang off the Hanging Stars lines!  Wait until next release for some more awesome options.

I bet you have used a Paper Wings Productions stamp in a clever way and we would love to see it!  Add them to our flickr group, to Pinterest, comment with a link on this post or even email pictures to us!

Take flight,
Shay.

River House layout
Stamps: Hanging Stars, Lace BorderMermaid, Text Melange and Window
Ink: Memento ink by Tsukineko in tuxedo black; Jenni Bowlin for Ranger in spice tin, speckled egg or soap powder and weather vane
Cardstock: Bazzill
Patterned Paper: Amy Tangerine for American Crafts
Other: gesso, Claudine Hellmuth Studio by Ranger; sprays and mists, various; border punches by Fiskars; Corner Chomper by We R Memory Keepers; pens by American Crafts; black photo corners; Thickers by American Crafts

Hats Off to You card 
Stamps: Hanging Stars, Marcel and Writing Backgrounds
Cardstock: Georgia-Pacific and Stampin' Up!
Ink: Memento ink by Tsukineko in tuxedo black; Jenni Bowlin for Ranger in soap powder, spice tin and weather vane
Patterned Paper: Amy Tangerine for American Crafts; Studio Calico
Other: border punch by Fiskars; Copic Markers; Tim Holtz Ink Blending Tool


Monday, September 3, 2012

Mixed Media Monday - Art Textures Stamps


Hello everyone!
 
 
We have a video for you today.  This is another Closer Look video featuring our Art Textures stamp set.  This set is very versatile and is one that I think you will keep handy on your desk for so many different mixed media projects. 


This video shows each of the different stamps in action, and discusses multiple uses for some of the images. Take a look!


Isn't this set AWESOME?!?  I'm including close ups of the sample projects from the video to emphasize the details of these art texture stamps. 


 These two tags started with the same background techniques, but still look different when completed.


Speckled stamp used to create snowfall.


 I've used the large circle with the ink spot as a coffee ring for this fun tag.


 These stamps can be used with acrylic paints too - be sure to clean them up before they dry.


 One last version of the stamps used along with
the Wrinkle Free Distress technique, a la Tim Holtz.
 
 
I hope this post gets you excited about using these stamps on your projects.  I love the variety of effects I can achieve.  Thanks for watching!


Happy Stamping!
 
 
Julie


Supplies
Stamps: Art Textures, Bird Lyrics, Bird Melange, Hanging Stars, Howling for You, Melange Women, Mermaid, Play With Your Coffee, Sea Melange, Sayings and Sentiments, and Window
 
Paper, Ink and Tools:
Chalk Ink (Color Box)
Distress Ink (Ranger)
Whisper White Craft Ink (Stampin’ Up!)
Spray Inks - Dylusions (Ranger), Glimmer Mists,
and Mister Huey’s Shine
Paper - Studio Calico, Basic Grey, and various
scraps.
Ink Blending Tool (Ranger)
Foam Tape
Ribbon / Fibers


Friday, August 24, 2012

Feature Friday: Framing a Scene

Happy Friday peeps!

Summer may be waning, but the fun here at The Aviary sure is not.  Have you seen Norma G.'s beautiful mixed media notebook tutorial Monday or Julie's pretty card Wednesday with great ideas on how to make multiples of one card?

Today, I thought I would challenge myself by building several scenes using our Framer (Day Framer, Details Framer, Life Framer and Snapshot Framer--I chose to use the Life Framer and Snapshot Framer) and Window sets.

After you stamp out your frame on cardstock there are several ways to build the scene within a frame:


  1. Masking.  You can create a mask of your frame using a masking product or a piece of computer paper with repositionable tape. 
  2. Cut Out Scene.  You would stamp your scene inside your frame not worrying about stamping over the frame and simply cut out the inside of the frame and place it on another (clean) stamped image of your frame.
  3. Cover Frame.  Similar to the previous option, you would stamp your scene inside your frame not worrying about stamping over frame and the cover the outside frame with another (clean) stamped and cut out image of your frame.
Whichever way you prefer, make several scenes using stamps like London, Paris, Royal Melange, Luc, Louise, Marcel and Sophie.

Now you can add your scenes to all sorts of things.  Place them on a stamped tag:


Stamps used: WindowLondon and Writing Backgrounds on scene; Double Dot Border and London on background.

1. Stamp scene, color in with Copic markers and cut out inner rectangle.  Adhere inner rectangle to another window image stamped upon patterned paper.  Cut out.

2. Stamp solid Double Dot Border in blue to cover a tag.  Stamp outline Double Dot Border over a few of the solid Double Dot Border in black.

3. Paint a block of gesso where framed scene will be placed.  Outline with dash marks made with black pen.  Adhere framed scene to tag.  Stamp sentiment three times.


Create a simple card (or card set):


Stamps used: Life FramerParisSophie and Text Melange on scene/heart; Lace Border on card base

1. Stamp scene and color in with Copic markers.  Stamp and cut out frame from patterned paper.  Adhere patterned paper frame over scene and cut out.

2. Stamp heart and color in with Copic markers.  In grey ink stamp Text Melange over heart.  Stamp sentiment from Sophie.  Cut out and add to frame.

3.  Stamp solid Lace Border in blue on card base.  Stamp over solid Lace Border with outline Lace Border in black.

4. Adhere frame to card base.


Find a way to use some scraps by adding your framed scene as a focal image:


Stamps used: Snapshot FramerRoyal Melange and Text Melange on scene; Hanging Stars and Marcel on Snapshot FramerBackgrounds on background

1. Mask outer frame.  Stamp scene and color in with Copic markers (I did a little masking of the king on this one). Remove mask.  Stamp sentiment from Marcel.  Stamp star from Hanging Stars with yellow and orange inks.

2.  I found two pieces of scraps (or leftovers) to create an interesting background that I adhered onto the card base.  The dark blue embossed background comes from my Mermaid project).  The other was a piece of patterned paper that I had punched a lot of stars for my Once Upon a Time project--for this I merely cut a strip from that.

3. Adhere framed scene to card with dimensional adhesive.


We would love to see your take on framed scenes.  Please post them to our flickr group or on Pinterest.

Have a weekend full of fun!

Take flight,
Shay.

Stamps: Backgrounds, Double Dot Border, Hanging Stars, Lace Border, Life Framer, London, Marcel, Paris, Royal Melange, Snapshot Frame, Sophie, Text MelangeWindow and Writing Backgrounds
Ink: Memento in tuxedo black, Tsukineko; Jenni Bowlin for Ranger in Chicken Feed, Lemon Drop, Soap Powder and Weather Vane
Cardstock: Georgia-Pacific
Patterned Paper: Crate Paper and Studio Calico
Other: Copic Markers; American Crafts black pen; Claudine Hellmuth Studio by Ranger gesso; Stampin' Up! star punch; Scotch dimensional adhesive

Monday, July 30, 2012

Mixed Media Monday - Persuasion Tag


Hey Peeps!

It's Julie.  Hope everyone had a great weekend!  The Paper Wings gals were stamping their little wings off with the customers at Scrapbook N' More - and they really turned out some cool projects with the stamps.  While I was working on my demo, I was able to create a few tags, and there is one in particular I'd like to share with you here.

Back in June, I posted a card and made a mention of how the boat reminded me of Persuasion, by Jane Austen and that I was inspired to make a project about it.  Take a look :)


Background Details:
1.  Adhere various scraps of paper to a manila tag with glue, making sure to add glue to overlapping layers.
2.  Add a thin coat of white craft paint or gesson to mute the background and give it a more uniform look.
3.  Use Art Texture stamps and acrylic/craft paint to add interest.  NOTE:  when using paint with stamps, be sure to wash the paint off quickly so that it doesn't stick to the stamp.  Set aside to dry.


Ship Details:
1.  Stamp Window on brown and white cardstock.  Stamp boat from Sea Melange set to same white cardstock inside window shape.
2. Color and trim boat image and add to brown frame. I used markers for the top sky and sea, and boats.  To make cloudy look behind boats I used a distress marker on my craft sheet and added a little water, and then dipped my fingertips into the color and added it to the paper repeatedly.
3. Adhere with foam dots.


Main image and sentiment details:
1.  Stamp lady from Melange Women in very light ink on manila tag and color in features with distress markers.
2.  Stamp her again on two patterned papers with a coordinating ink and cut out elements to paper piece dress and shawl.
3. Stamp sentiment from Sentiments and Sayings on white cardstock.  Trim and ink edges with ink blending tool.  Add pink to heart elements.

I always feel so happy for Miss Anne Elliot when she finally finds out that Captain Wentworth really does love her.  Makes me want to go watch it again.

I love how this tag turned out with all of it's elements.  I think the added textures in the back give it something extra, and I liked working on the paper piecing of the dress.  I had not tried it on a stamp like this one, but I think the results are great.

On a side note, tomorrow is the last day for our Mission 004 Flight Plan challenge.  Make sure to get your projects posted to either Flickr or Pinterest.  Maybe this card will inspire you to make a project!

Take Flight!

Julie


Stamps: Art Textures, Window, Sea Melange, Melange Women, and Sentiments and Sayings 
Ink: Distress Inks by Tim Holtz/Ranger
Paper: Scraps from stash and a manila tag
Cardstock: Neenah Solar White and Chocolate Chip from Stampin' Up!
Tools: Crop-a-dile, Ink Blending Tool from Ranger, foam tape, Prisma pencils, Distress Makers (Ranger), glue stick, acrylic paint
Embellishments:  Glaze pen by Sakura and ribbons
Related Posts Plugin for WordPress, Blogger...