Happy, happy Friday!
It's
Shay here. There has been some truly fabulous projects this week so I recommend first scrolling down to see them all before you return to this post. I can wait.
Welcome back! Are the design team talented or what?
Today I have some cuties for you. What is better than miniature little Valentines? Okay, winning the lottery to name one thing, but do you recall being a little lady or gent at school and giving and receiving Valentines? I thought it was better than apple pie and I still love them so I thought why not make some with my awesome Paper Wings Productions stamps?
I created three of these little darlings...honestly I could have made dozens with the ideas swimming in my head.
I used a nifty new die I bought that is a mini pocket to be the sleeve for my little Valentine cards. The sleeve measures 2.5" x 3.8" while the cards are approximately 2 3/8" x 3 5/8".
Card No. 1:
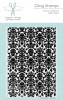
This is the true romantic card set. I inked up the Damask from
Backgrounds or
Damask using pink and red inks that I then spritzed with water and stamped upon the heart and the outside of the sleeve. Under the heart is music from the
Text Melange or
Music in grey ink. I love these essential stamp sets...they work for nearly any theme and project. I added the amor banner from
Milagros which I stamped in red and colored in with Copic markers. I added a heart and dots (remnants from the XOXO border on the sleeve). I finished the card with some washi. The sleeve is decorated with washi, XOXO, pink and white bakers twine and a heart. The final touch is the little ticket/label from
Tabs and Banners stamped with "for you" from
Sophie.
Card No. 2:
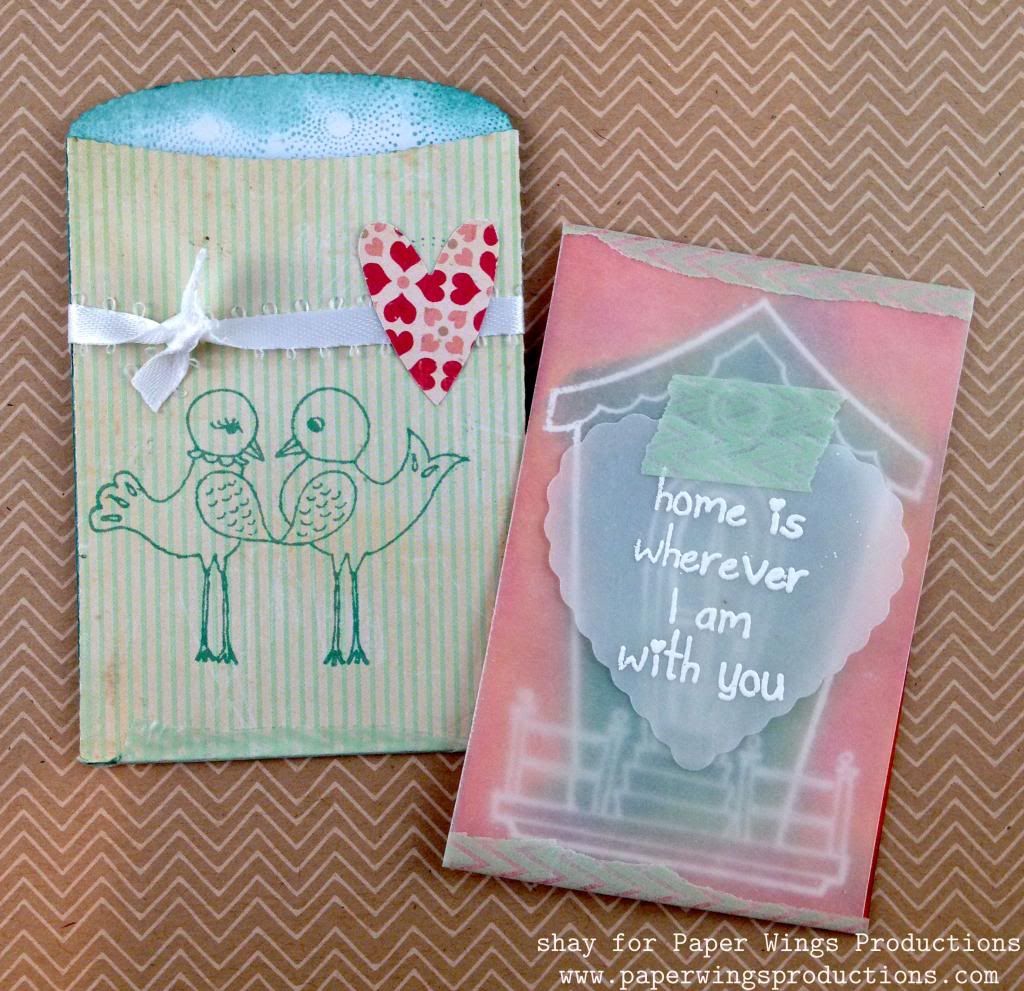
Here's the sweet card set. The card is stamped with the birdhouse from
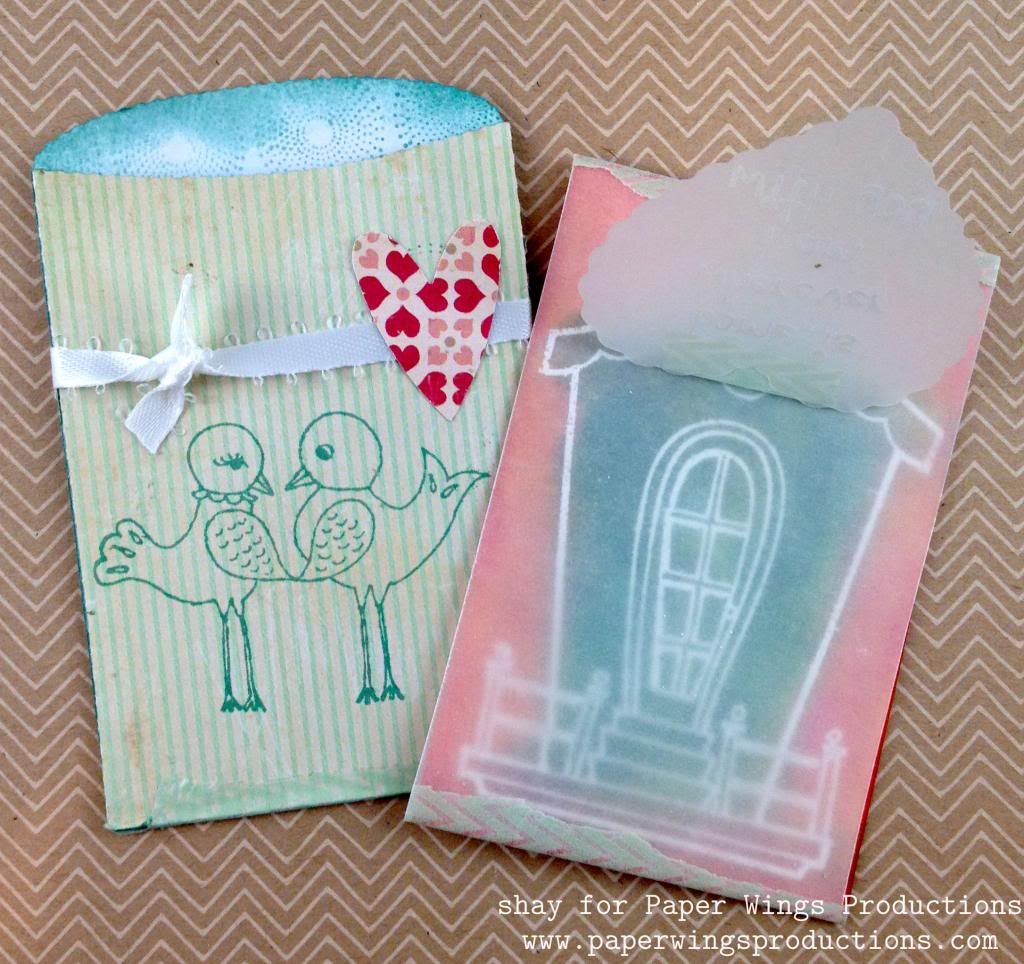
Home Tweet Home using VersaMark and embossed with white embossing powder. Then I colored in the image using Distress Inks. I chose some unusual and bright colors which I then softened by adding a layer of vellum. I added another layer of vellum with a scallop heart die cut which I embossed with white embossing powder using a sweet sentiment from
Home Tweet Home. How adorable is this stamp set? I adhered all the vellum with washi.
Here is a look at the house under the vellum heart:
The inside of the sleeve is decorated with the circles from
Backgrounds or
Circles and I also inked the edges. The outside of the sleeve is stamped with the love birds from
Home Tweet Home, tied with a white ribbon and finished with a heart.
Card No. 3:
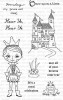
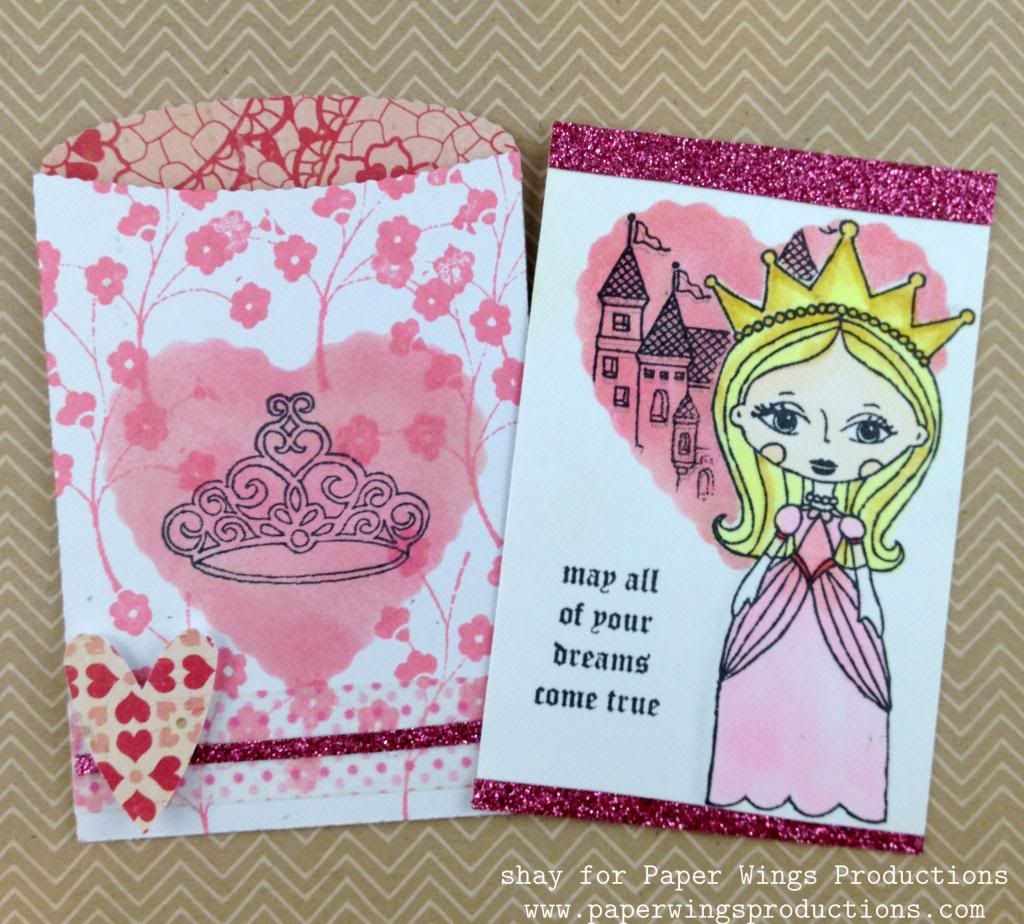
The card for your inner princess or the little princess in your life. Using
Princess I stamped and colored her in with Copic markers. I then masked her off and used a reverse mask of the scalloped heart to ink in the area behind her and stamp the castle from
Prince. The sentiment is also from
Prince. These are truly charming and lovely stamps and so perfect for children's Valentines. I finished the card with pink glitter fabric tape. The sleeve is also decorated with a reverse heart mask that I stamped the crown from
Princess on. Over that I stamped the sprig of flowers from
Flower Power or
Mini Flowers. This is finished off with washi, fabric tape and a heart.
What fun these would be to make with your children, grandchildren, nieces, nephews, godchild or with the kids at heart in your life! They would have so much fun making them and so proud to give them out too. On the back of the cards is plenty of room for a little handwritten note. Another alternative is to pack these little sweeties in a lunch for school or work.
The possibilities of which Paper Wings Productions stamps to use and how to use them are endless. I thought
Sophie,
Louise,
Marcel or
Luc would be fun to use not to mention the
Prince. You could easily use
Paris or
London.
Vintage Technology or
Play with Your Coffee would be fabulous too. That is just off the top of my head!
Another really cool thing about these little card and sleeve duo are that they are still small enough to fit in a Project Life 3x4 pocket which is a lovely thing for anyone doing Project Life.
I hope you feel inspired to ink up your Paper Wings Productions stamps! There is still time for Valentine's Day.
We would *love* to see what you make with Paper Wings
Productions stamps. Add your projects to Facebook,
our flickr
group, to Pinterest, comment with a link on this post or even email pictures
to us!
Take flight,
Shay.
Supplies:
Stamps:
 Cardstock: Georgia Pacific
Ink: tuxedo black Memento and VersaMark, Tsukineko; chewing gum, cough syrup and weather vane, Jenni Bowlin for Ranger; fired brick, worn lipstick, tattered rose, scattered straw, wild honey, iced spruce and evergreen bough, Tim Holtz Distress Ink by Ranger
Patterned Paper: Paper Heart 12x12 paper pad, Crate Paper; Dilly Dally "Hello" Flannel from Miss Caroline collection, My Mind's Eye
Other: vellum; heart punch, Stampin' Up!; washi, various; fabric tape; white ribbon, Offray; opaque white embossing powder, JudiKins; nesting scallop hearts dies, Lifestyle Crafts/QuicKutz; mini pocket die, Lifestyle Crafts/QuicKutz; XOXO border die, Papertrey Ink; Cuttlebug, Provo Craft; Copic markers; pink and white baker's twine
Cardstock: Georgia Pacific
Ink: tuxedo black Memento and VersaMark, Tsukineko; chewing gum, cough syrup and weather vane, Jenni Bowlin for Ranger; fired brick, worn lipstick, tattered rose, scattered straw, wild honey, iced spruce and evergreen bough, Tim Holtz Distress Ink by Ranger
Patterned Paper: Paper Heart 12x12 paper pad, Crate Paper; Dilly Dally "Hello" Flannel from Miss Caroline collection, My Mind's Eye
Other: vellum; heart punch, Stampin' Up!; washi, various; fabric tape; white ribbon, Offray; opaque white embossing powder, JudiKins; nesting scallop hearts dies, Lifestyle Crafts/QuicKutz; mini pocket die, Lifestyle Crafts/QuicKutz; XOXO border die, Papertrey Ink; Cuttlebug, Provo Craft; Copic markers; pink and white baker's twine