Showing posts with label happy day. Show all posts

Wednesday, May 20, 2015

Congratulations Card

Hello PWP fans! It's Amber here with you today sharing a three toned stamped collage card. Before I get to my card I thought I would remind everyone that Paper Wings Productions is having a design team call. We are looking for dependable, creative rubber stamp designers that have a passion for sharing tips, techniques, and ideas with our followers. If you are interested you can check out the design team call HERE. Okay, onto the card I'm sharing today. Lately I have really begun to like mixing and matching different colors with black.  Usually I'm more of a neutral colored crafter but  its been fun using my everyday go to color black and changing it up with another color. So today its all about mint, black, and white. Below you will find step by step instructions to create your very own card. Check it out. 


1. Add some paint splatters to your card base. I'm using a pre-made card base with a diagonal design from American Crafts but you could create your own with cardstock and stamps.
2. Repeatedly stamp a sentiment onto a square piece of cardstock. I stamped "Oh Happy Day" in two different colored inks and adhered it to the right side of my card base.
3. Die cut a circle out of a colored cardstock, cut one side off, distress the edges and attach towards the bottom part of your stamp sentiment block. You could mix it up and use any shape like a star, triangle or a square.
4. Stamp your main image onto some cardstock in the same matching ink you used for you sentiment. Then cut around the edges and attach it to the die cut shape you added in the step above. I used one of the gorgeous ladies form the Vintage Domino Melange Cling Stamp Set as my main focal image and stamped it the same two matching inks I used for my background sentiments.
5. Cut/die cut a banner out of some cardstock and stamp a second sentiment onto it. Once stamped add it to the left side of your stamp focal image tucking the end of the banner behind it. I used "Congratulations" for my second sentiment to go along with my background "Oh Happy Day" sentiments.
Its that easy. I hope you enjoyed my card today and Thanks for visiting! 


Supplies: Card Base-American Crafts / Cardstock- White & Black / Paper Wings Productions Clear Stamp Set- Happy Day  / Paper Wings Productions Cling Stamp Set- Vintage Domino Melange / Versa Color Ink Pad- Mint / CTHM Ink Pad- Black / Back Paint / CTMH Edge Distresser

Monday, May 20, 2013

Mixed Media Monday - Grad Shadowbox!


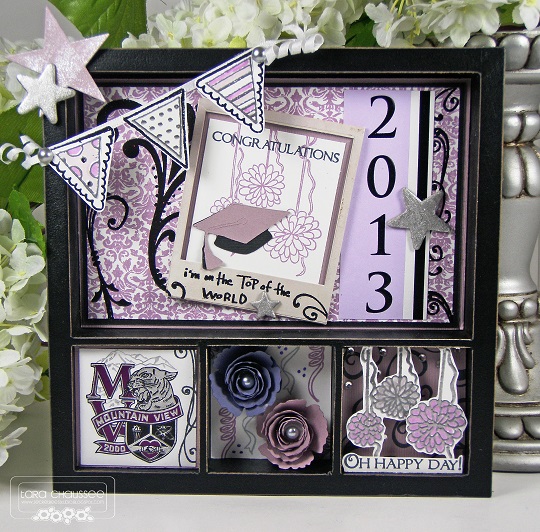
Hi everyone! Tara C. here with a graduation celebration Mixed Media Monday.  It's graduation season and today I have the perfect gift for this high school rite of passage. I will be attending a special young lady's graduation in a few weeks and I wanted to create a memento to help her remember this special day.  Not that she is likely to ever forget the final day of mind numbing classes, bad lunches, crazy teachers..... but hopefully this little gift will help!


I purchased the shadowbox at Archivers and left it black as it is one of her schools colors. I took her graduation announcement and cut it up to use as decoration in some of the boxes and then combined them with fabulous Paper Wings Productions stamps!  


The largest box has a gorgeous damask background from the Backgrounds Cling stamp set that I also embossed with a few flourishes from Flourish Fun One in glossy black.  It also features a sweet little banner embossed in silver and colored with Copic Markers and some poms from Happy Day stamped in lilac.  I added in a grad cap cut with my Cricut and some painted and glitter misted stars. The perfect sentiment is from the Earth & Sky set.


I wanted to showcase her school logo cut directly from the announcement.  I only added a couple of stamped flourishes from the Flourish Fun One set.


I had to girly this box up so I added some rolled flowers on a background of silver and purple confetti from Happy Day.


The final box again features more of the pretty poms embossed in silver and colored in shades of purple and more flourishes.  Plus a few clear crystals for a bit of bling!

Thanks for visiting today! I hope you enjoyed my Mixed Media Monday project and that it inspires you to create handcrafted gifts for the grads in your life. Check out all of these fabulous stamps at the Paper Wings Productions store and come back and visit on Wednesday and Friday to see what the other designers have created for your viewing pleasure.

The Paper Wings Productions supplies used:

Tuesday, February 26, 2013

Faux Stitching


Hello Everyone! It's Amber here with a Tutorial Tuesday  post. Today is my Birthday so I thought I would share a Birthday Card and Tag. For this weeks tutorial I'm sharing a quick and simple faux  stitching technique. I'm using the technique to create a banner today.


See those black lines I used for my banner...its faux stitching. Not everyone has the time or the patience to hand stitch or machine stitch so this is an easy way to add stitching to any project.  All you need is an ink pad and a sewing pattern tracing wheel. These come in most sewing kits and can be found at any craft store in the sewing notions aisles. Below you will see the four steps I used to create my Birthday card.


Step 1. Grab an ink pad and repeatedly roll the tracing wheel over the ink pad until the wheel is fully covered.


Step 2. Roll it onto the card front or cardstock you are going to use. I repeated this 3 times.


Step 3.Stamp you sentiment onto your card front below the banner line and then on a scrap piece of cardstock stamp your banner triangles.


Step 4. Color, add glitter, cut, and add your banner triangles to your banner line.

It really is as easy as that. There are many things you can do with this faux stitching technique like make stitching lines over your patterned paper or cardstock, make lined and grid backgrounds, and make hearts or other shapes with the wheel.  I hope you enjoyed my tutorial today and Thanks for visiting!. We would love to see what you make with Paper Wings Productions Stamps so add your projects to our Flickr Group, to Pinterest, or leave a comment with a link to your project. Thanks for visiting today!
Supplies: Cardstock- Cream / Paper Wings Productions Clear Stamp Sets- Happy Day & Lets Eat Cake / Staz-On Ink Pad- Jet Black / CTMH Markers / Sewing Tracing Wheel / Ranger Stickles- Crystal


Friday, May 18, 2012

Color Combo Part II

Happy Friday peeps,

I know I am meeting this Friday with a great deal of relief.  How about you?  Are you too looking forward to the different pace of the weekend?  Planning on doing some stamping?

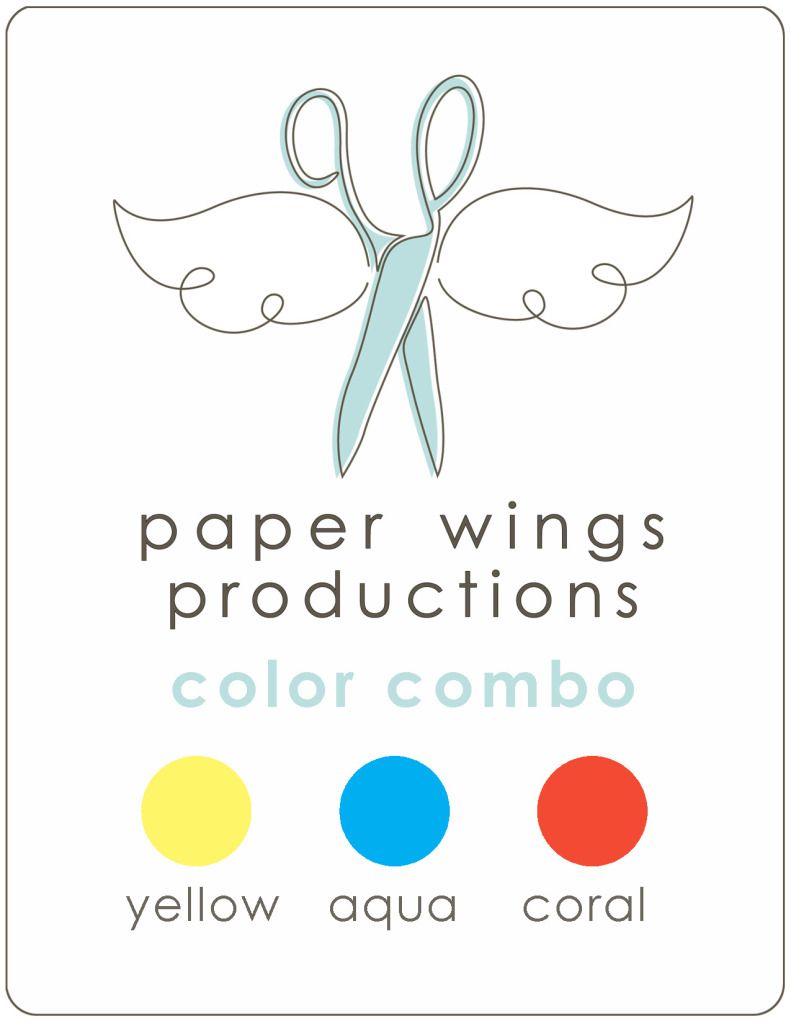
Today I have the second part of the yellow, aqua and coral color combo.  In this post are slightly larger projects than the cards from Wednesday.

Julie's project:


Julie made this timely (I could not resist that cheesy pun) art journal page using Flight Plan Mission 002 as a design guide.  Julie first painted the pages with white paint and then she used watercolor crayons to create the gradient yellow and coral background.  I love how she used Tim Holtz's tissue tape for the strips from the Flight Plan and that you can also see the color behind them.  The frame was cut out using her Silhouette and she colored it in with a Distress Marker (barn door)--even though the color is a red I think it could read as a very deep, rich coral.  Don't feel that the colors must match the color combo exactly...like the Flight Plan they are meant as a guide.  Some reds and pinks will be reminiscent of coral for instance. 

I am particularly taken with the punched circles that she stamped with various borders from Day Framer, Detail Framer, Life Framer and Snapshot Framer.  The days of the week are from Snapshot Framer and the date are from the Life Framer

How did she create those circles with perfectly coordinated colors of the stamped image and its background? Julie stamped each circle with one of the borders using Distress Inks in the following colors: tumbled glass, broken china, barn door, scattered straw.  To color in the backgrounds she took the ink pad and pressed it into her craft sheet.  She then sprayed or spritzed the ink she transferred onto her craft sheet with water (use a little water spray bottle) and used a paint brush to paint lighter shades of the color she stamped with onto the circles. 

To add some aqua (or in this instance teal) to the bottom left hand portion of her page she placed a piece of patterned paper under the gold (yellow) and red (coral) chipboard letters.

To future compliment her theme of time she stamped the clock from Melange Women 2 (I think) down the left hand side of the page.

Shay's project:


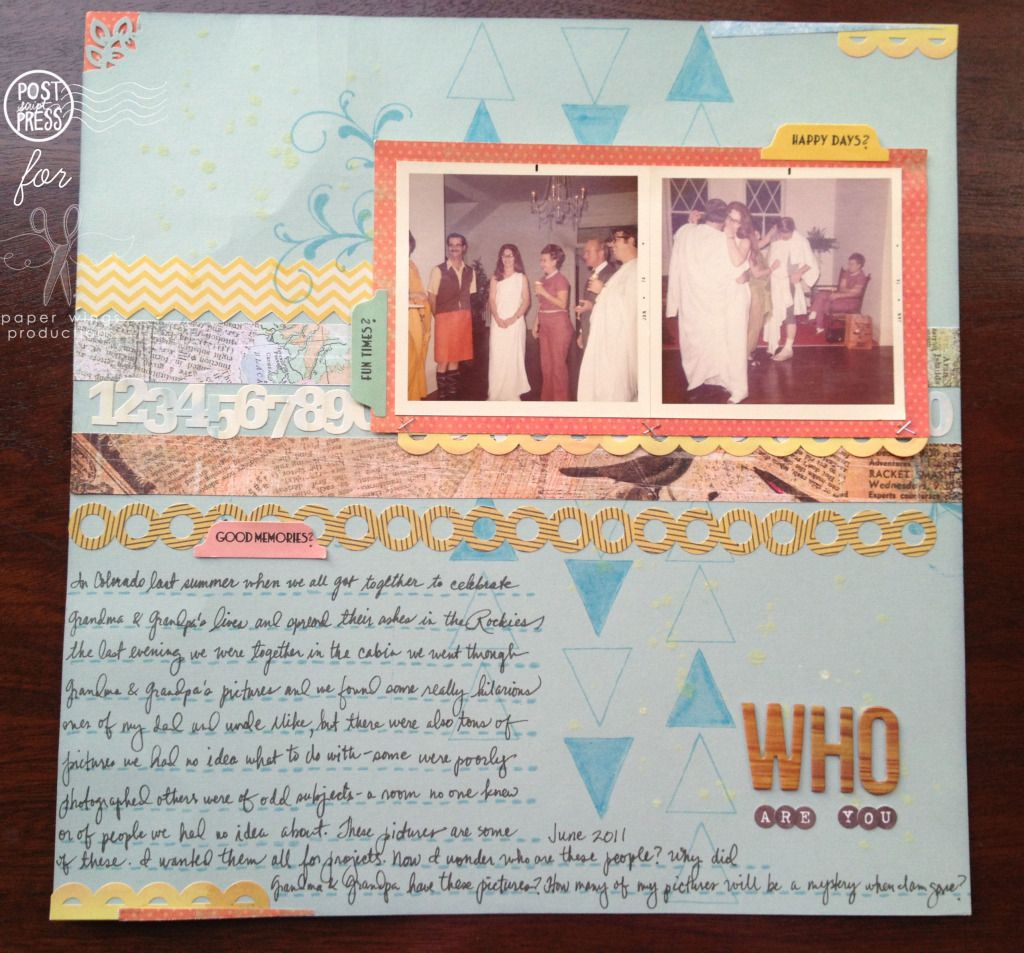
I decided to try my hand again at scrapbooking.  I haven't done a 12x12 spread in ages, but with a color combo and using the Flight Plan Mission 002 I thought I would give it a try.   The main point of this layout is the journaling because the pictures although really cool are a mystery.  Another thing that helped me to tackle something I was pretty unfamiliar with was a scrapbook kit from Studio Calico (Glee Club from September 2011 which had the right colors and elements I really liked).  I think it is always important to realize that you need not do it all.  There are all sorts of ways to help you to create like sketches (like our Flight Plans), color challenges (like our color combo) and/or ready made kits.  I also added a sticker sheet from October Afternoon which were in the right colors to pile of supplies to use along with some cream Mister Huey's (reads as a pale yellow color) which I used in the upper left hand side and lower right hand side.

In my scrapbook layout I think of stamping as the foundation.  I created lines of triangles that remind me of arrows using the large pennant from Happy Day to act as the strips from Flight Plan Mission 002, but also for movement and to direct the eye to the pictures.  I colored in a few odd triangles with an aqua colored marker.  I didn't realize until later that the triangles mimic the diamond pattern of the window in the right hand picture.  Happy accidents which no one but you has to know was unintentional...tell people you meant to do it!  I added the flourishes from Flourish Fun 1 under the upper left hand corner and lower right hand corner of the photo block for some interest and more of an organic feel after so many more angular elements.  All of my journaling was written on journal lines created from one of the border stamps from Day Framer...this border is perfect for journaling lines as you can stamp it over and over to make the line as long as you need it.

You probably noticed that my yellows, aquas and corals on this layout are a bit dusty or aged which is perfect for the older pictures whereas Julie's colors are more saturated and brighter reflecting a happy feeling.  You can always use variations on the colors to reflect your story or project. 

I hope you have the chance to play and experiment with something new or unfamiliar this weekend perhaps trying a new product, some stamps that you have been meaning to ink up, a different color combination than usual or a new technique.  We would love to see what you do!  Share with us on this post, our flickr group, Pinterest, Instagram (our user name is: paperwingsproductions), Twitter or Facebook!

Come back next week for some more Paper Wings Productions projects.

Take flight,
Shay.

Thursday, April 26, 2012

Fiesta!

Good day peeps,

We are in the thick of Fiesta here in San Antonio.  We have a slew of stamps to celebrate this festive and joyous time.  How about some inspiration for your art and crafting using Paper Wings Productions stamps?

First up is a fun card by Carrie using Mexican Folk Art, Day Framer and Life Framer that you could send your friends during Fiesta or to invite them to a Fiesta themed celebration:


Next up is a terrific tag by Julie using the Happy Day and Deep in the Heart of Texas stamp sets.  It would be fun to hang a set of Fiesta themed tags in your house to celebrate.

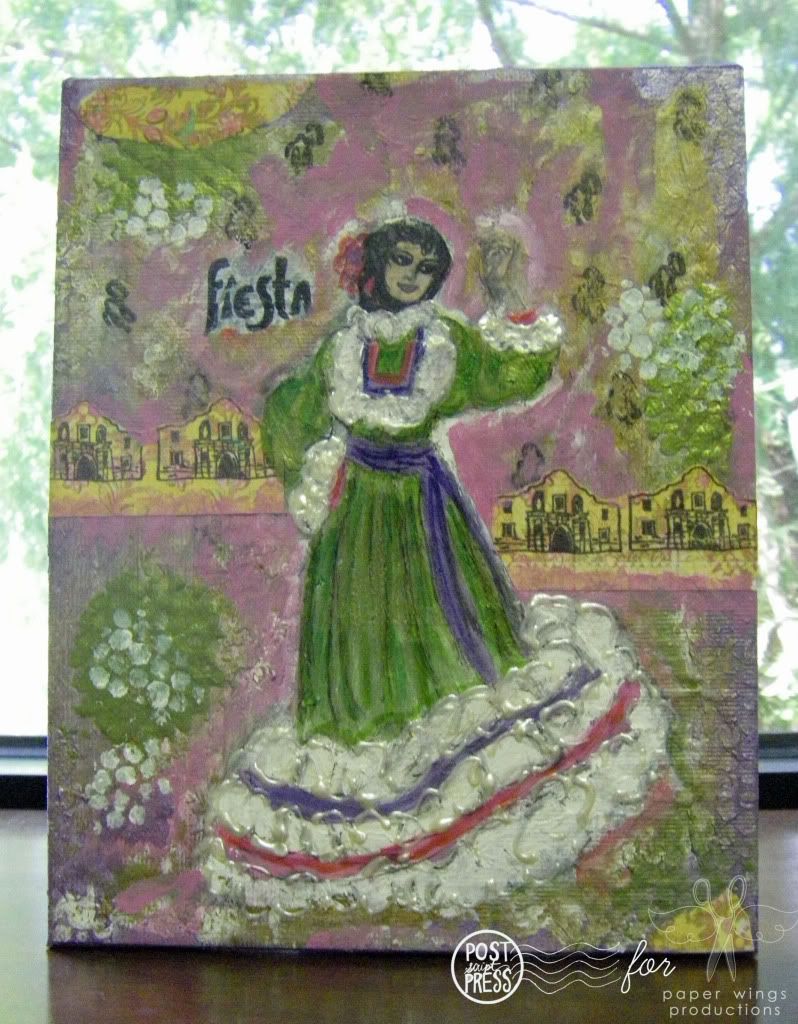
Next up is my attempt at a canvas with a Fiesta dancer.  I used the Deep in the Heart of Texas and Melange 3 stamp sets.


Enjoy a bright and colorful Fiesta!

AND remember to upload your Flight Plan creations...we would love to see you do a Fiesta themed piece of art using the Flight Plan as inspiration.  For more details on the Flight Plan challenge go HERE.  You could win a free stamp set of your choice!

Take flight,
Shay.

Thursday, March 22, 2012

Show and Tell: Banner and Happy Day

Happy day peeps,

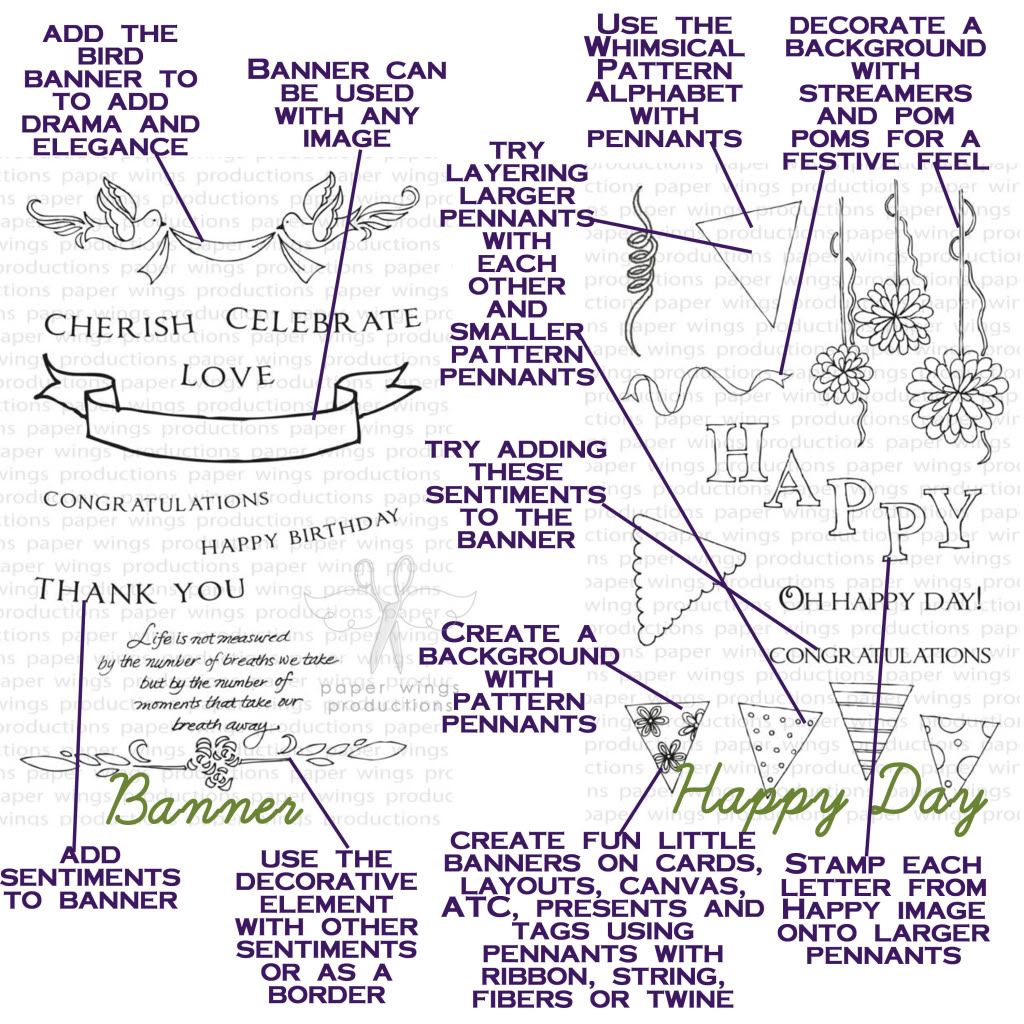
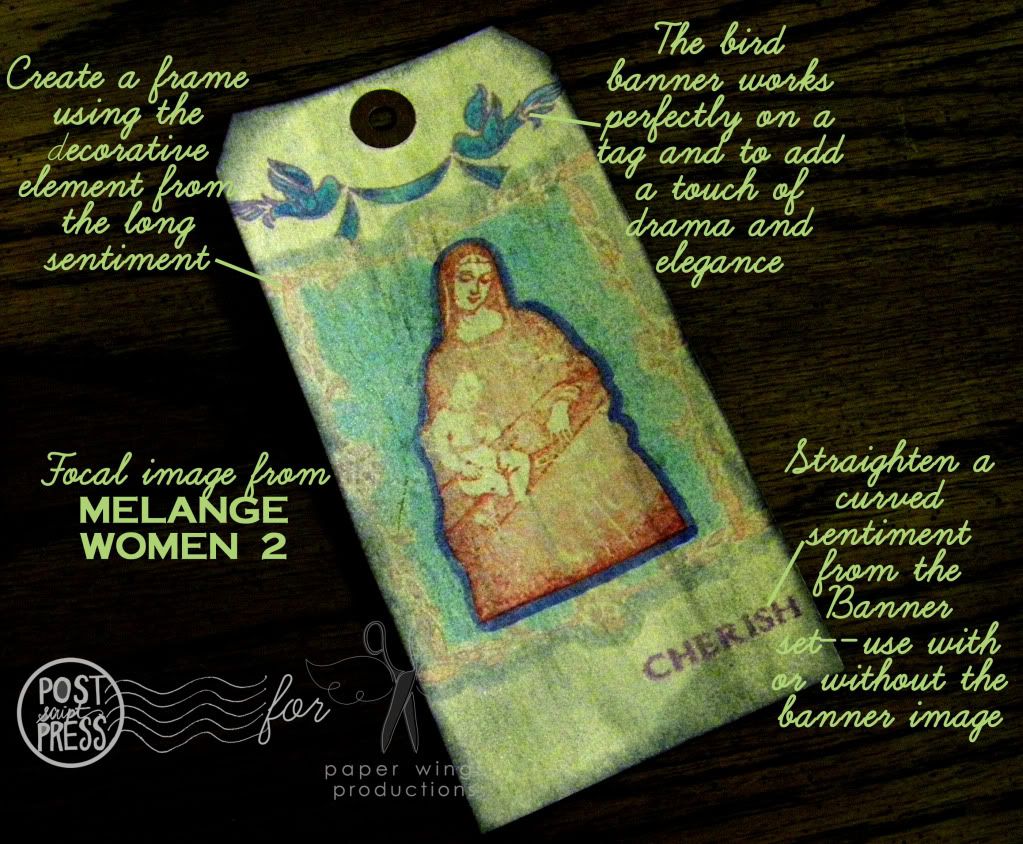
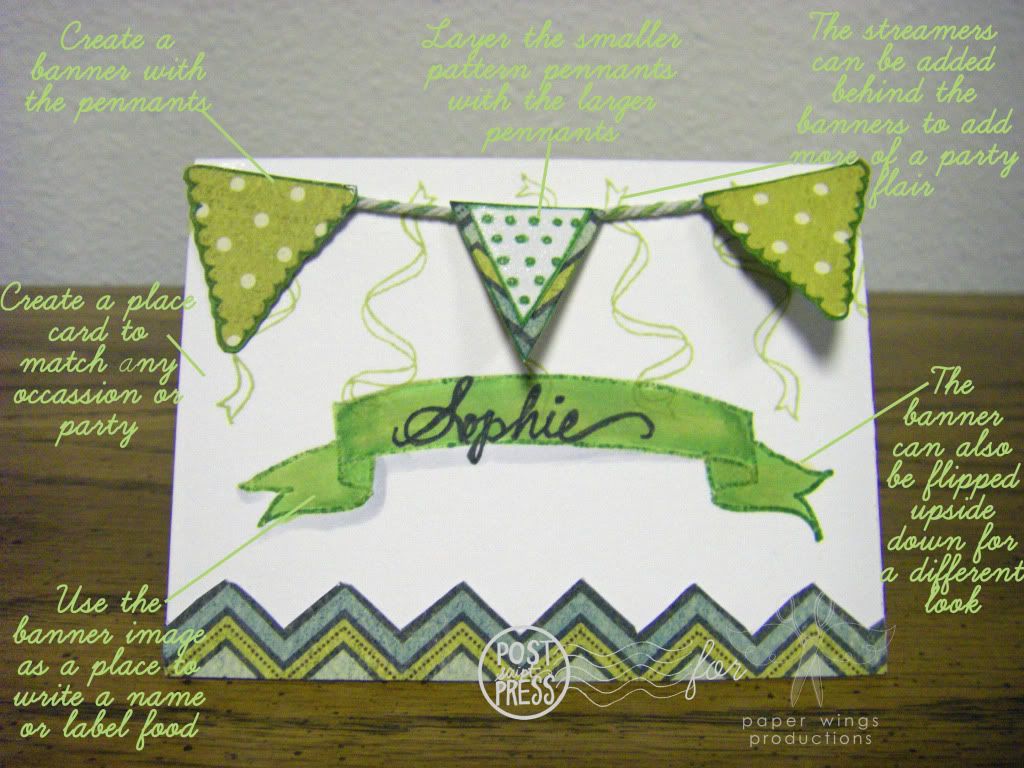
Today's show and tell will bring a spring to your step.  Banner and Happy Day by handmade by Lissie girl work so well together and also work well with all of the other paper wings productions stamps.  I think you will find them very versatile and fun stamp sets.  Do you have a project that needs a little banner on it? Imagine draping a little banner over a favorite framed photo. Or using the little banners to decorate for a party. Use the banner image to label pictures in scrapbook layouts. 

Here are some more ideas:


How about a couple of stellar samples from Julie Mogford? I always love what she comes up with.


Don't these stamps just make everything seem a little brighter?  What would you use them for?  We would love to know and if you have used them, please share.  Have a very happy day!

Take flight,
Shay.
Related Posts Plugin for WordPress, Blogger...