Showing posts with label howlin' for you. Show all posts

Tuesday, August 4, 2015

the Lord is my Shepherd

Hey everyone! It's Ashley with my first August post at The Aviary, the Paper Wings Productions blog. I sure hope you're enjoying the projects the design team is putting out because I know we're having fun creating! Today I have a card using the Scriptures clear stamp set + the Howlin' For You cling stamp set. Just fyi, the Scriptures stamp set is easily one of my favorites by PWP. I love the sentiments and I love the font.
So the first thing I did was stamp my trees with Versamark ink and heat emboss the image with white embossing powder. Next I started using distress inks to blend the background. I used old paper and shabby shutters ink colors. When I got the background how I liked it, I grabbed a stencil.
I mixed Faber-Castell gel medium + Lindy's Stamp Gang mist to create a brown paste and then applied it over my stencil. I sped up the drying process by blasting it with my heating tool. Then I added splatters of the LSG mist onto the card.
Finally I stamped my sentiment with Memento Tuxedo Black ink and tied some twine around the card. Have you ever used mist with a gel medium?
can you see the detail and texture in the trees?
 Thanks for stopping by today! If you're looking for more ideas on how to use your stencils, check out this post by Pam.

Wednesday, October 9, 2013

What's Up Wednesday - Stamped Felt


Hi! Dana here with you today sharing a card that I created with one of my favorite Paper Wings Productions stamp sets. I've used plenty of creepy crawly embellishments on my wicked artwork this month, but I've neglected my furry friend a bit. I let loose my Howlin' For You Cling Stamp Set and had a lot of fun stamping on felt for my fun fall-themed card.


I built up a background of torn velvet specialty papers to create a bright and colorful base for my card. I then stamped onto felt using Archival Ink and the Howlin' For You Cling Stamp Set. I framed the stamped trees with lace to add another layer of texture to my card.


I finished my card with some twine and a metal token.

Thanks so much for stopping by today. If you're looking for some more inspiration, be sure to check out the Wicked Blog Hop from this past weekend. Other recent posts include Irit's delightful stamped layout and Cathi's mixed media art journal cover. There are TWO spooktacular October Mixed Media Nesting Components Kits available from the Paper Wings Productions Store this month while supplies last.


Tuesday, January 22, 2013

Tutorial Tuesday - Stamp Kissing

Hi!  I hope you are all having a terrific Tuesday! Dana here today sharing a fun technique called stamp kissing, which is a great way to add some personal flair to stamped images. I used this technique in two different ways, to remove a pattern on a textured stamp and to add a pattern to a solid stamp, on a masculine card I created for my husband.


I started with the Howlin' For You Cling Stamp. The first thing I thought of when I saw these trees was that a set of initials in one of the tree trunks would be a great way to personalize this stamp.


I began by applying ink to the textured tree stamp.


I found a solid heart shape that fit inside the largest tree perfectly in the Handmade Clear Stamp Set. I carefully pressed the solid heart portion of the stamp onto the inked tree trunk to remove a heart-shaped area of ink. 


I didn't use a stamp block for this step. The clear stamps are flexible, so I was able to press just the desired heart portion of this stamp onto the tree to remove some of the ink. Note: Avoid sliding the stamp around during this step to prevent smudging of the image. Any ink that was not removed from the textured stamp can be removed with a Q-tip.

Once I stamped the trees onto my card, I was ready to alter the wolf.


The Holiday Mix It Up Clear Stamp Set contains a feather which I thought could add some fantastic "fur" to my wolf. I repeatedly inked and stamped my feather onto the solid wolf stamp until it was covered, and then stamped the image onto my card.


I'm really pleased with the twist I put on this stamp set and I hope I have inspired you to try this technique! 

We would love to see what you make with Paper Wings Productions Stamps so please post your projects to our Flickr Group, to Pinterest, to our facebook page or leave a comment here with a link to your project. 

Thanks for visiting today! Stop by again this week for Themed Thursday with Tara.


Supplies: Cardstock: GCD Studios, Making Memories; Stamps: Paper Wings Productions; Ink: Ranger; Marker: Sharpie

Wednesday, November 7, 2012

What's Up Wednesday - Advent Calendar: Part 1

Hi Peeps!
It's good to be back here on the blog today.  I hope you have been keeping up with all of the recent posts for fall, Halloween, and Day of the Dead from our talented ladies here at the Aviary - Carrie, Norma and Shay!
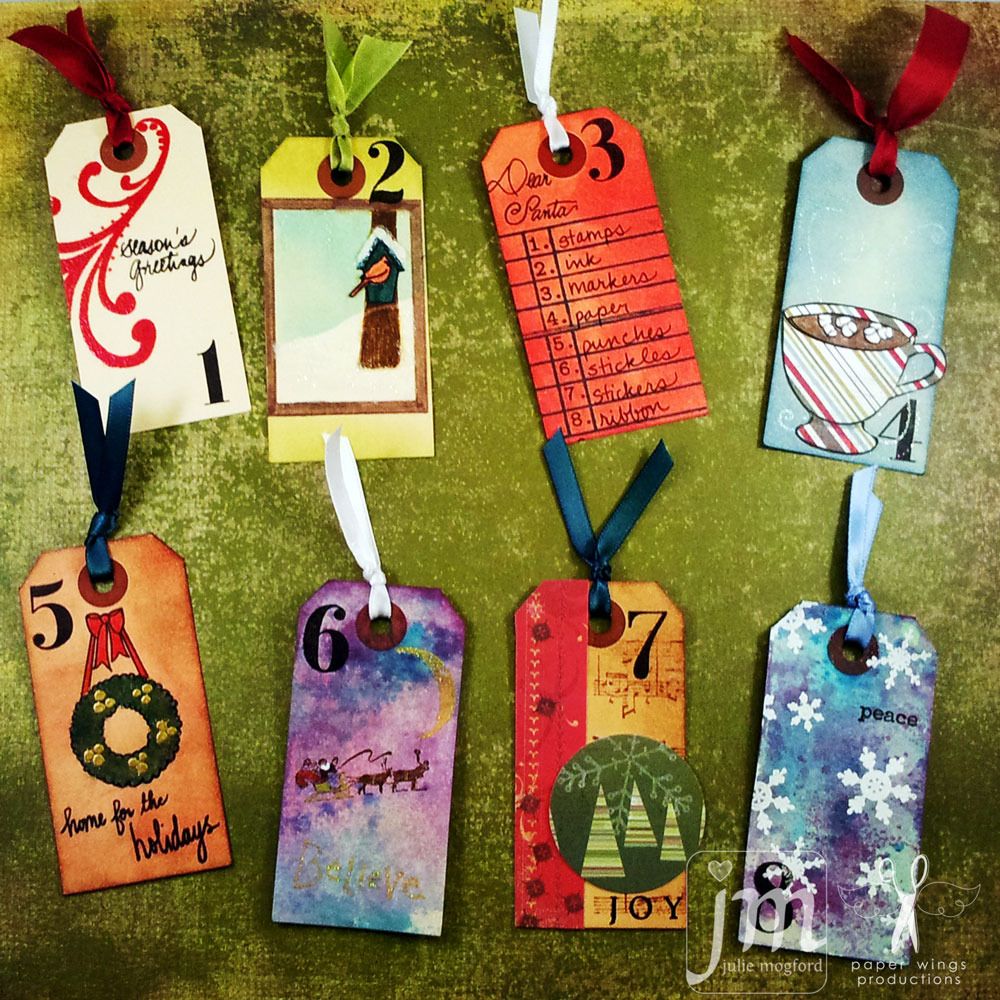
I'm going to change gears here from fall, to the upcoming winter holidays, and share with you a project I'm working on.  For years I've been intrigued with Advent calendars creadted by other crafters using various papercrafting supplies, and I decided that this would be my year to make my first Advent Calendar and showcase the wide variety of stamps that Paper Wings carries.  Today, I'm highlighting days 1-8.


Aren't these fun?  Let's get a close up look to see more of the details. Just a note:  All of the numbers are stamped in Versa Fine Black Onyx and are from the Perfect Number Clear Set.


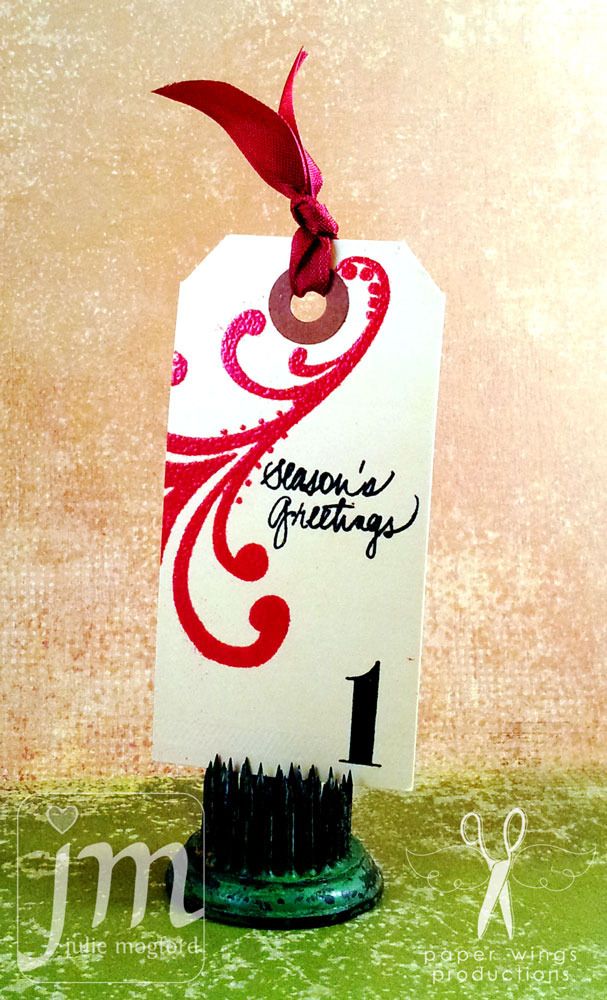
Details: Flourish Fun 1 large stamp embossed in Lindy's Gang embossing powder. Winter Mix it Up sentiment stamped in Versa Fine Black Onyx.


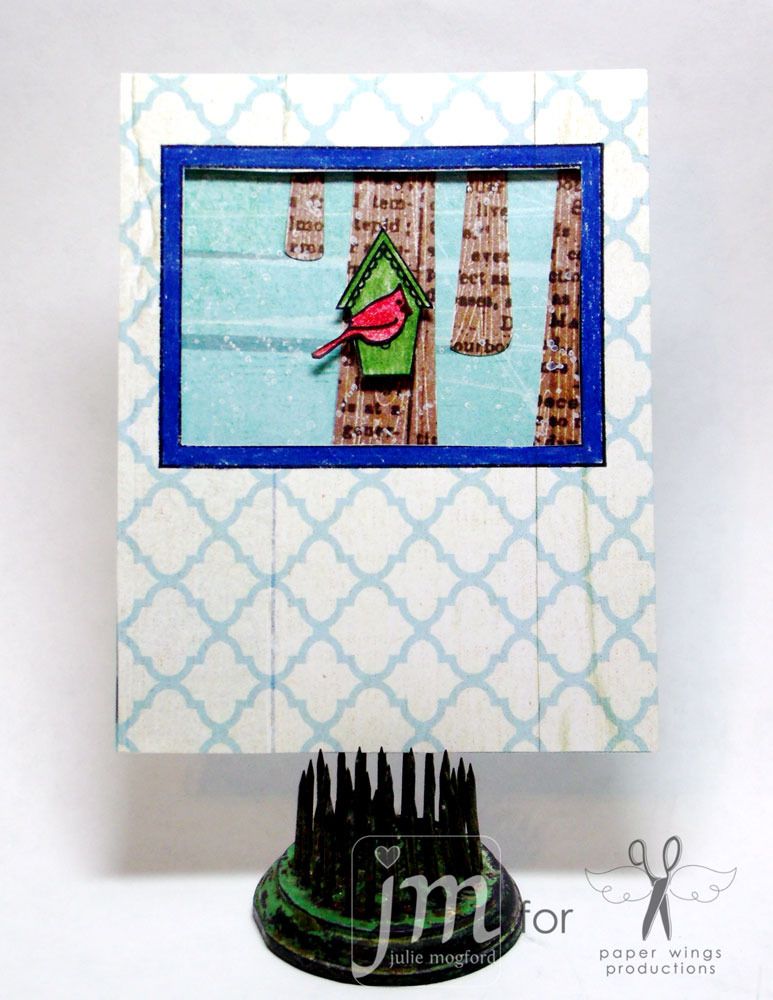
Details: The window, bird house and cardinal set up the scene along with one tree trunk from the Howlin' For You set. Distress inks and Distress markers and a Stampin' Up! Chocolate Chip marker add pretty colors and all is finished off with Picket Fence stickles for snow and ice cicles. And, I found a little Liquid Applique and heated it up to make snow on the birdhouse. 


Details: Does this wish list look like yours??  This was too fun to pass up.  The background is inked with Festive Berries distress ink and the ledger is stamped in Pine Needles distress ink. I then added the Top 10 number list and Dear Santa from the Christmas Mix It Up set.


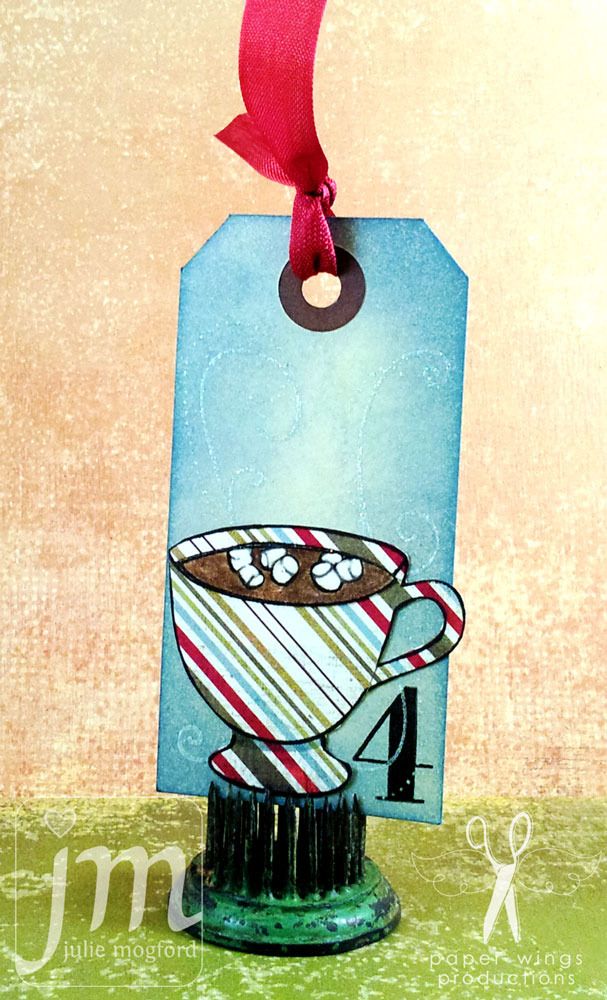
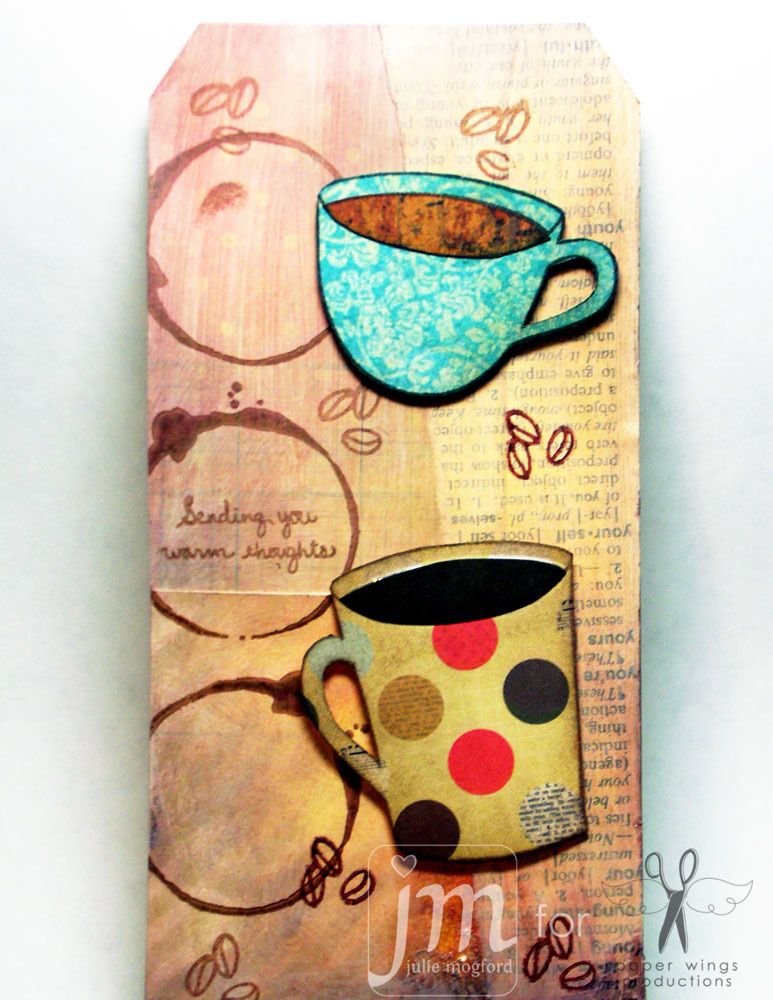
Details: MMM..Marshmallows!  The tag is inked with Tumbled Glass and stamped with flourishes from Flourish Fun 2 and embossed with Irridescent Ice EP from Stampin" Up! The cup from Play with your Coffee is paper pieced on Basic Grey "Figgy" paper.  The cocoa is Chocolate Chip marker again, and the marshmallows are so white from a Souffle pen.


Details: More distress ink on background (love how quick that is) and stamps from the Door set to create the wreath, colored with prisma pencils, and the little gold embossed dots are from Flourish Fun 2 set.  The sentiment is actually from two sets: Christmas Mix It Up and Holiday Mix It Up.


Details: Of course I had to get some sprays out and this one looked a little like a sky to me.  The scene unfolded before my eyes.  A crescent moon from the Build a Scene set, colored in with a VersaMark marker and embossed with Egyptian Gold EP (and the Believe sentiment too from the Dear Santa Cling set).  And the little santa from the Jolly Old St. Nick cling set looks so cute flying in the sky.


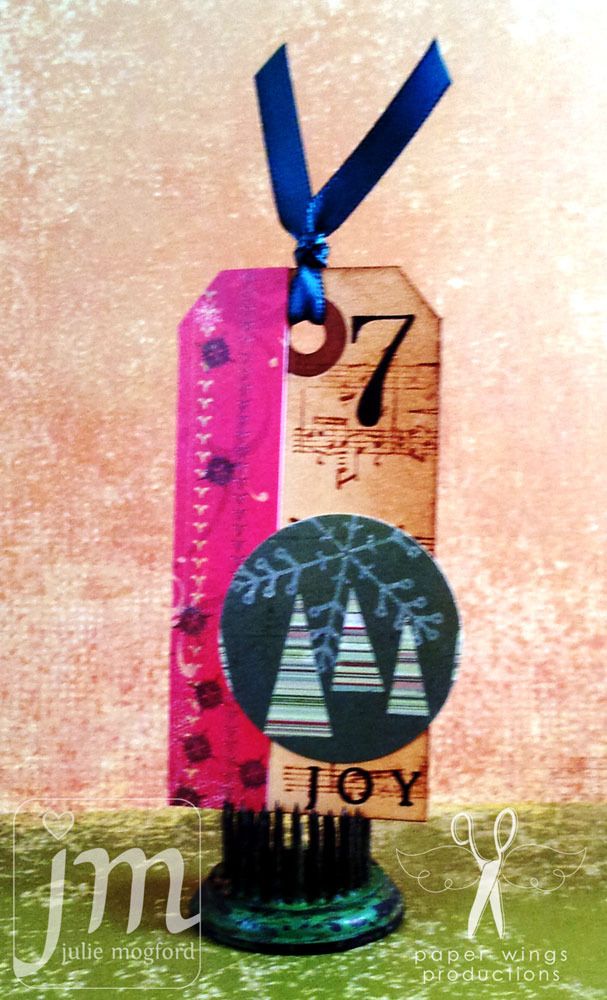
Details: I used a little more paper piecing with "vintage" Memory Box Christmas papers, but I accented the papers with the music background and letters from the Perfect Alphabet set to spell out JOY!


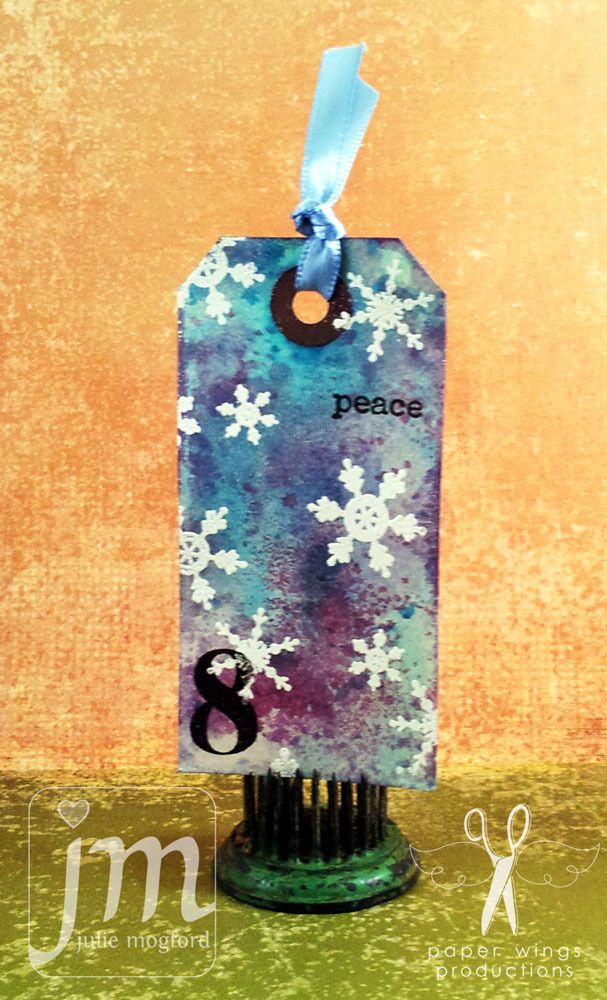
Details: This was another tag that I used sprays to create a background.  I thought it was just begging for Whisper White (Stampin' UP!) embossed snowflakes from the Winter Mix It Up set.  I used just a portion of the "peace on earth" from the Typed Wishes to add a simple sentiment.


So, what do you think???  This is only the beginning!  There will be two more installments of the remaining tags.  I've really enjoyed pouring over my Paper Wings stamps and looking for great images to create these fun tags.  I hope you are inspired in some way for your own upcoming holiday projects and we would love to see what you make with these and other Paper Wings Productions stamps.  Add your projects to our flickr group, to Pinterest, comment with a link on this post or even email pictures to us!


"It's beginning to look a lot like Christmas......"
Happy Stamping!

Julie


Monday, September 3, 2012

Mixed Media Monday - Art Textures Stamps


Hello everyone!
 
 
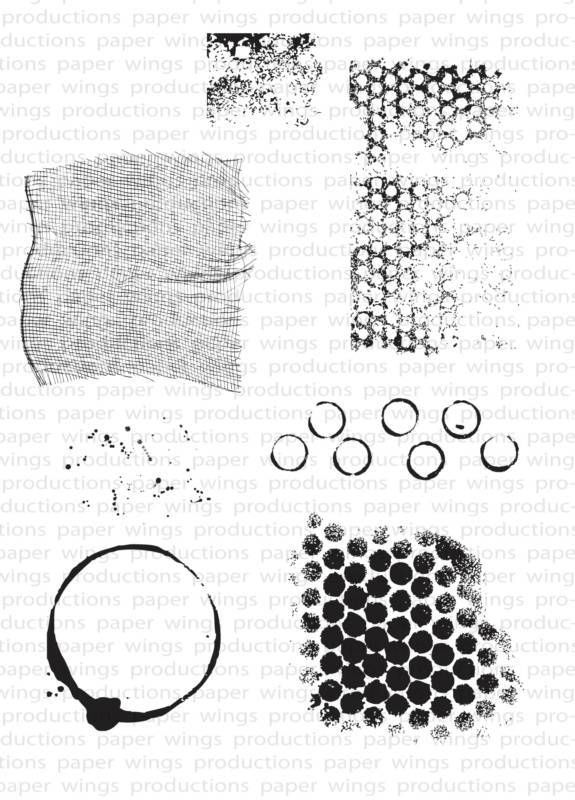
We have a video for you today.  This is another Closer Look video featuring our Art Textures stamp set.  This set is very versatile and is one that I think you will keep handy on your desk for so many different mixed media projects. 


This video shows each of the different stamps in action, and discusses multiple uses for some of the images. Take a look!


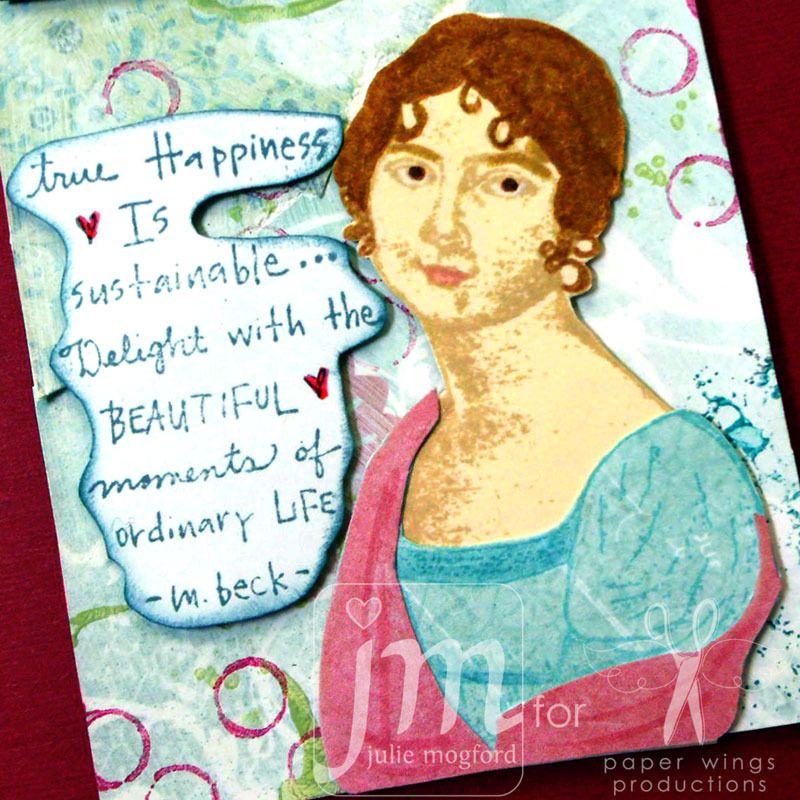
Isn't this set AWESOME?!?  I'm including close ups of the sample projects from the video to emphasize the details of these art texture stamps. 


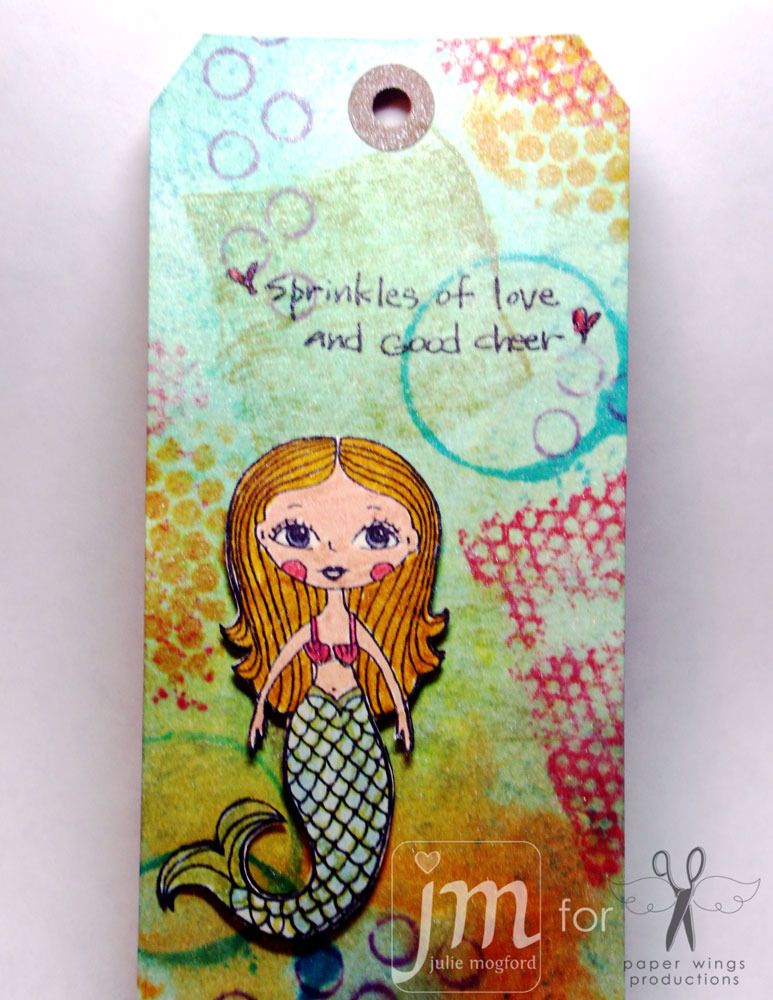
 These two tags started with the same background techniques, but still look different when completed.


Speckled stamp used to create snowfall.


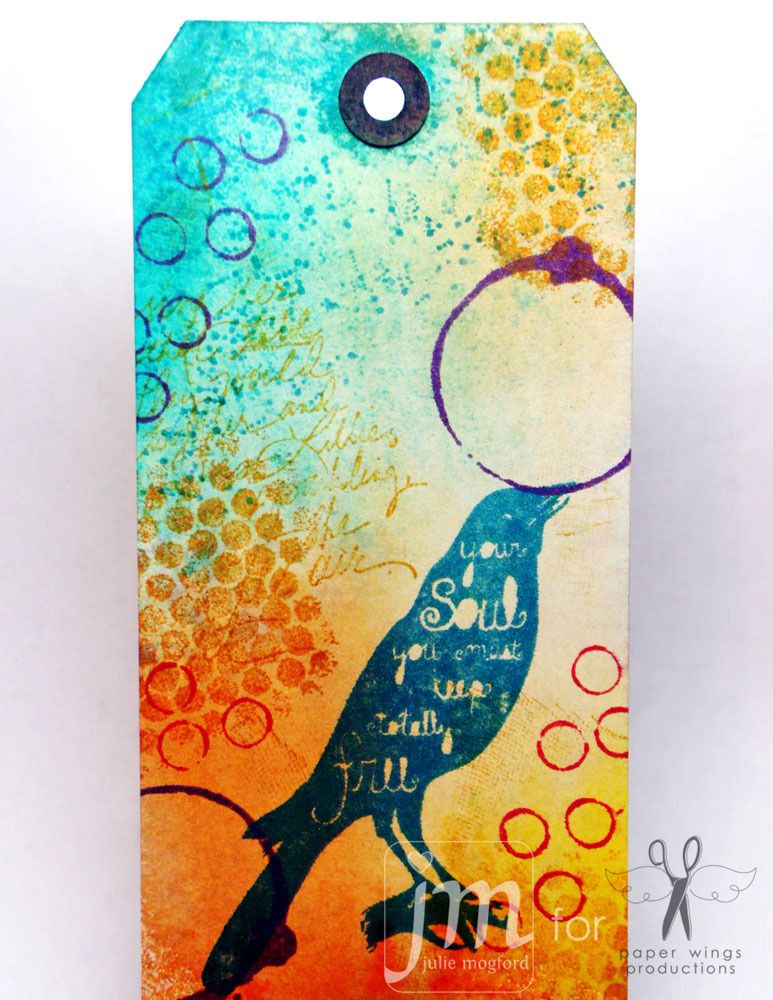
 I've used the large circle with the ink spot as a coffee ring for this fun tag.


 These stamps can be used with acrylic paints too - be sure to clean them up before they dry.


 One last version of the stamps used along with
the Wrinkle Free Distress technique, a la Tim Holtz.
 
 
I hope this post gets you excited about using these stamps on your projects.  I love the variety of effects I can achieve.  Thanks for watching!


Happy Stamping!
 
 
Julie


Supplies
Stamps: Art Textures, Bird Lyrics, Bird Melange, Hanging Stars, Howling for You, Melange Women, Mermaid, Play With Your Coffee, Sea Melange, Sayings and Sentiments, and Window
 
Paper, Ink and Tools:
Chalk Ink (Color Box)
Distress Ink (Ranger)
Whisper White Craft Ink (Stampin’ Up!)
Spray Inks - Dylusions (Ranger), Glimmer Mists,
and Mister Huey’s Shine
Paper - Studio Calico, Basic Grey, and various
scraps.
Ink Blending Tool (Ranger)
Foam Tape
Ribbon / Fibers


Friday, July 20, 2012

Feature Friday

Hello there peeps!

We added several new designers for our latest release of stamps.  Today we are featuring one of those designers, Erin Edelmann of Rag & Bone Studio.  Erin is Carrie's sister and a very talented freelance graphic artist.  She finds a lot of inspiration from music and lyrics.  Prints of her designs can be purchased on her Etsy shop.  Rag & Bone Studio on Etsy.


Here are some samples using the designs from Rag & Bone:


1. Stamp music from Text Melange over entire card base.
2. Stamp flowers from Flower Power on yellow pattern paper, ink edges and adhere to card base.
3. Stamp sentiment from Kind Words onto coated cardstock.  Ink paper with ink tool, and then flick water to create spots. Add sentiment and flower embellishment to aqua cardstock
4. Stamp phonograph from Lyrics on coated cardstock, cut and add distress ink to edges. Adhere with foam tape.

Stamps: Lyrics, Text Melange, Flower Power and Kind Words
Ink: Tim Holtz Distress Ink by Ranger in Barn Door, Broken China, and Vintage Photo
Cardstock: stash, clay coated paper
Pattern Paper: Basic Grey
Other:  Tim Holtz ink blending tool by Ranger; flower from Sassafrass, and foam tape from Stampin' Up!


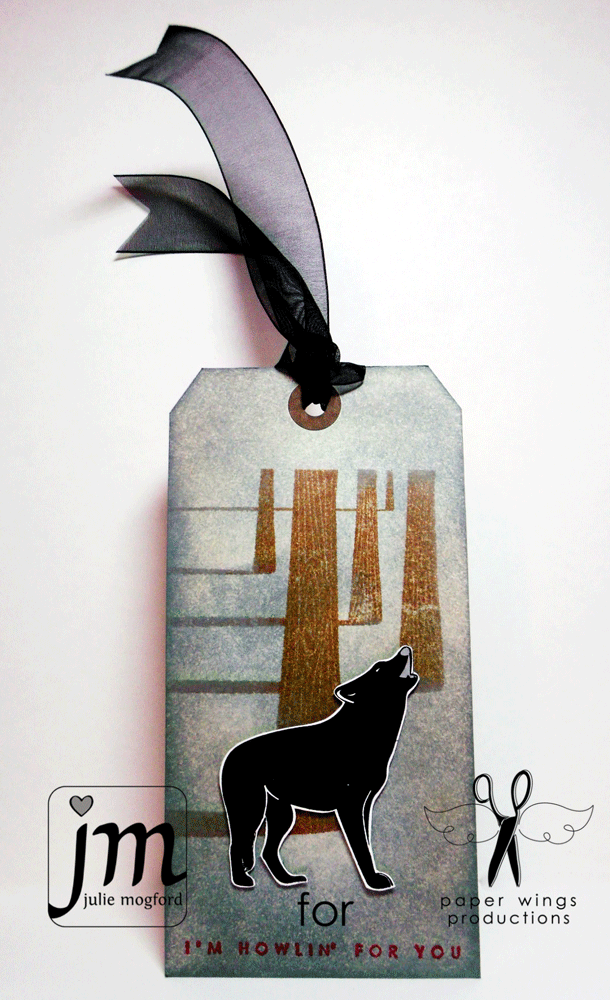
1. Use ink blending tool to add background color to tag.
2. Ink tree stamp from Howlin' For You with browns and greys and stamp on background.
3. Add sentiment to bottom of tag. (I cut my sentiment away from image for more stamping options.)
4. Stamp and cut out wolf from Howlin' For You and adhere with foam tape.
5. Tie on black shear ribbon to finish tag.

Stamps: Howlin' For You
Ink: Memento by Tsukineko in tuxedo black; Tim Holtz Distress Ink by Ranger in Weathered Wood, Vintage Photo, Tea Dye and Festive Berries (winter set)
Cardstock: Mailing Tag, clay coated paper
Other: Tim Holtz ink blending tool by Ranger, ribbon and foam tape from Stampin' Up!


1. White emboss circle background from Backgrounds in white.  Spray with mists.  Cut up piece into horizontal strips.  Attach to white panel.
2. Black emboss boots from Lyrics.  Tear piece.  Spray with mists over star stencil.  Attach onto circle background panel.
3. Stamp sentiment from Lyrics onto white strip using black ink.  Ink edges with black.  Attach onto circle background panel.
4.  Attach circle background panel to black card base.

Stamps: Backgrounds and Lyrics
Ink: Memento by Tsukineko in tuxedo black; Tim Holtz Distress Ink by Ranger in black soot
Cardstock: Neenah Papers in solar white and black
Other: Embossing powers in black and white; various sprays and mists; Tim Holtz ink blending tool by Ranger; stencil from Balzer Designs by Crafter's Workshop

Enjoy the flight!

Monday, July 16, 2012

Mixed Media Monday: Once Upon a Time....


Good Monday peeps!

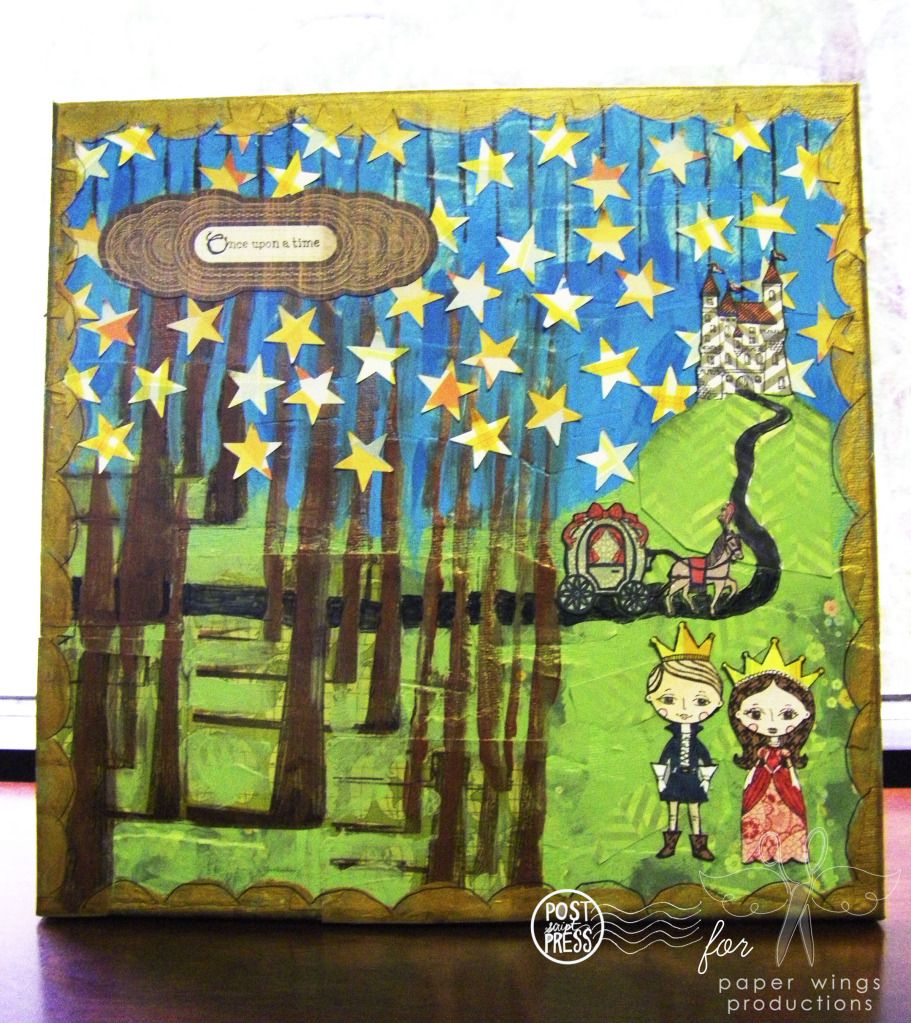
It's Shay here bringing you a fairy tale of a project for that little prince or princess in your life or the older prince and princess as everyone could use some magic in their lives.

Using the adorable Prince and Princess stamp sets by Liz B. of handmade by Lissie girl, the really cool trees from Howlin' For You by Erin Edelmann of Rag & Bone Studio and Hanging Stars by Liz A. of Fine & Fancy, I came up with a canvas with the quintessential castle and forest for my prince and princess.

Here are some basic directions of what I did:
  1. Paint a 12x12 canvas (or paper) with green and blue acrylic paints.
  2. Attach random bits of torn pattern paper to the green and blue sections and paint over edges with appropriate paint.
  3. Stamp in black and paper piece castle, prince, princess and horse drawn carriage using various pattern papers.  Color in with various markers.  Edge with black pen.
  4. Stamp trees in brown ink on pattern paper 4 times and attach to canvas.  Paint over pattern paper with green and blue where appropriate.  Paint over trees with brown paint to elongate trees.  Stamp over bits of the painted trees with tree stamp.
  5. Stamp lines from Hanging Stars in black ink along the top of the canvas.  Stamp over the lines to make longer lines in different areas.  Punch out lots of stars from pattern paper.  Attach to sky over lines sporadically.
  6. Attach castle, horse drawn carriage, prince and princess.  Draw a road from the castle stamp road onto the rest of the canvas where the horse and carriage are using dark grey Copic marker.  Edge it with black pen. 
  7. Paint a free handed scallop edge around canvas with gold paint.  Use a black pen/marker to loosely outline scallop edge.
  8. Stamp "Once upon a time" onto a label.  Attach to top left of canvas.
More embellishment: Adding Stickles on to the stars and/or shimmer spray over canvas which I may do later.  You could also use punches to punch out leaves for the trees.

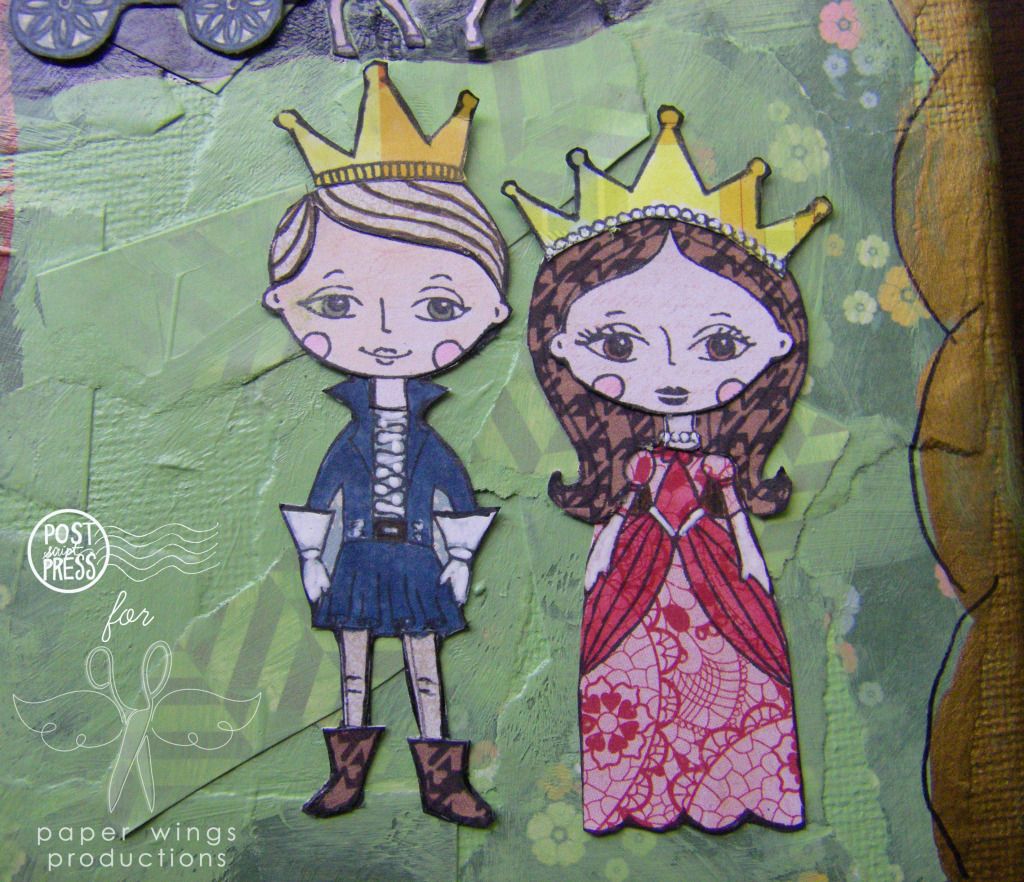
The adorable prince and princess:


Fancy horse drawn carriage:


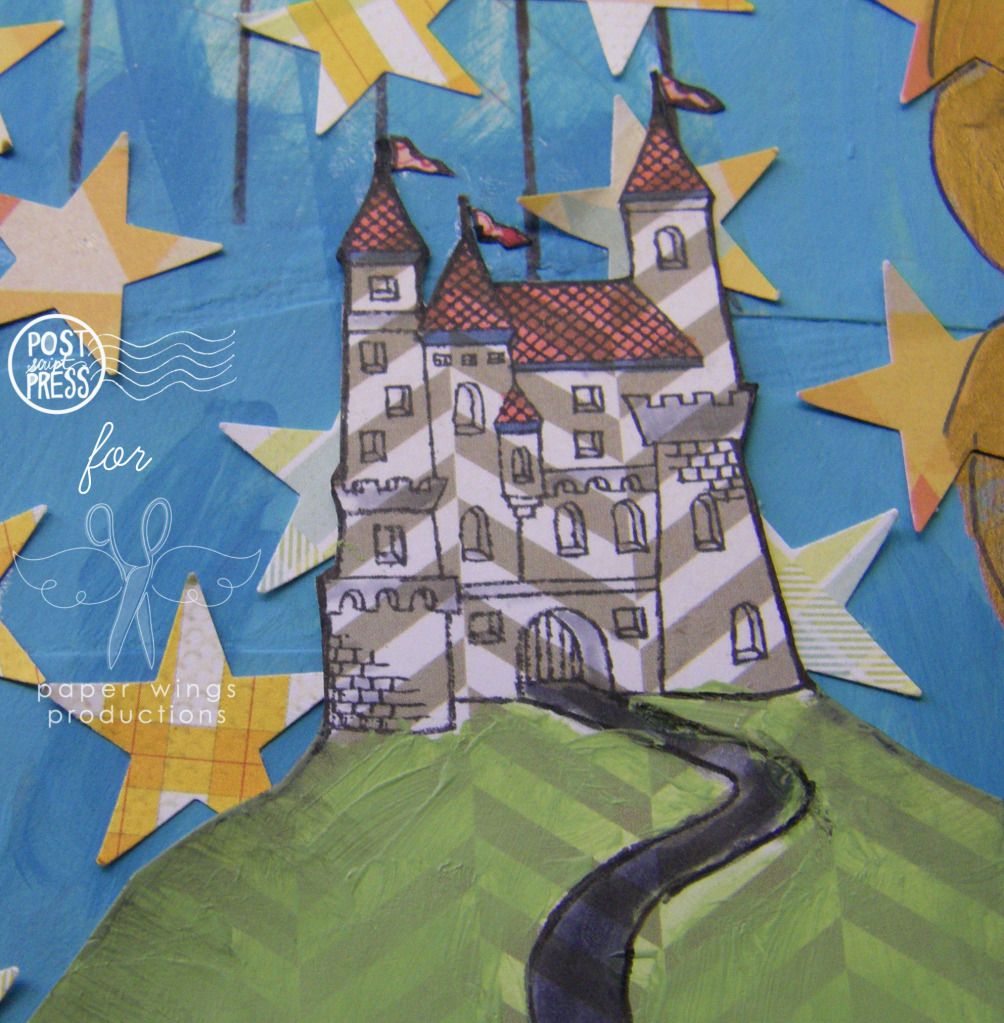
Banner waving castle:

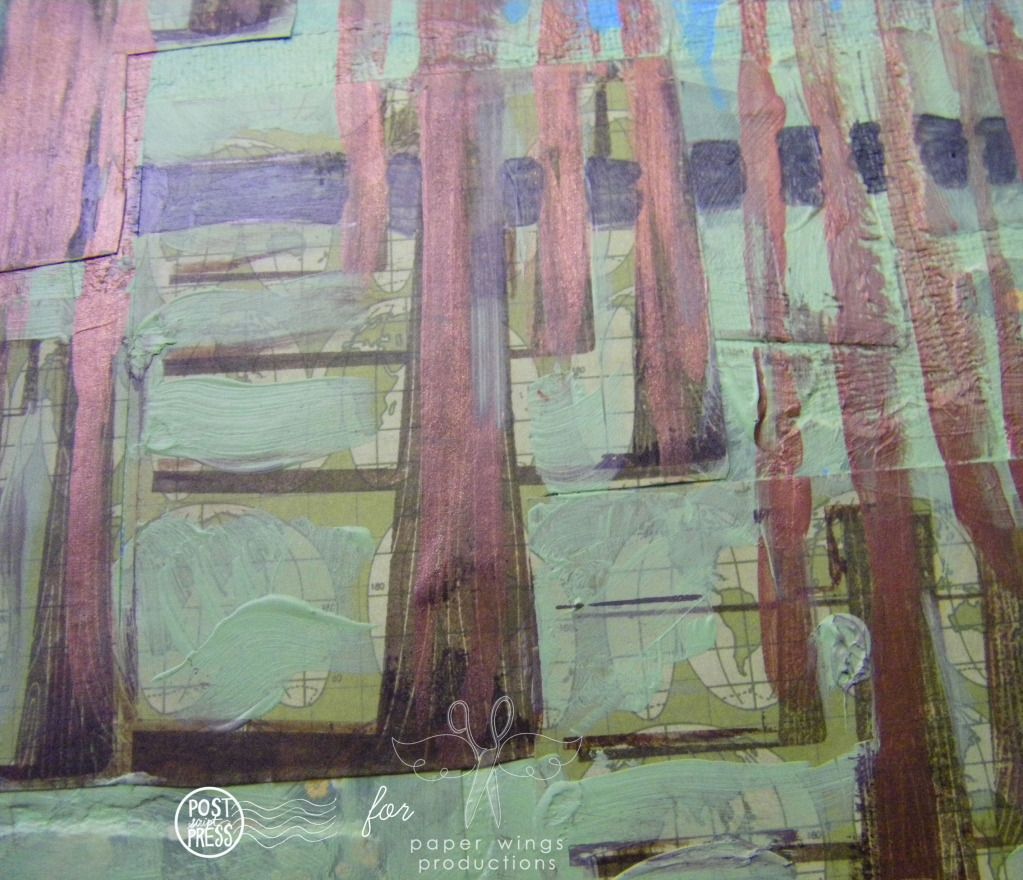
Enchanted shadowed forest:


Another view:


Stamps: Hanging Stars, Howlin' For You, Prince and Princess
Ink: Memento ink by Tsukineko in tuxedo black; Jenni Bowlin by Ranger in brown sugar
Pattern Paper: Kissing Booth 6x6 paper pad by Basic Grey; Paper Heart 6x6 paper pad by Crate Paper; Madison Avenue Lost and Found 6x6 paper pad by My Mind's Eye; Destination, Geographic, Great Scot, Harvest and Telegraph by Studio Calico
Cardstock: Neenah Papers in solar white
Tools: Signo gel pen in white by Uni-ballPrecision Pen by American Crafts in black; Memory Marker by American Crafts in chestnutCopic markers; Glossy Accents by Ranger; Matte Multi-Medium by Claudine Hellmuth Studio by Ranger; craft smart acrylic paint in pool blue; Americana acrylic paint in turquoise blue; Claudine Hellmuth Studio by Ranger in landscape green; Folk Art acrylic paint in Metallic Antique Copper, Metallic Antique Gold
Embellishments: die cut label from K & Company's Julianne Vintage Label Die-cute Cardstock

I hope you have a fairy tale of a week!

Take flight,
Shay.
Related Posts Plugin for WordPress, Blogger...